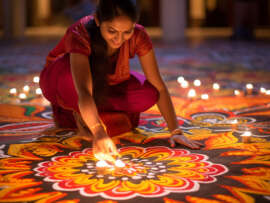
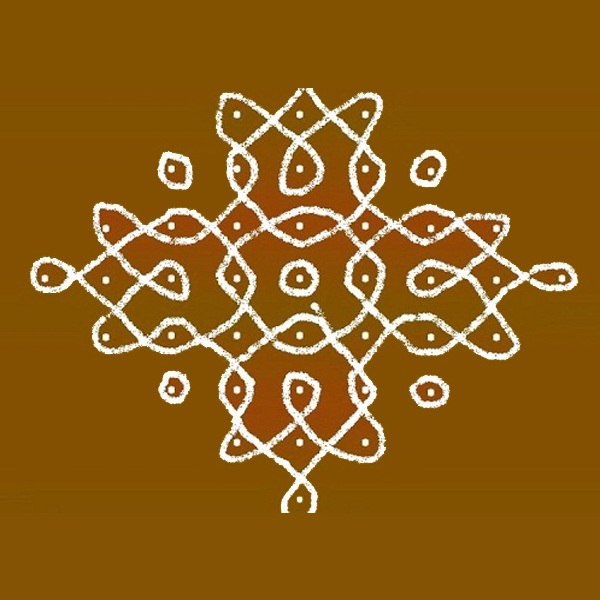
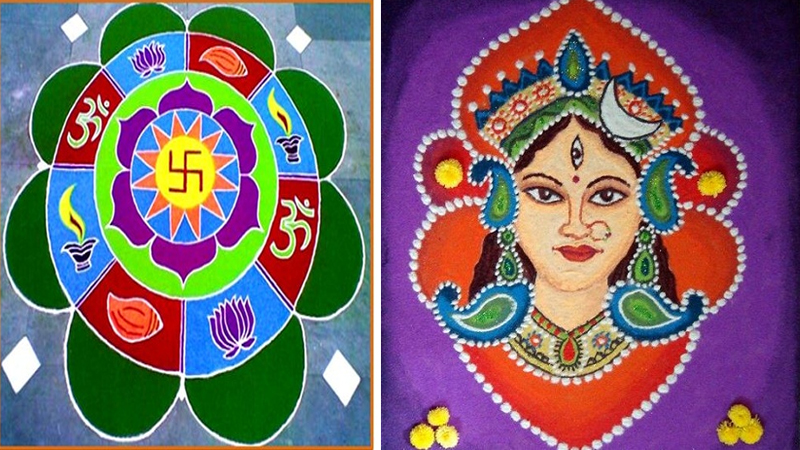
Rangoli is an essential part of Indian culture during festivals such as Diwali and Pongal etc. The rangoli can be of various sizes and patterns. The approach to making the different rangoli also varies; every beginner follows basic methods to become a professional at this art.
Tips to Beginners:
- Always choose an even surface for Rangoli. Ensure it is clean and dry.
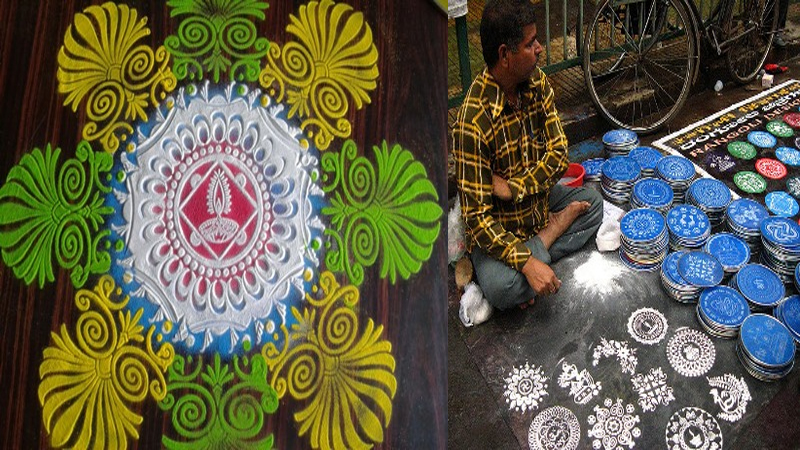
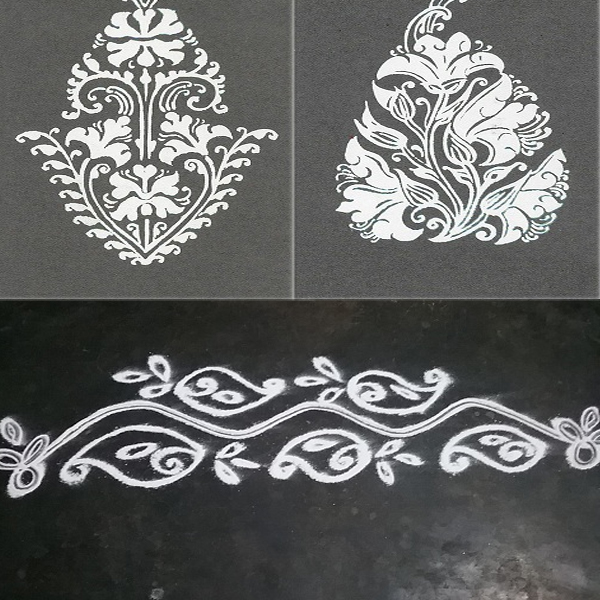
- When you are not sure of your skills, use a stencil. It can create clean designs,
- You can also roll up paper into a cone and use that to create your design.
- If it is not a dotted Rangoli, use different objects like bottle caps, CD’s, ice cream sticks etc. to create perfect patterns.
- You can also cover up with extra powder if you accidentally create a bad shape.
- If you plan to create Rangoli on a white floor like tiles or marbles, stick a transparent sheet on the floor. Not only will this help you make Rangoli easy, but it can also be removed from the floor without causing stains.
- To clean Rangoli on tiles, use some petroleum jelly on a cloth to wipe off the colour.
How To Make Rangoli Designs Step By Step:
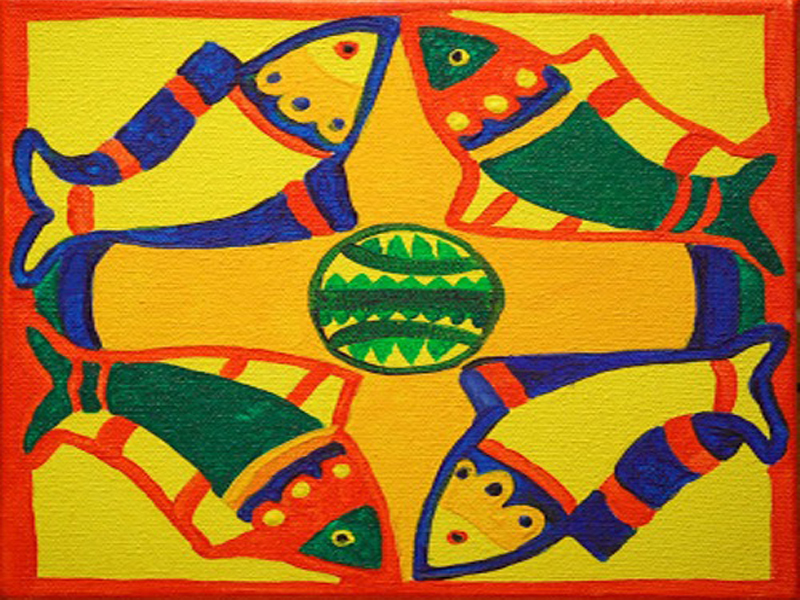
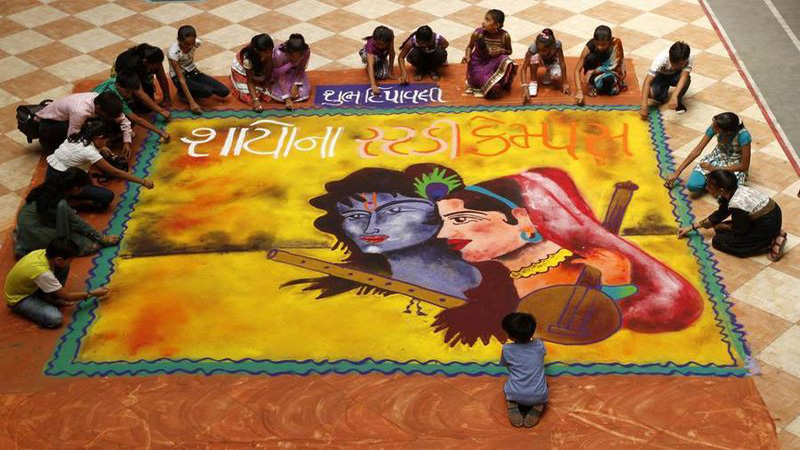
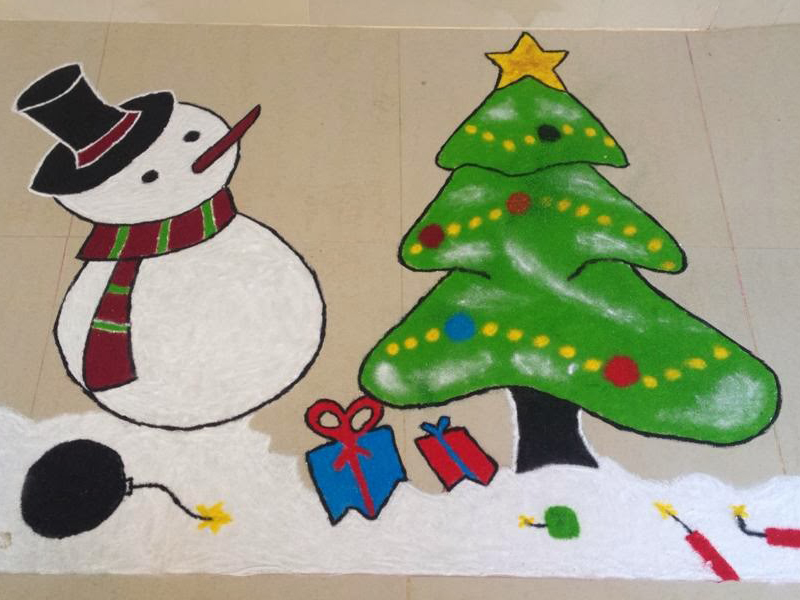
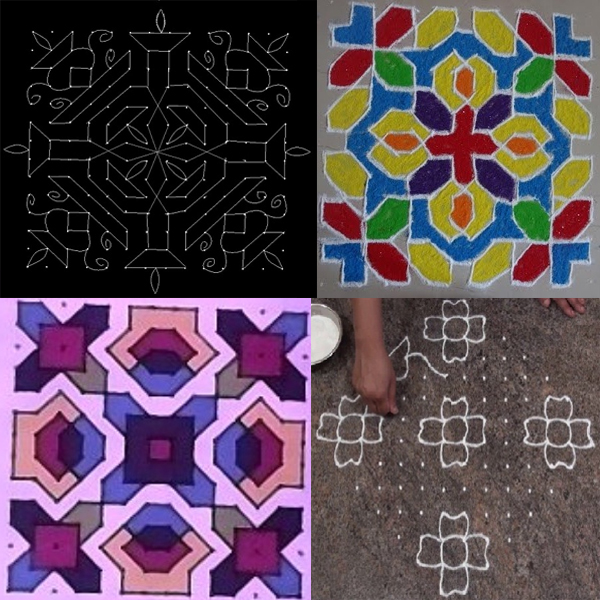
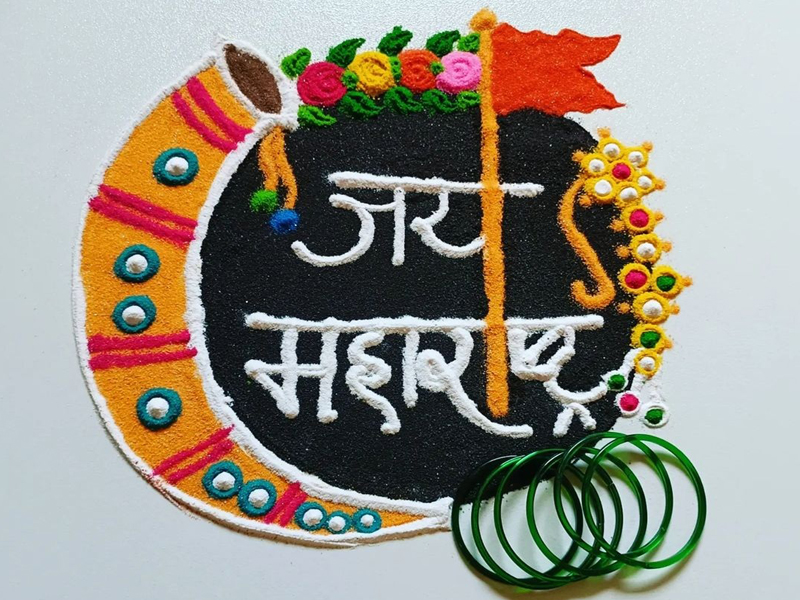
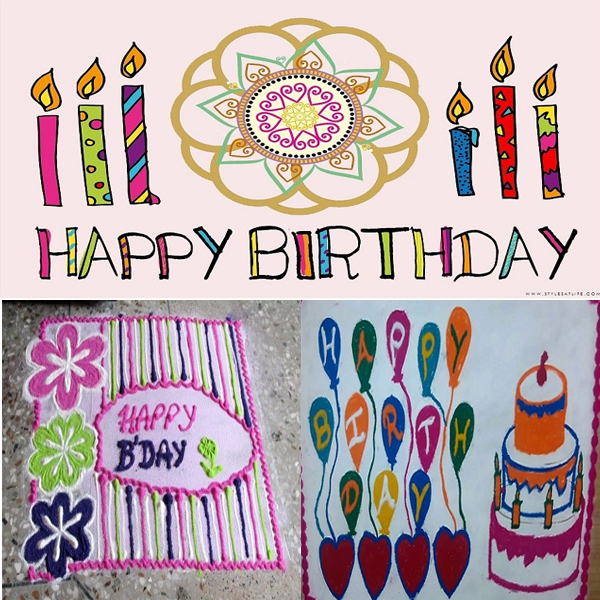
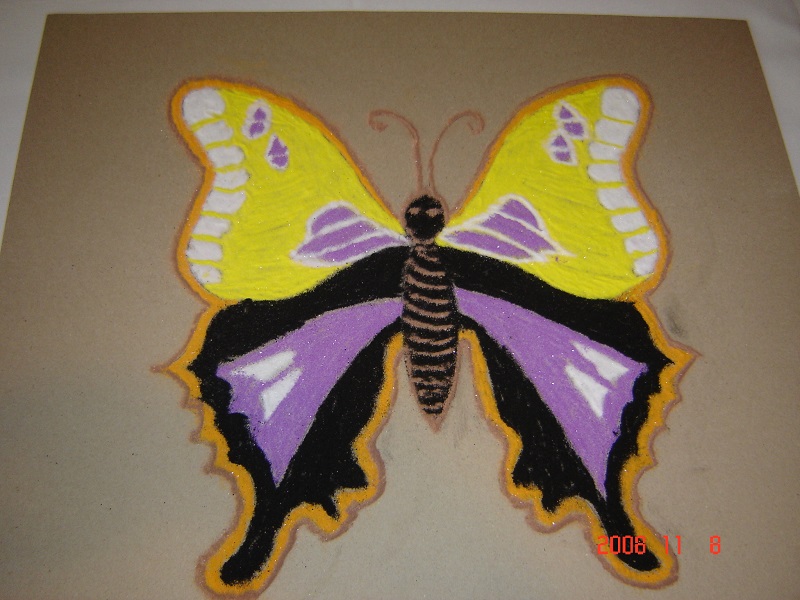
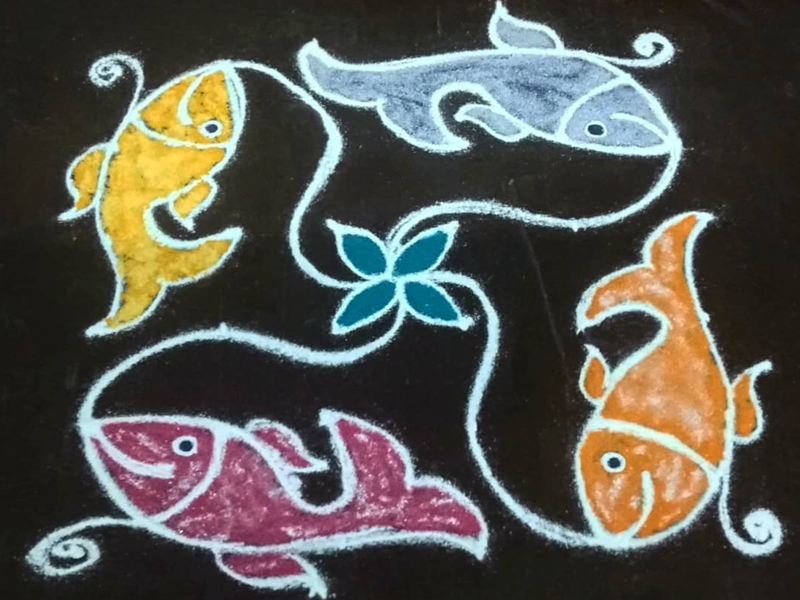
1. Rangoli Design for The Kids:
As you can guess from the title, this stage is concerned with all who are interested in drawing and have a vivid imagination. This stage is concerned with all those kids who like to do rangolis. Here is how you’re going to begin.
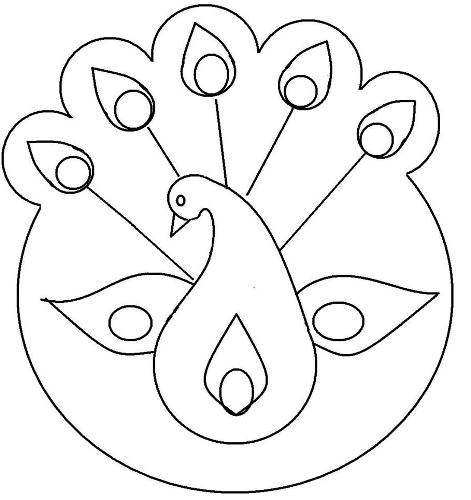
- First, take the black paper. You should ensure it is large enough to provide the space for your ideas. Not too large, though.
- The second step is deciding what kind of rangoli you want to do. Will it be the traditional Indian floral designs or the complex Diwali designs? Generally, the floral rangolis are easy to do and are preferred by all kids.
- Now draw the design you have decided on on the piece of black paper. If you’re comfortable with your selected design, don’t forget to beautify it with colours and pastels.
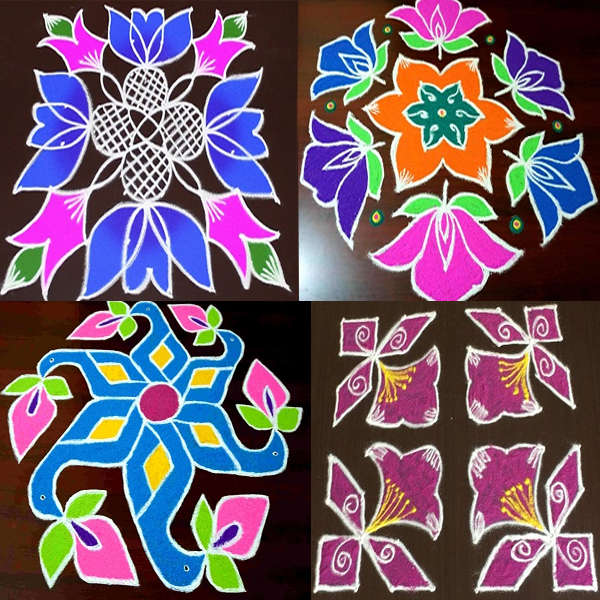
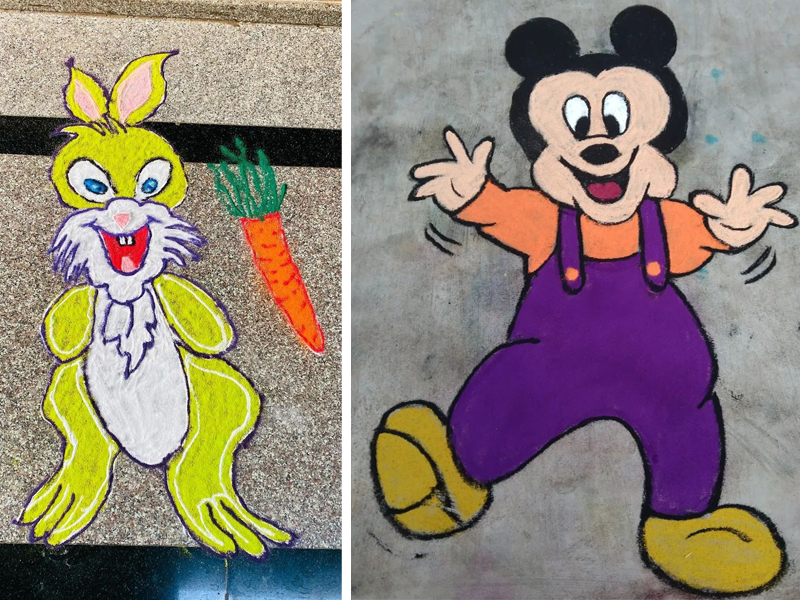
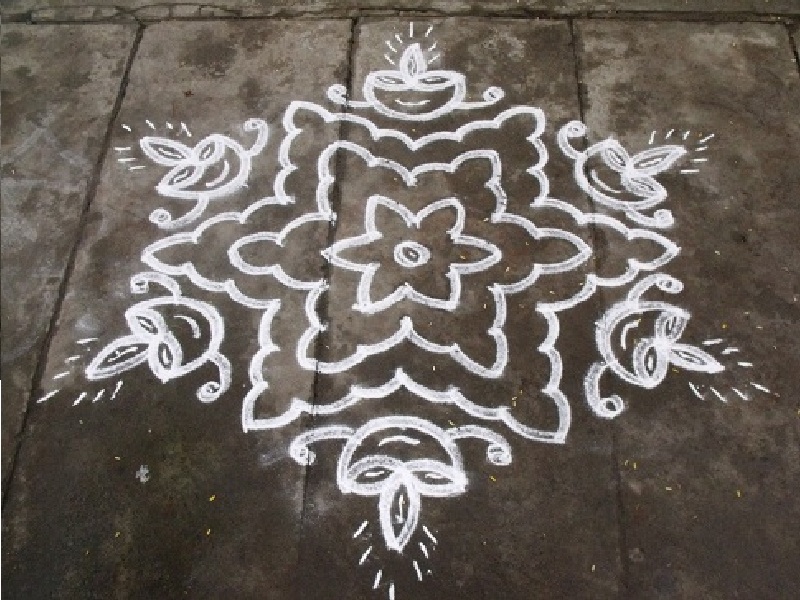
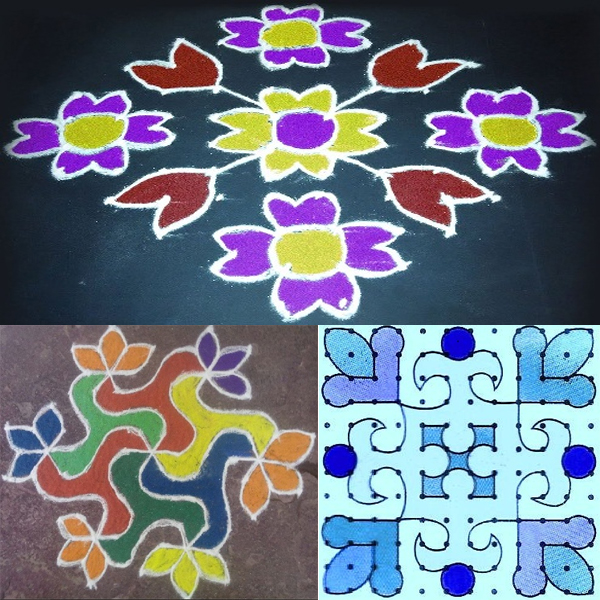
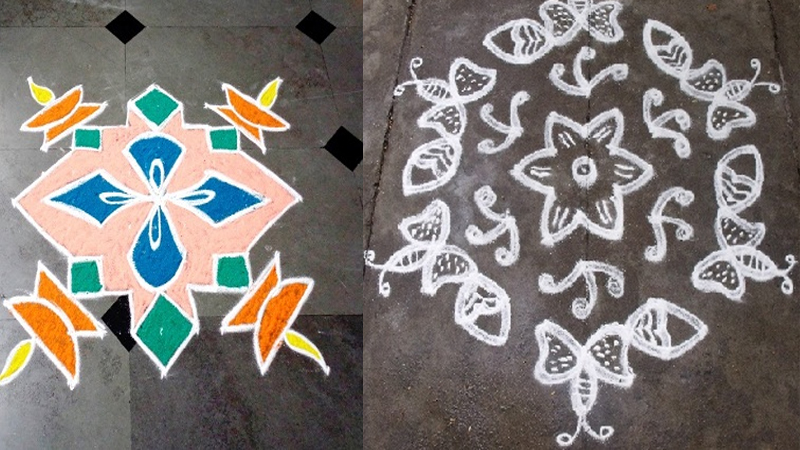
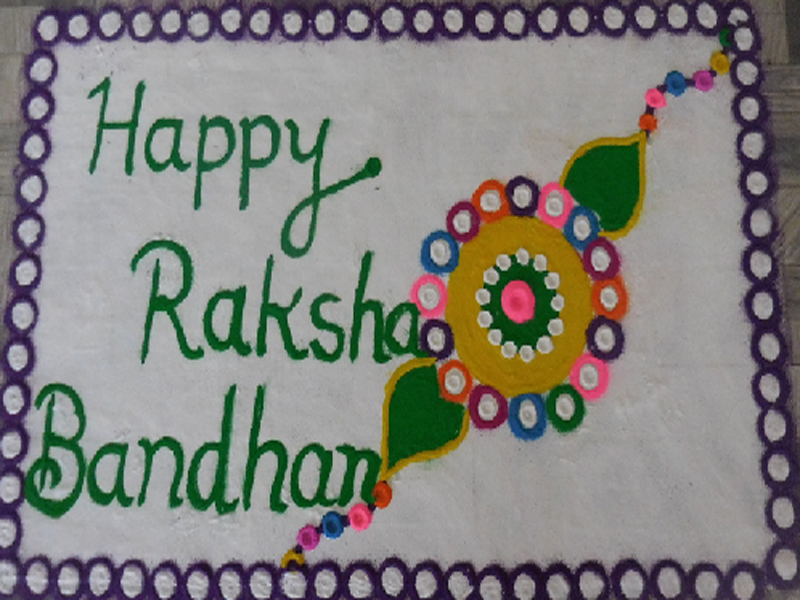
2. Rangoli Design for Beginners:
- First, choose where you want to do your rangoli. It may be black paper or any other place where the design is appropriately visible.
- Now, draw the design you want to after deciding what rangoli motif you will do. Since this stage is for all beginners, you can use your imagination and make random patterns.
- Instead of using a pencil on black paper, you can use chalk to make the design look more vivid.
- I hope you’re done with drawing your rangoli. Now it’s time to outline the design. In this case, you can use chalk dust to outline the product.
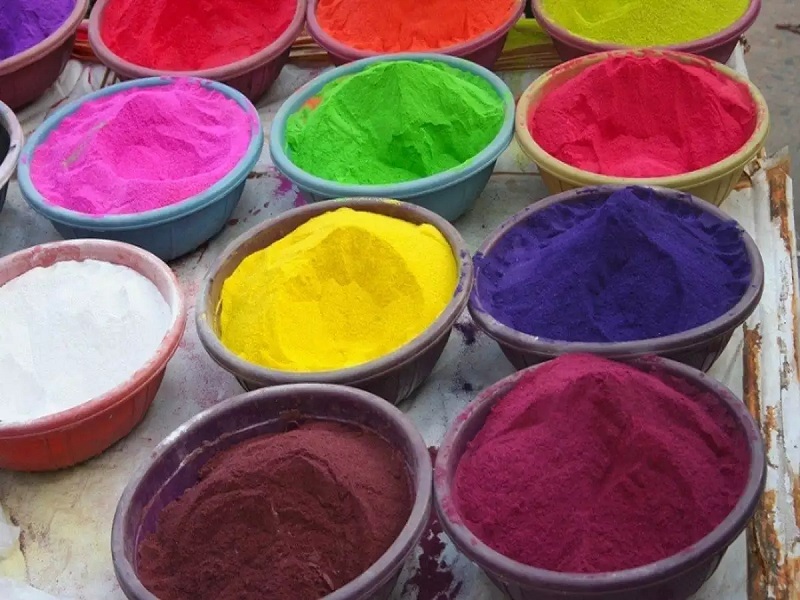
- The final step is the most interesting as you must add colour. Rangoli colour, sand or semolina can be used to colour the design. You can also use sawdust.
See More: Easy Rangoli Designs With Dots
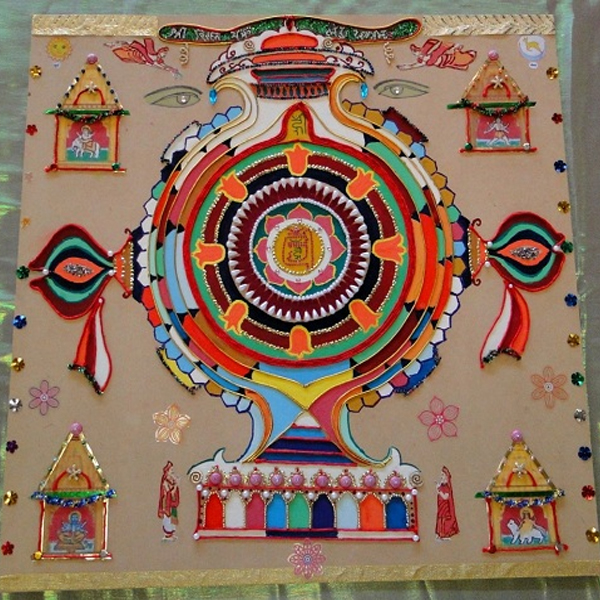
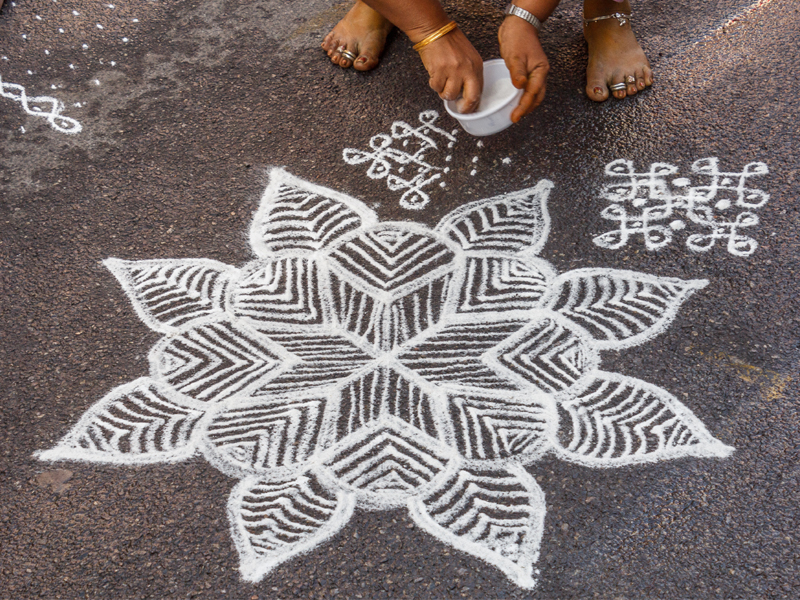
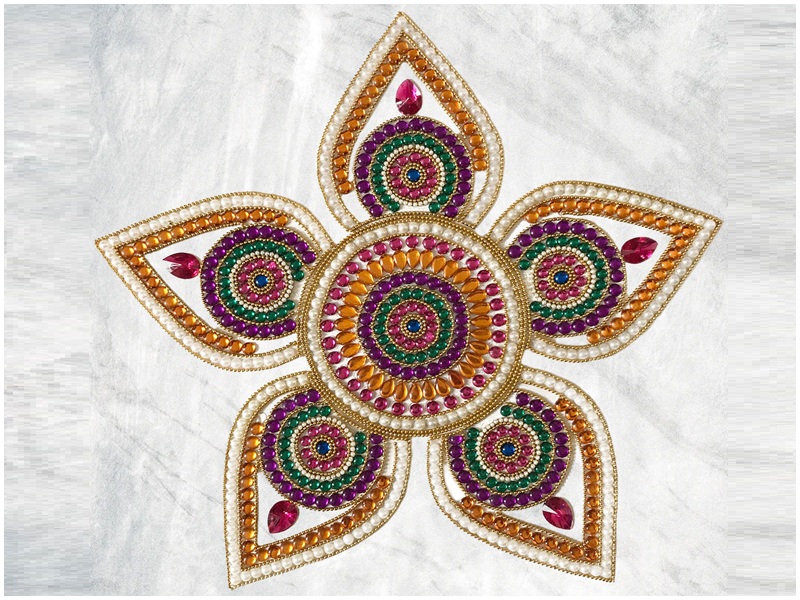
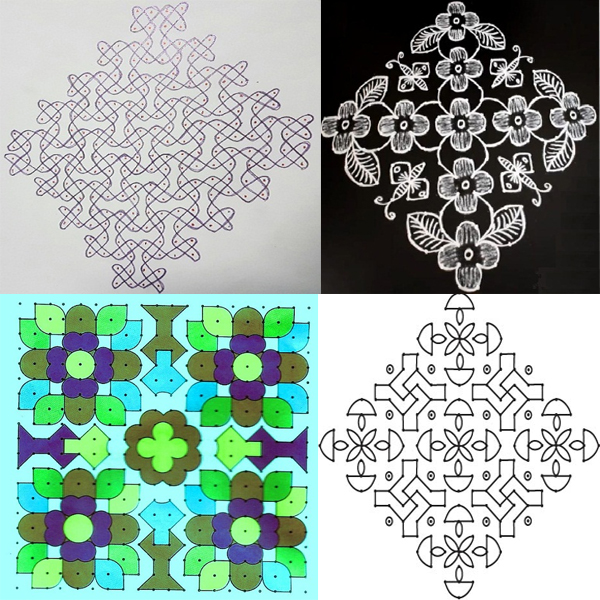
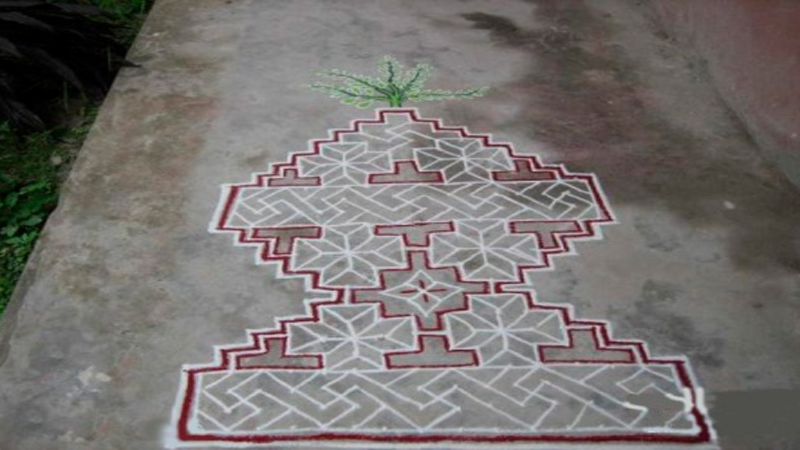
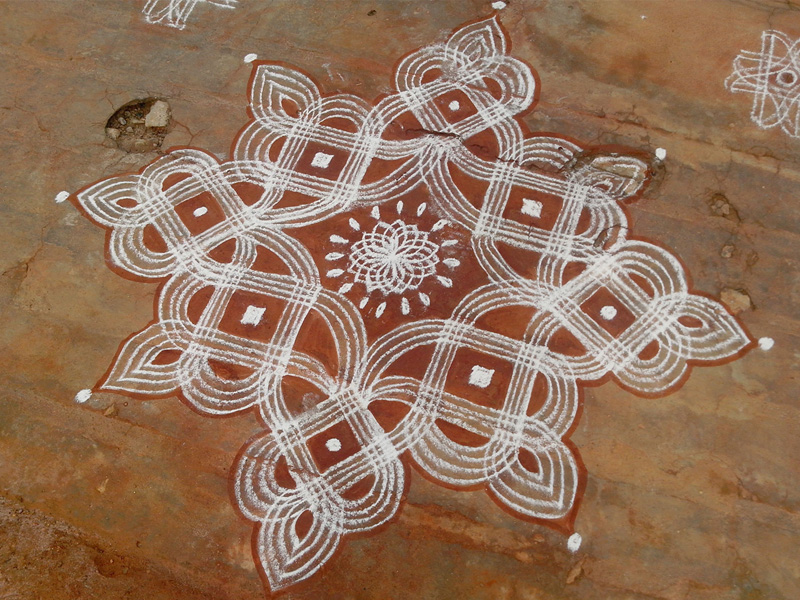
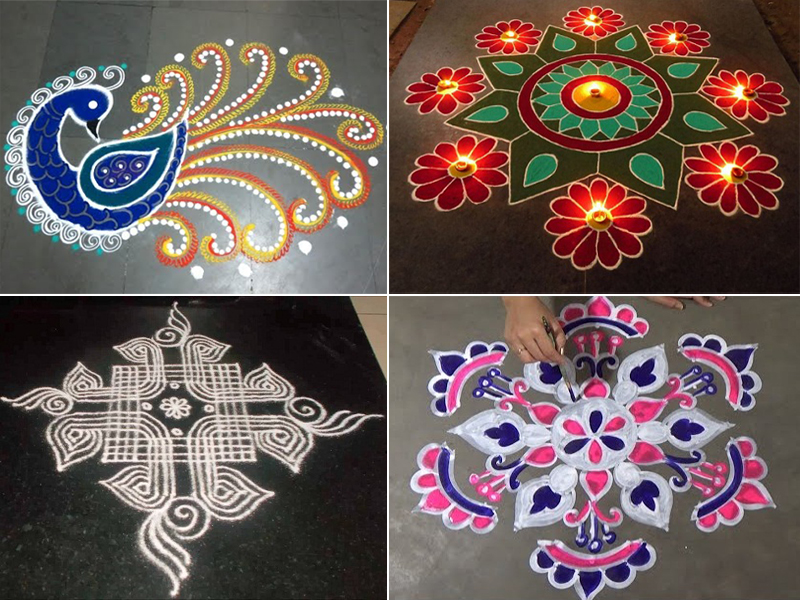
3. Rangoli Designs for Experienced:
You have passed the beginner stage and are ready for the advanced rangoli designs.
- First, choose the right place according to you for doing the rangoli. (not the black paper). The floor is an excellent platform for doing the rangoli.
- The second step is to decide the rangoli motif you will do. This is the time to choose some complex designs as you will be a pro soon.
- If needed, draw the rangoli on peace of paper before its final implementation.
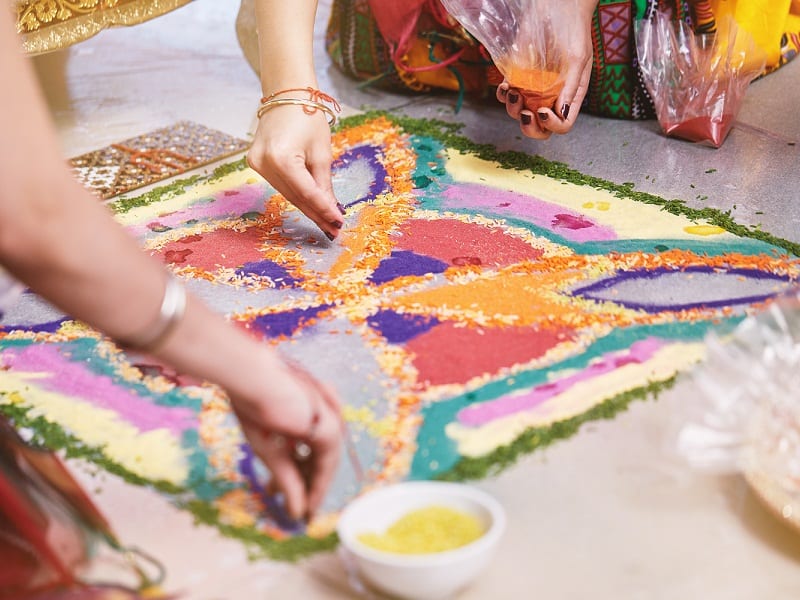
- Now take rangoli powder and start. Start sides first, as it will allow you to determine the area you will need to complete the whole design. Using a variety of contrasting colors will make the motif more attractive.
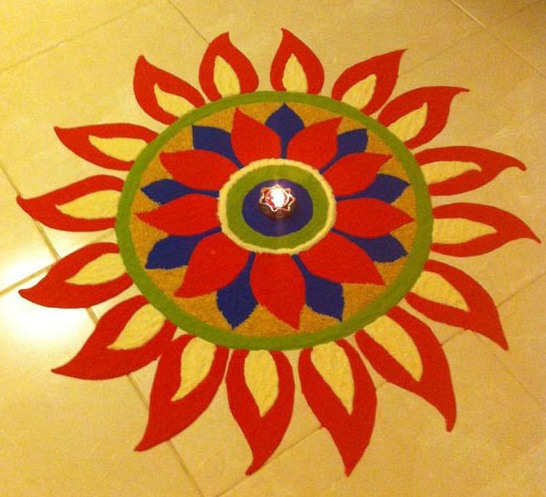
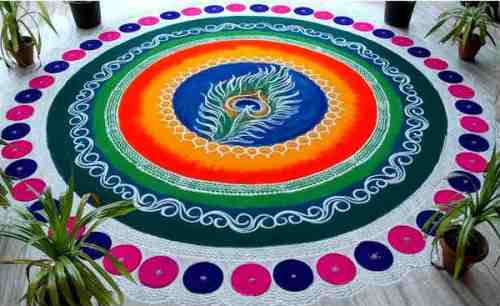
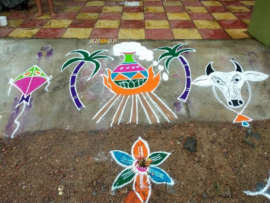
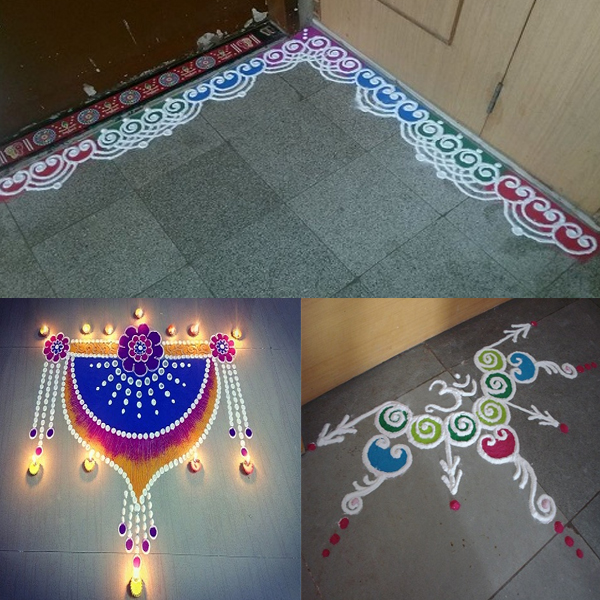
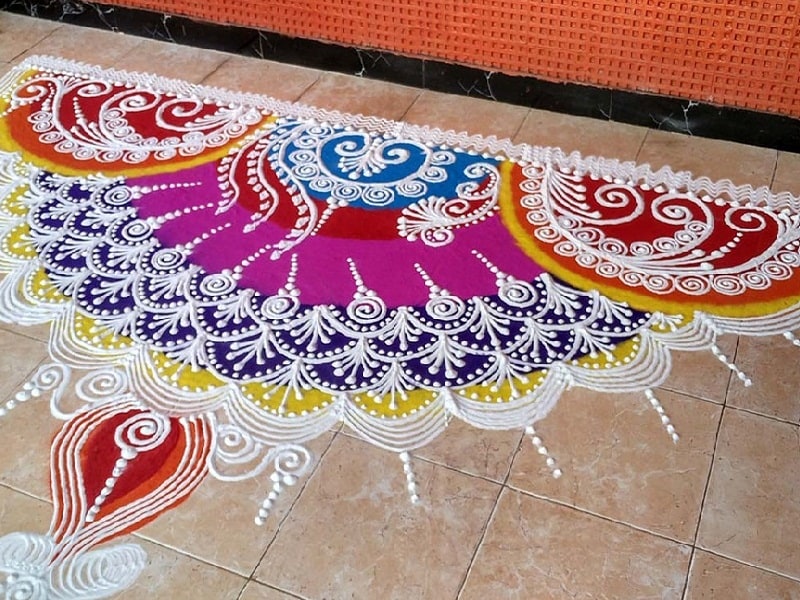
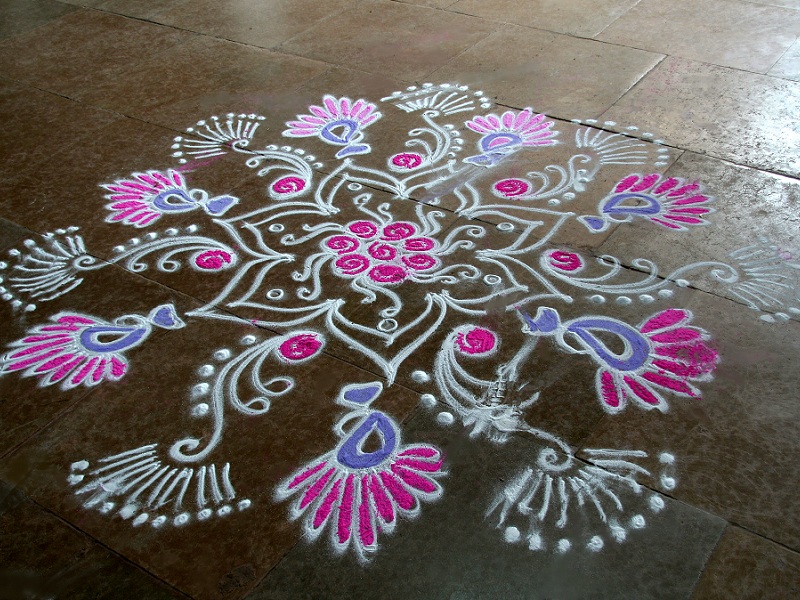
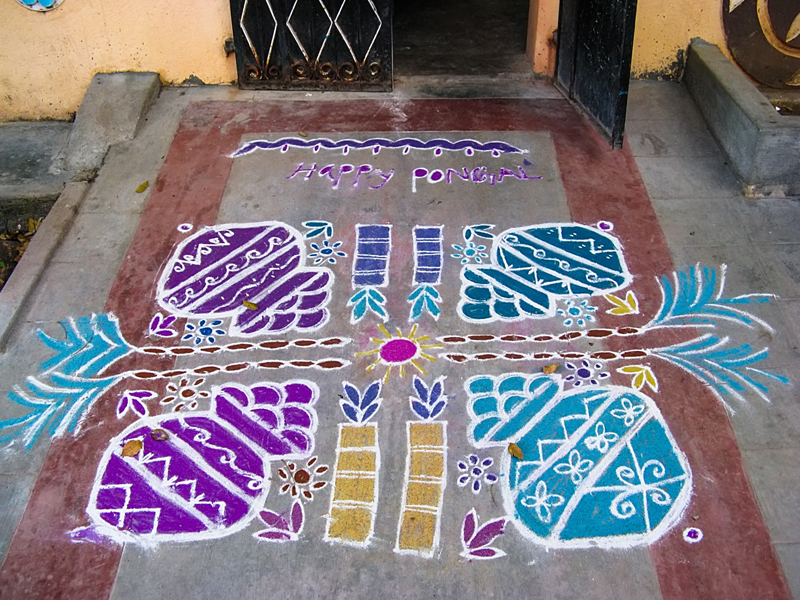
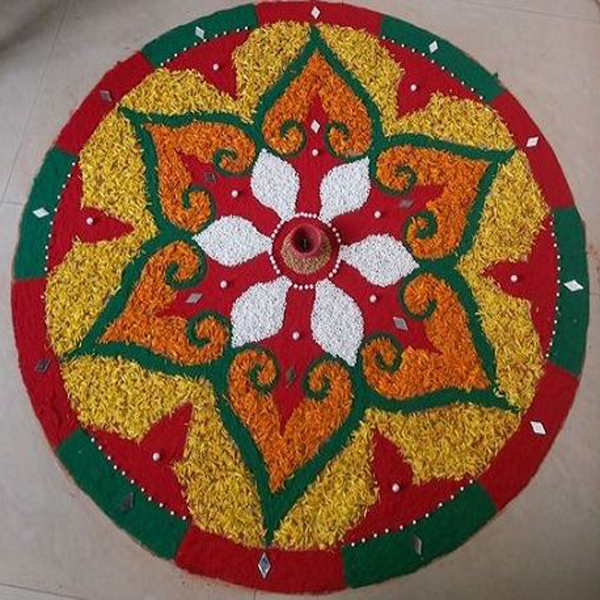
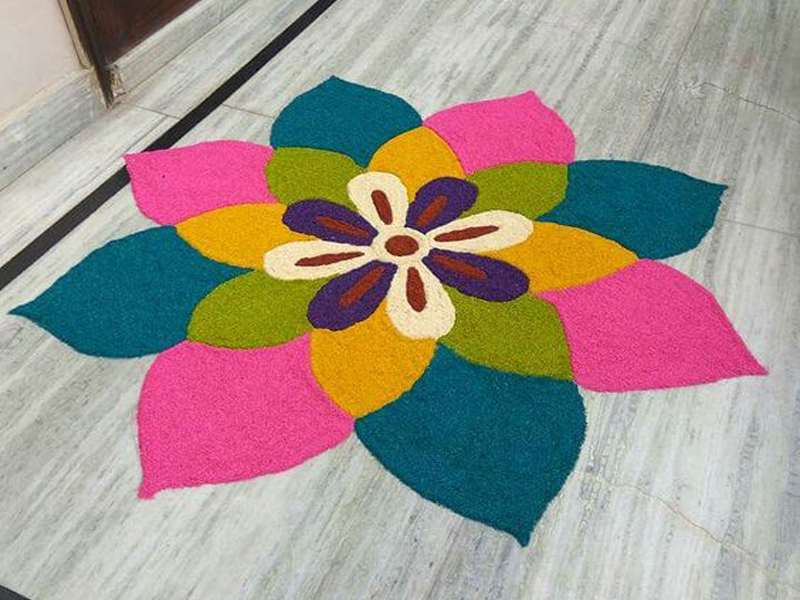
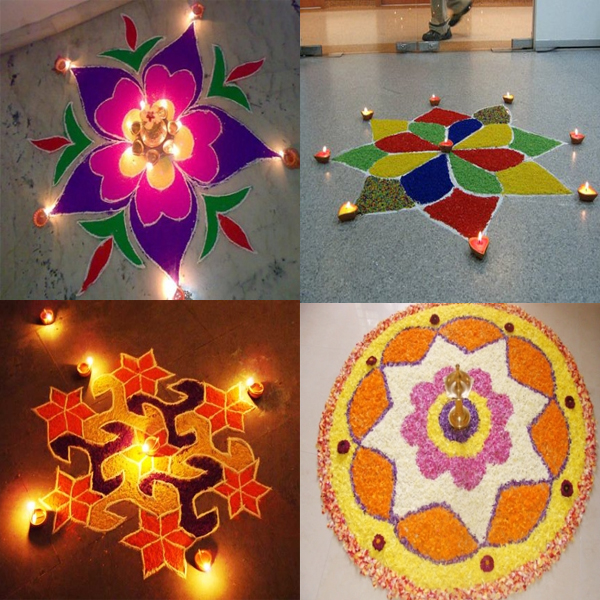
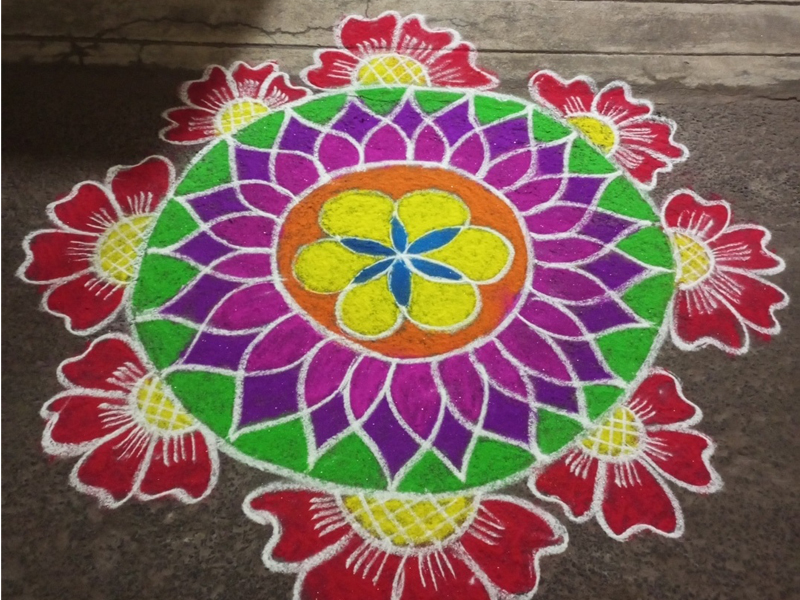
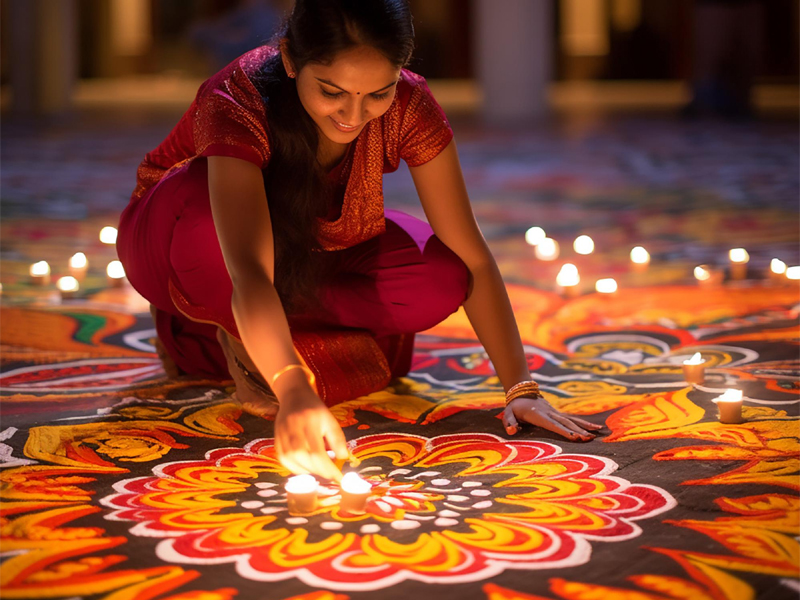
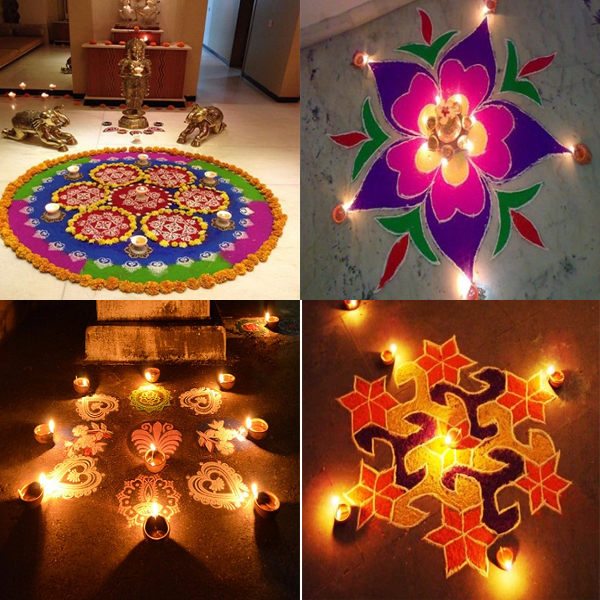
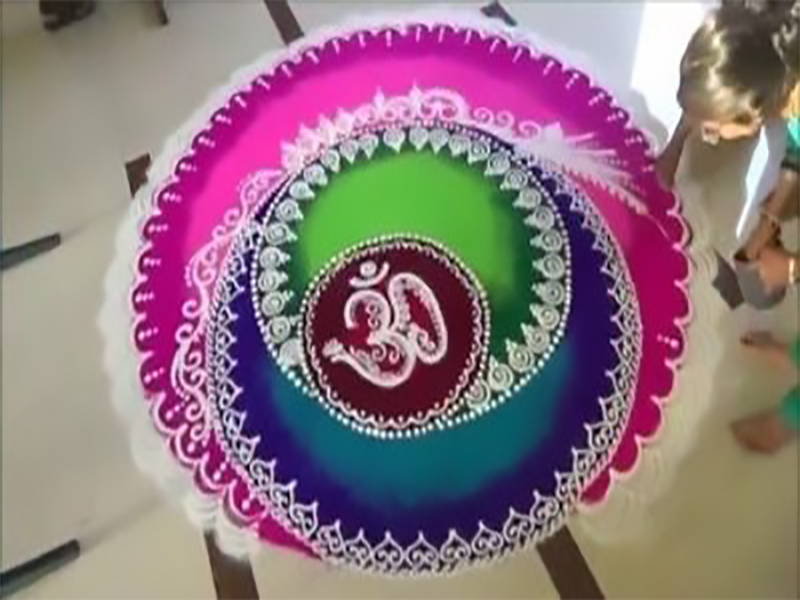
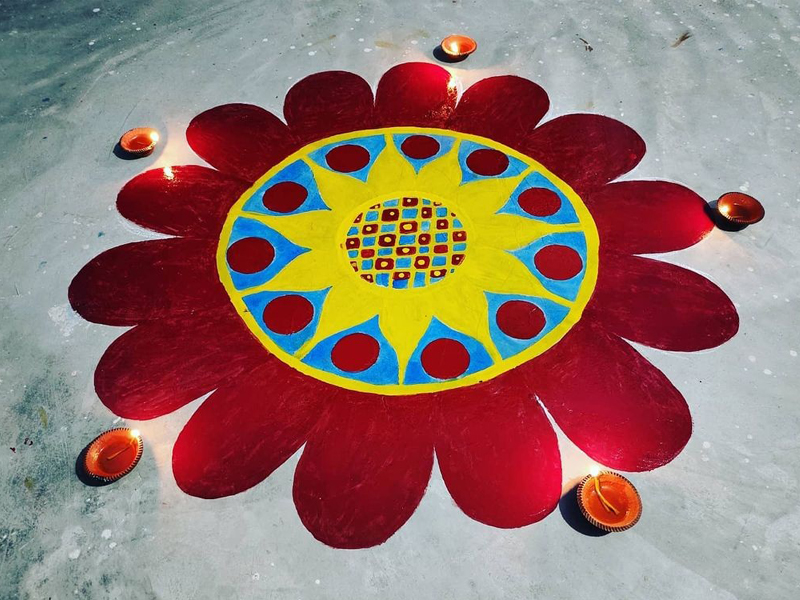
4. Rangoli Design on Floor – Step-by-Step With Colors:
This Beautiful design is sure to adorn your porch on the coming festival. It’s bright, colourful and also easy to make. Check out how to create this latest design, step-by-step:
- Draw 5 circles using a stencil or free hand. The circle size must increase as you move outward.
- In the innermost circle, take some white chalk powder and spread it on the circle.
- Using your fingers, draw the shape of a flower petal.
- In the second circle, using a bright color like orange, draw large petals with fingers as shown.
- Draw heart shapes on the third circle using multiple colors like green and white.
- Join the 4th and 5th circles using the color patterns shown in the form of a mango shape.
- Lastly, take some colour and highlight the 5th circle with some dots.
- Embellish the empty areas of the Rangoli using spirals as shown.
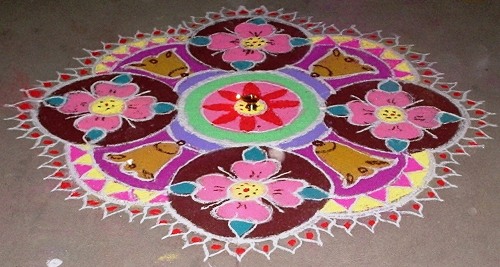
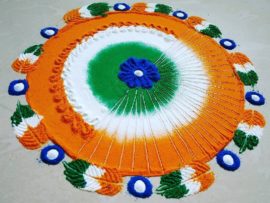
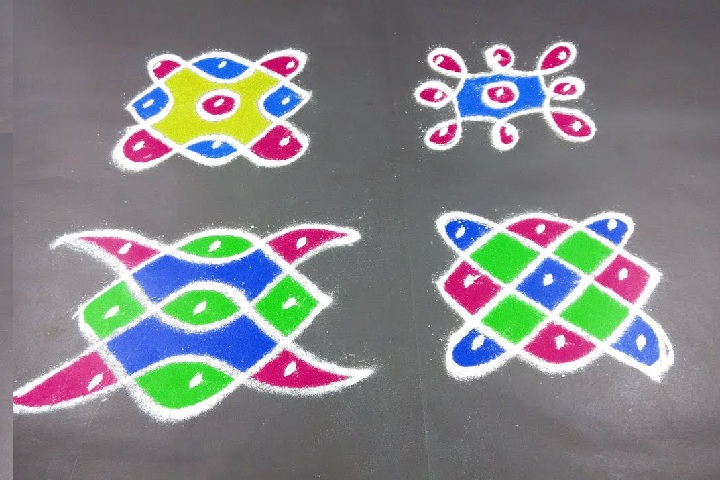
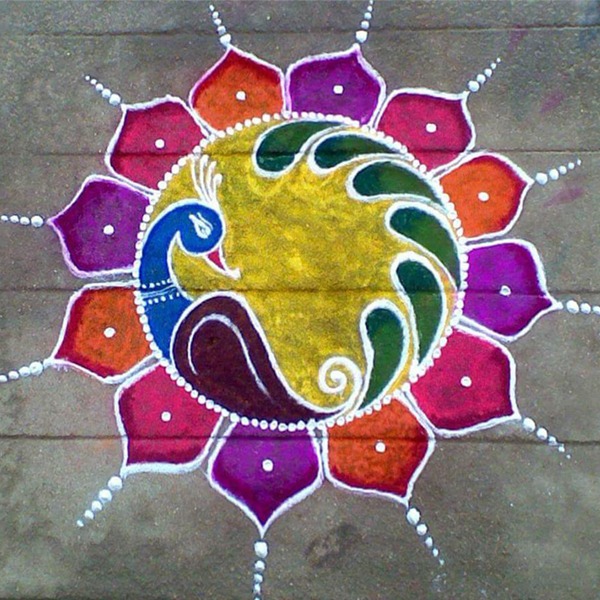
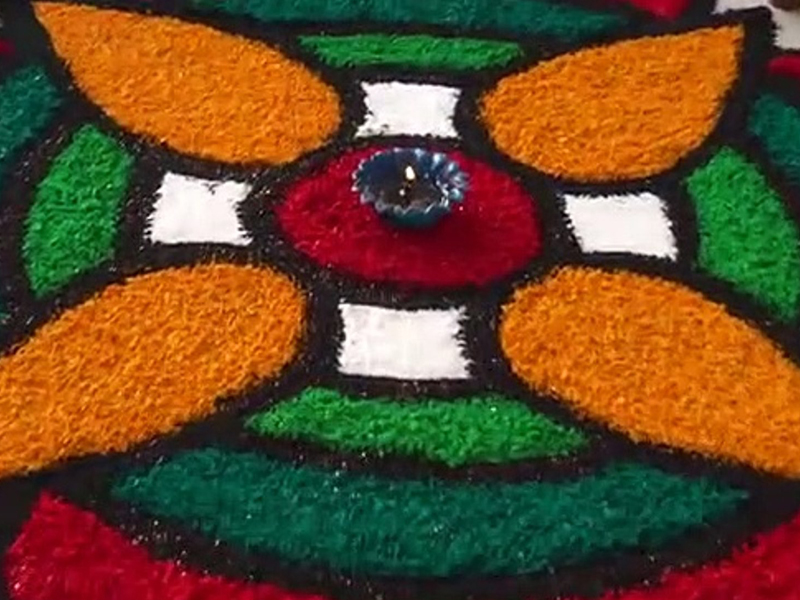
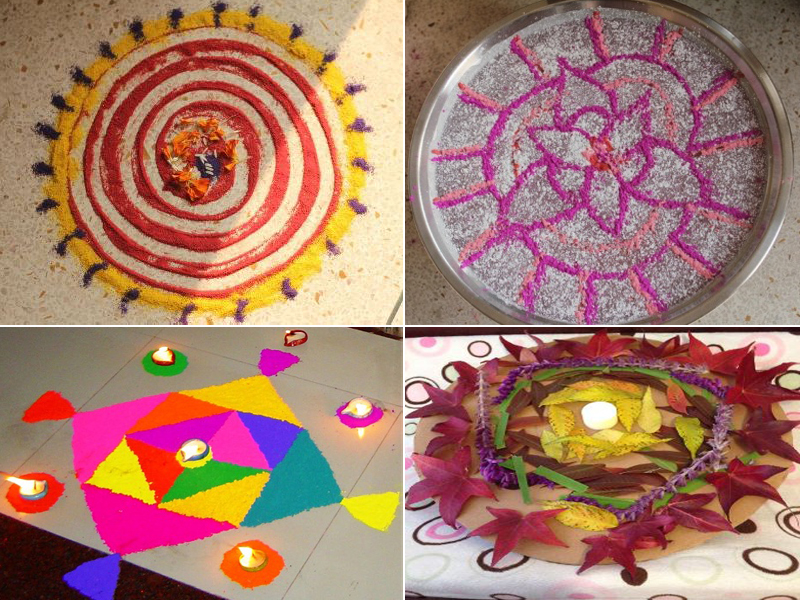
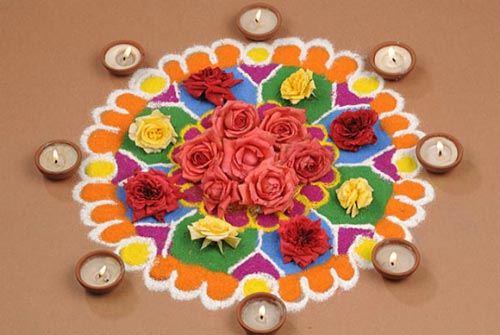
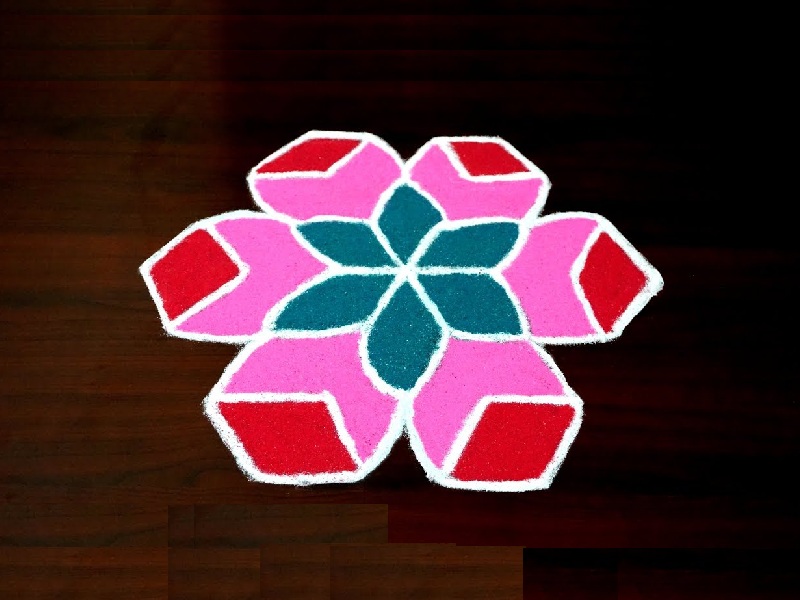
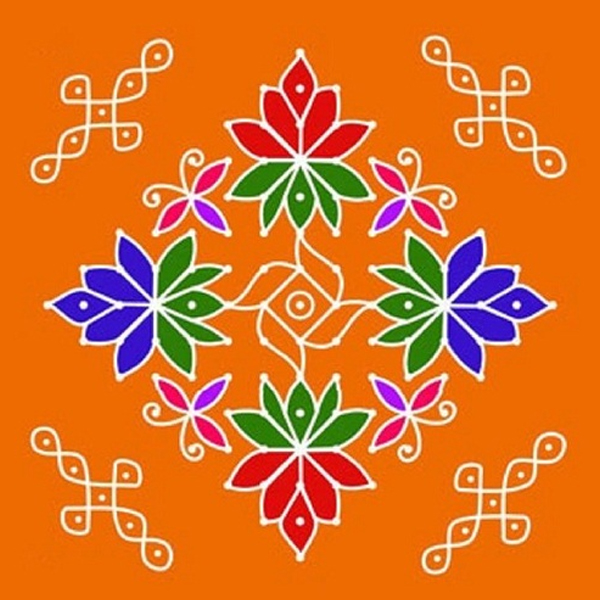
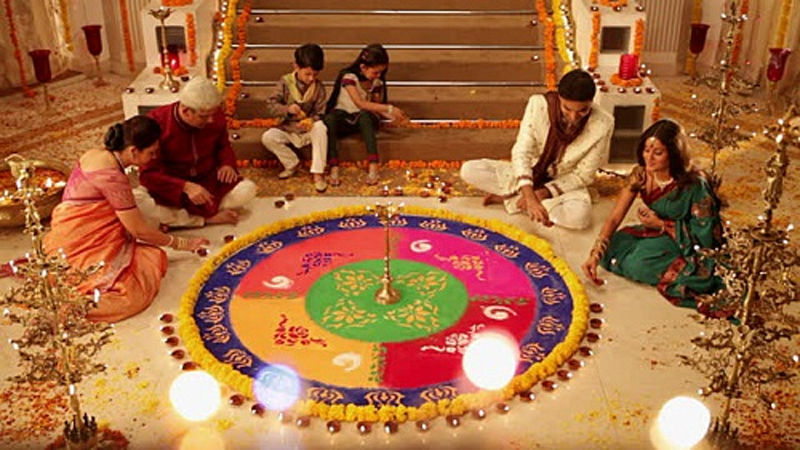
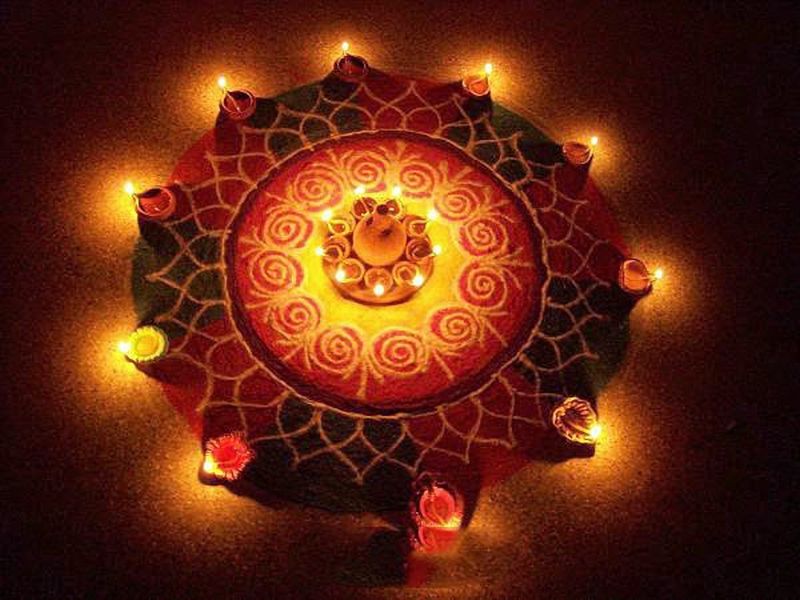
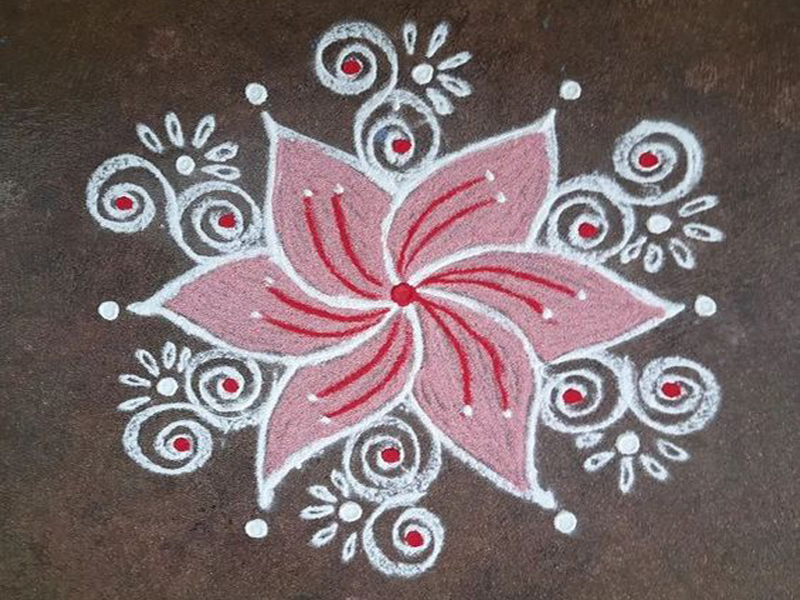
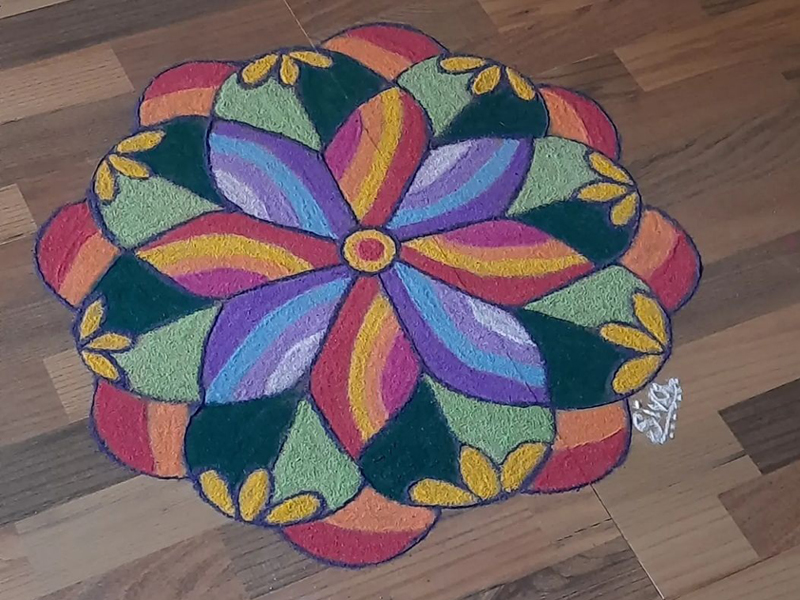
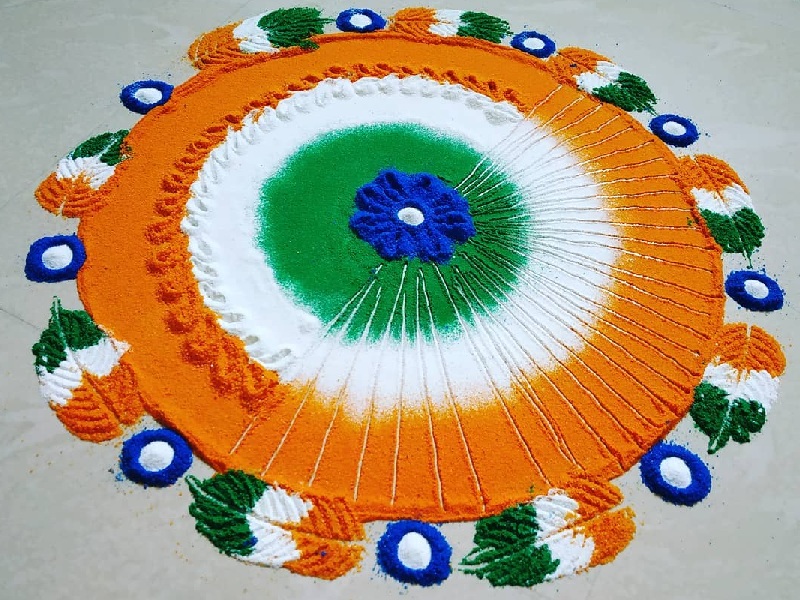
5. Rangoli Designs With Colours on the floor:
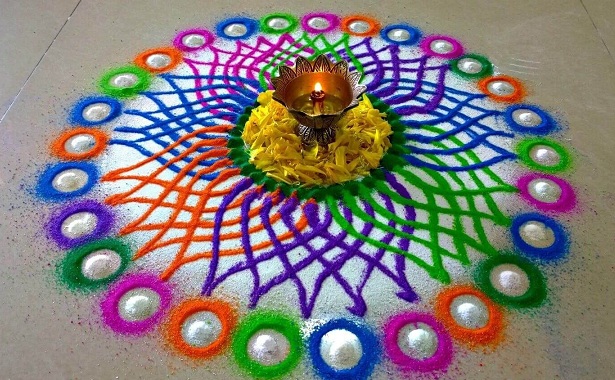
Check out this colourful Rangoli design that requires very minimal effort. The output of this design is sure to leave you speechless and have an illusion of a rainbow on the floor.
- Draw 3 circles as shown. The innermost circle should be in the center, and the 2nd and 3rd circles should be drawn with one hand gap.
- Draw dots with bright green as shown on the inner circle.
- Using multiple colours, draw the shape of petals between the inner circle and the 2nd circle.
- These petals must coincide with each other, as shown.
- Fill the gap between petals with white colour.
- Outside the 3rd circle, draw multiple circles to cover the entire circular area with multiple colors.
- Fill the circles with white colour.
- You can fill the inner circle with real flower petals for a dramatic effect.
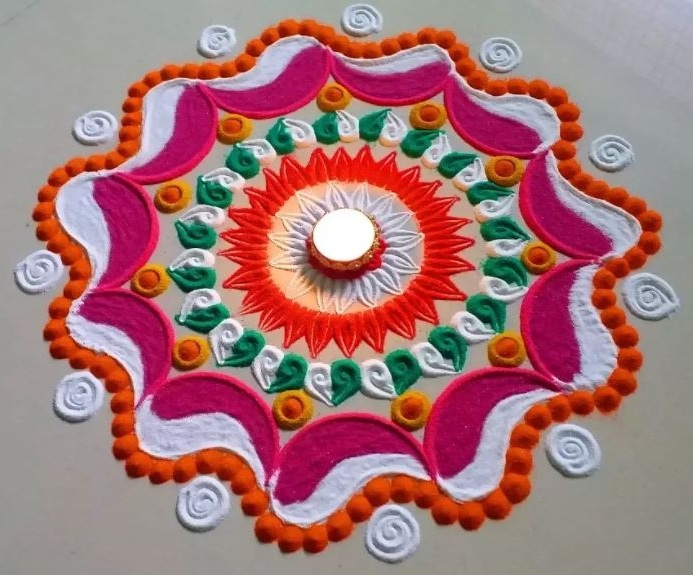
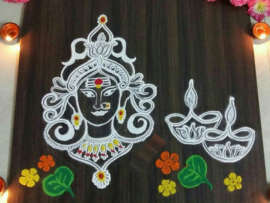
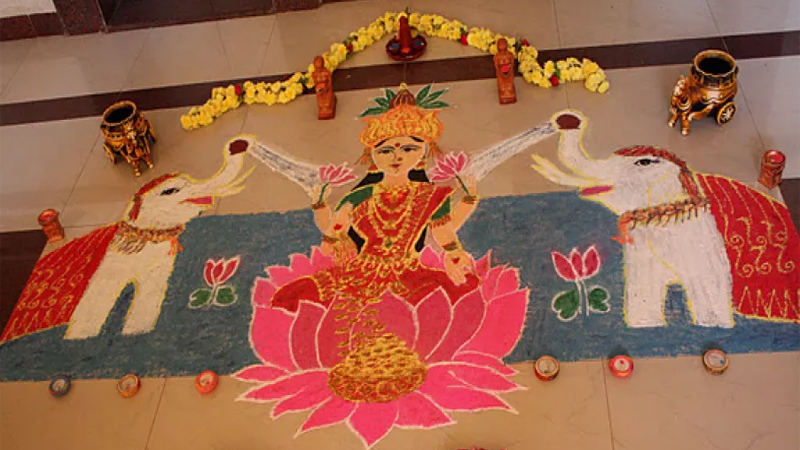
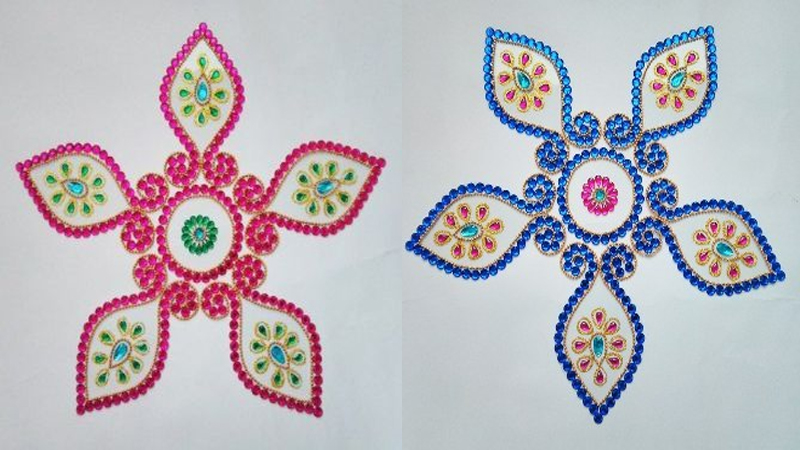
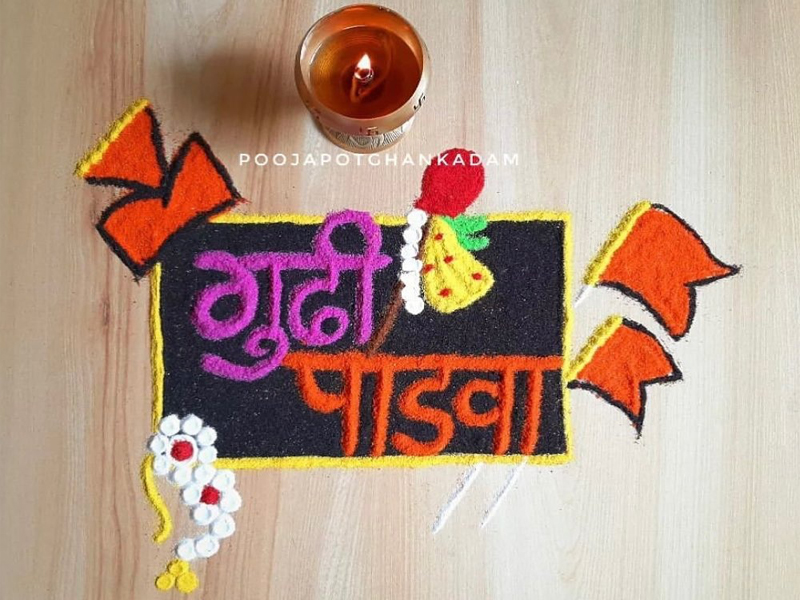
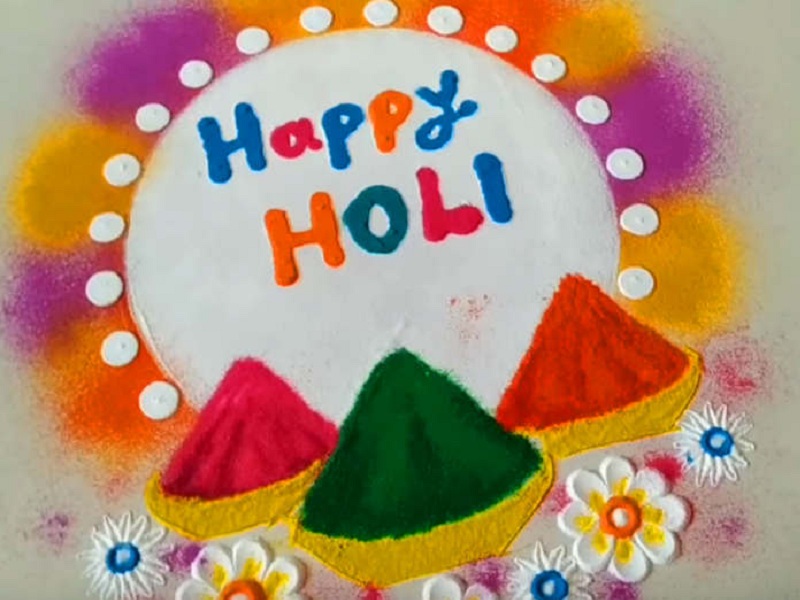
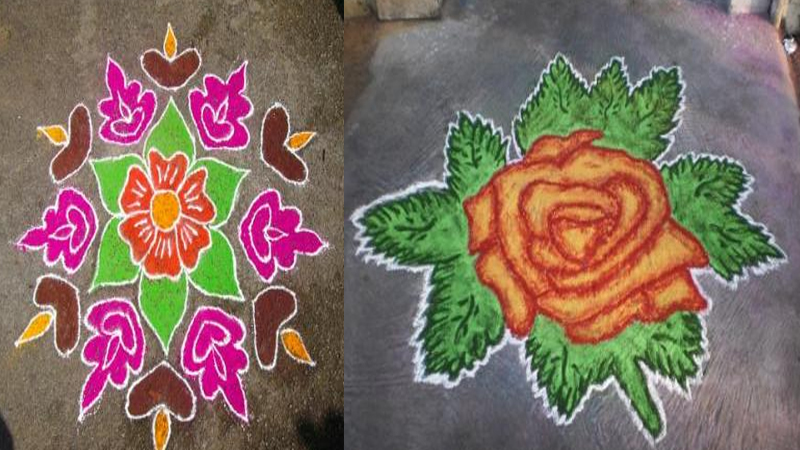
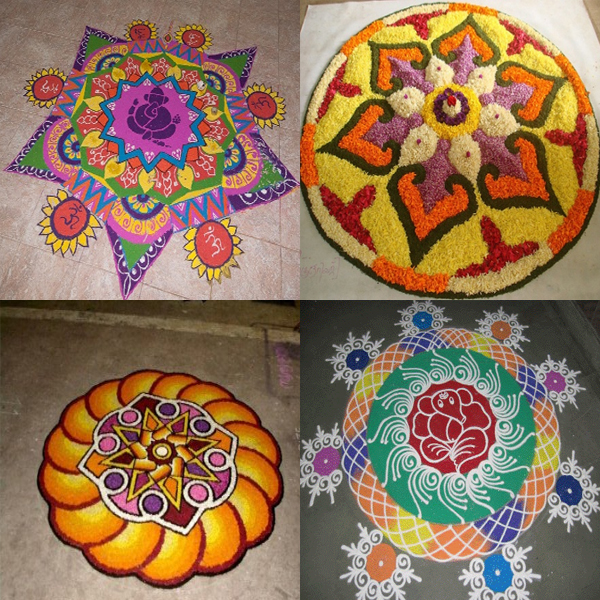
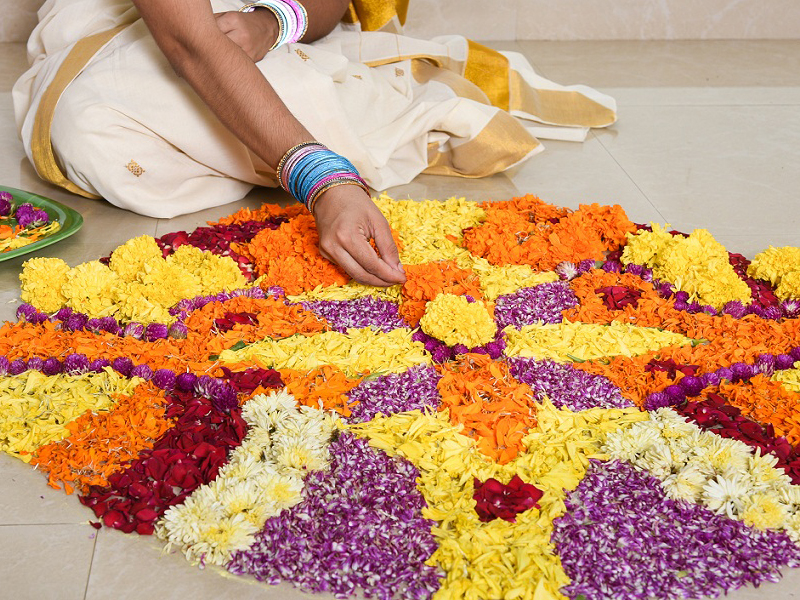
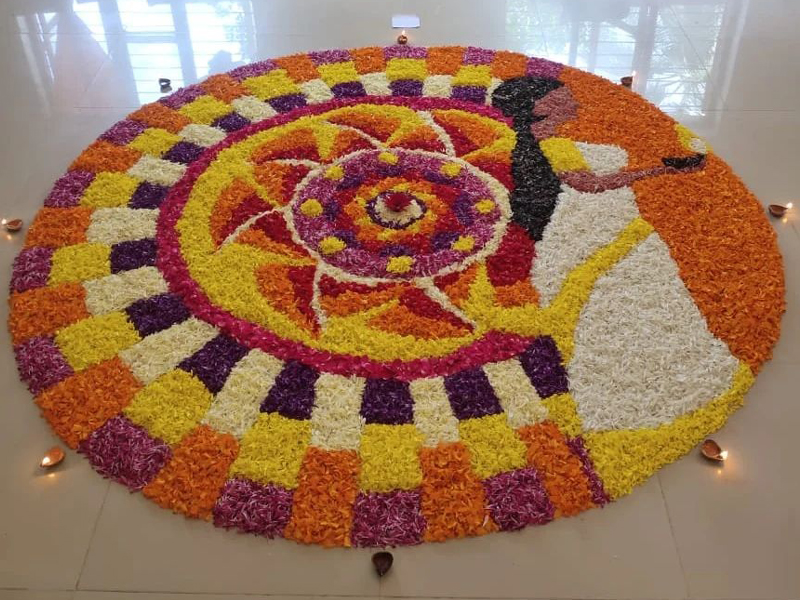
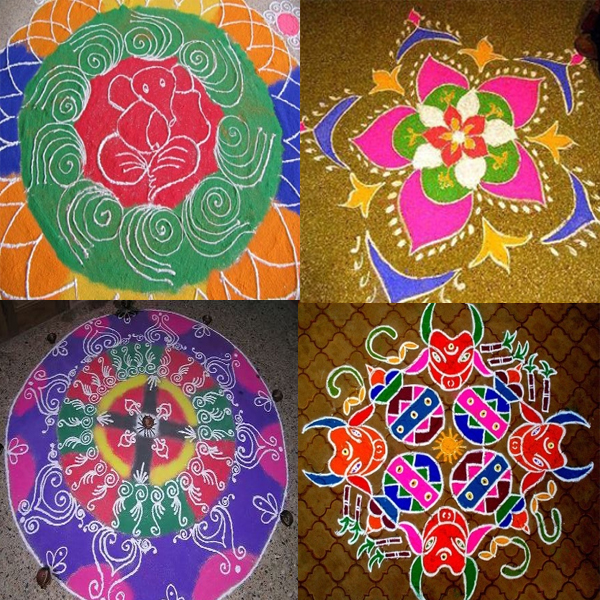
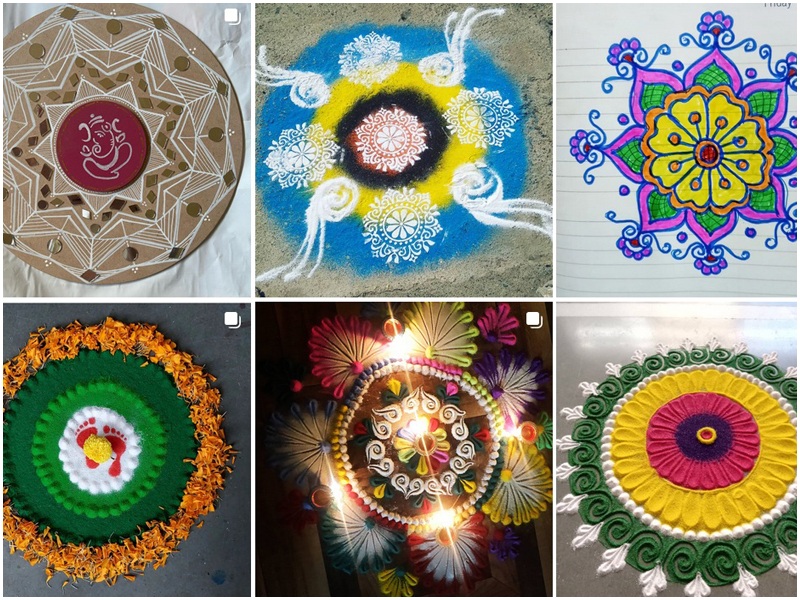
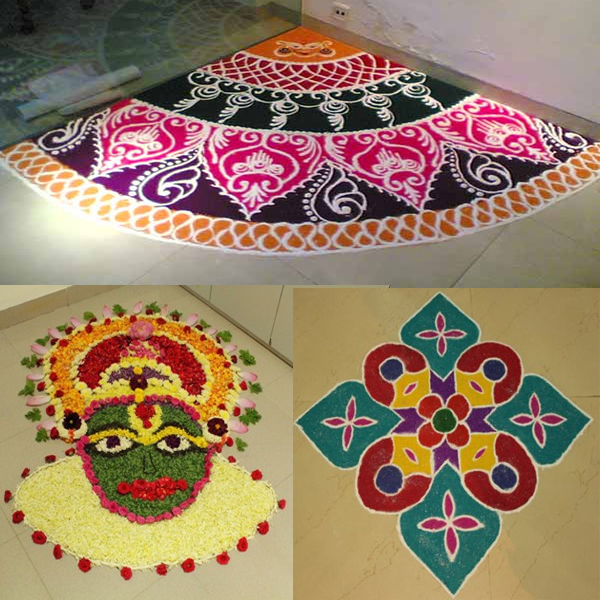
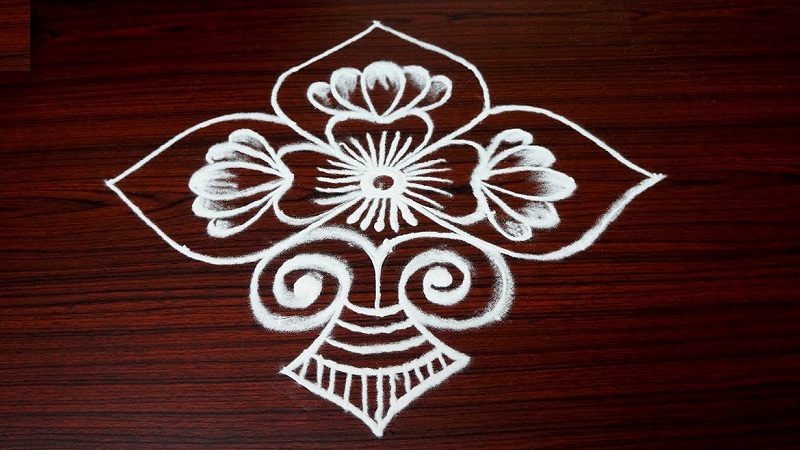
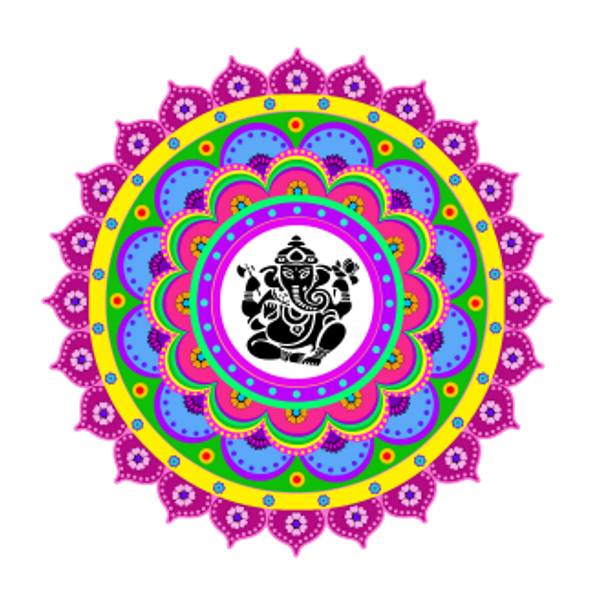
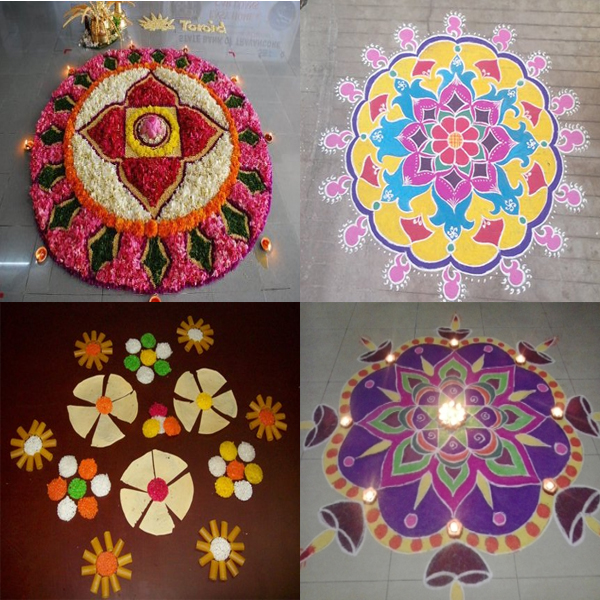
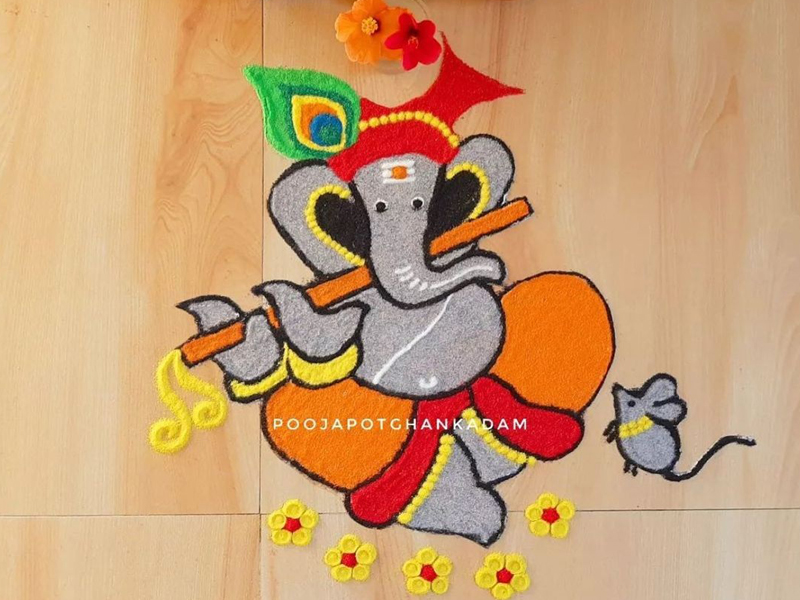
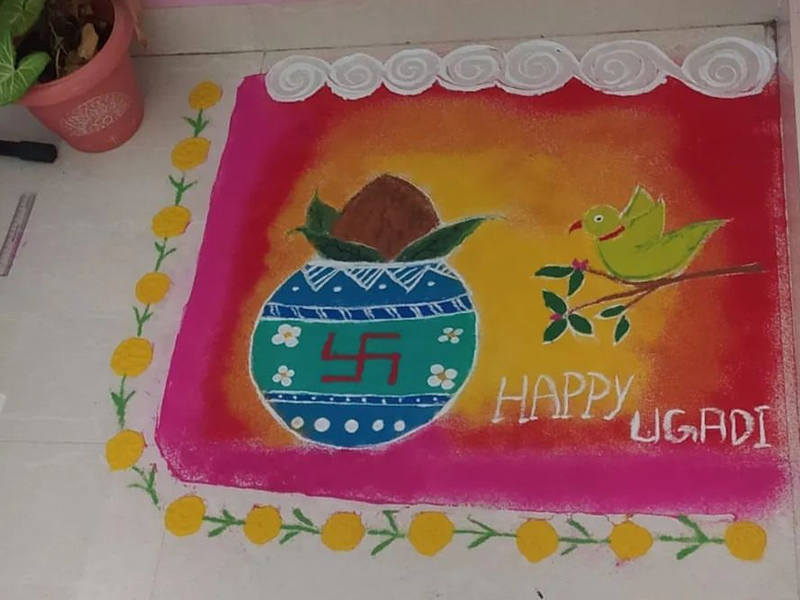
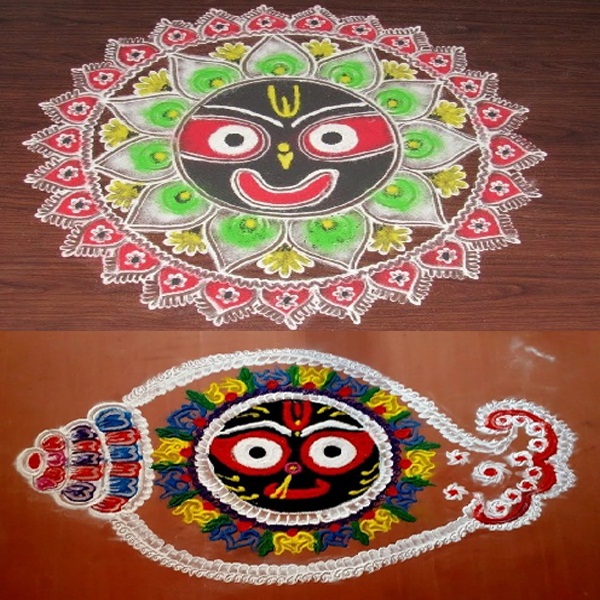
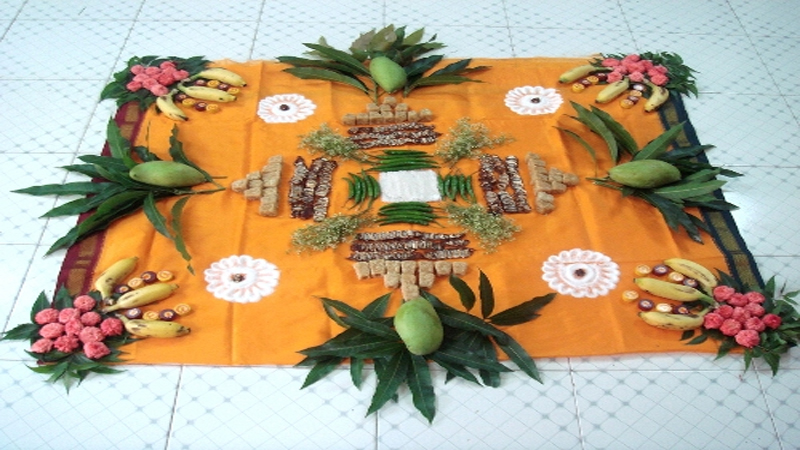
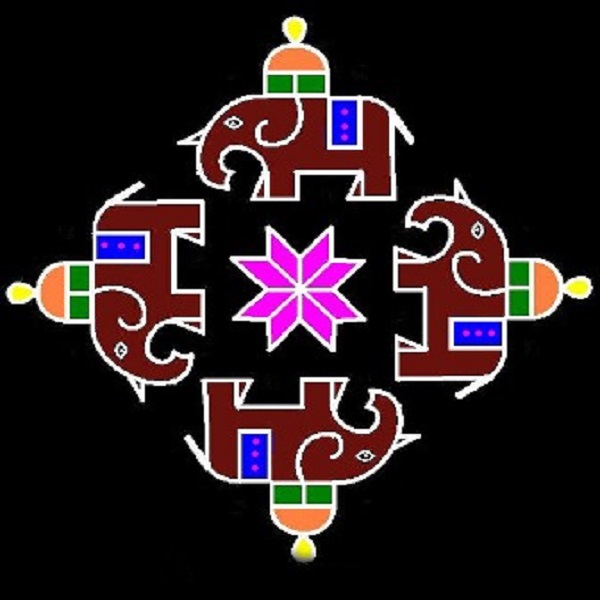
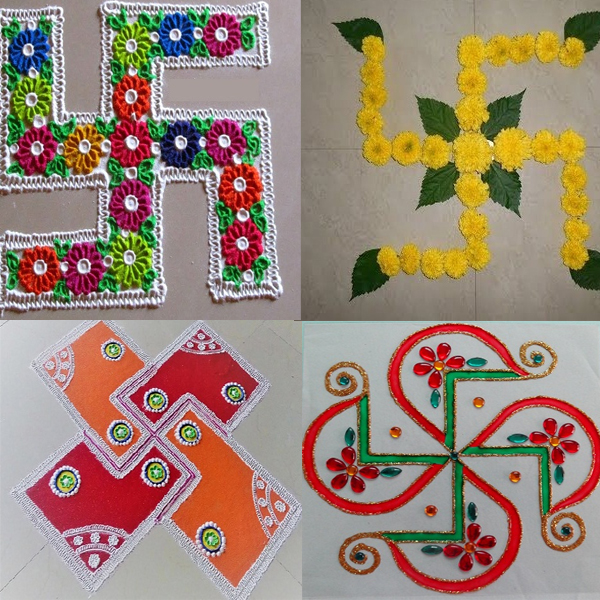
6. Rangoli with Flower:
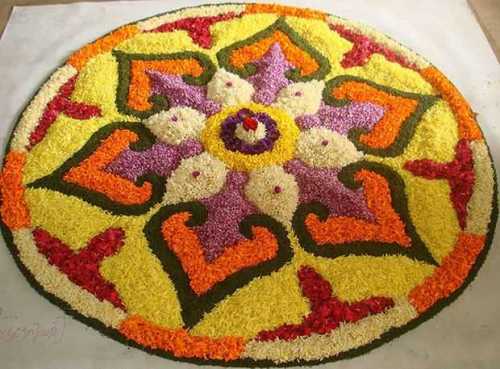
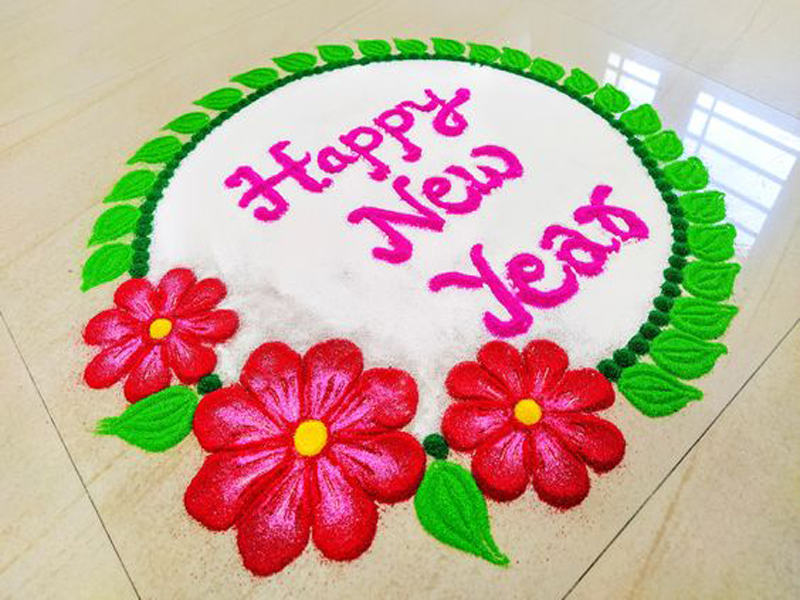
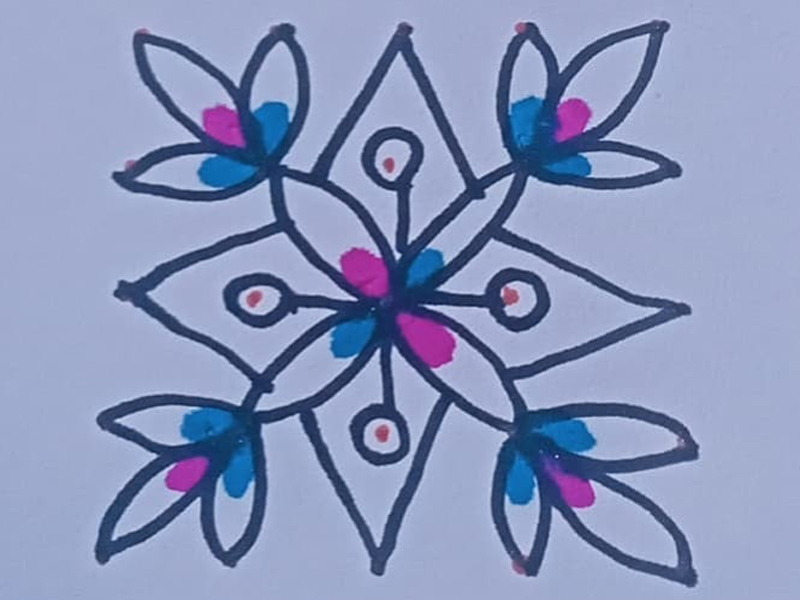
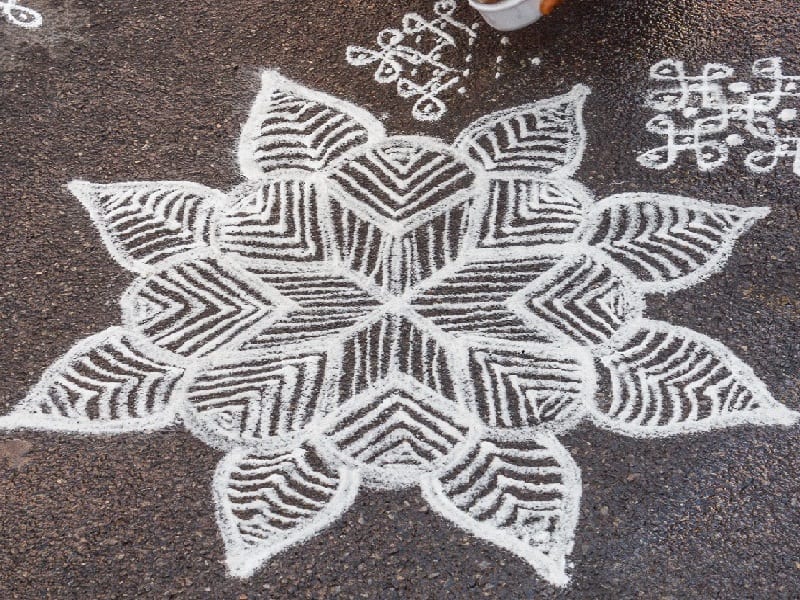
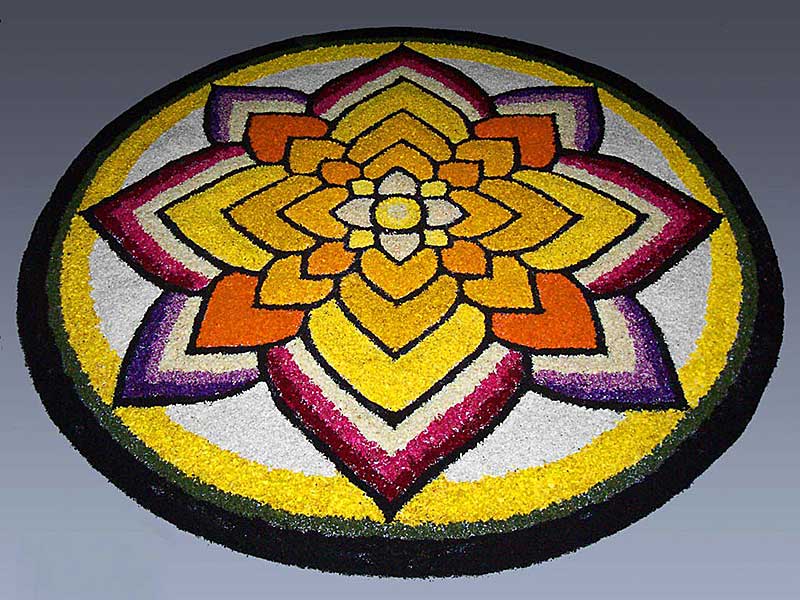
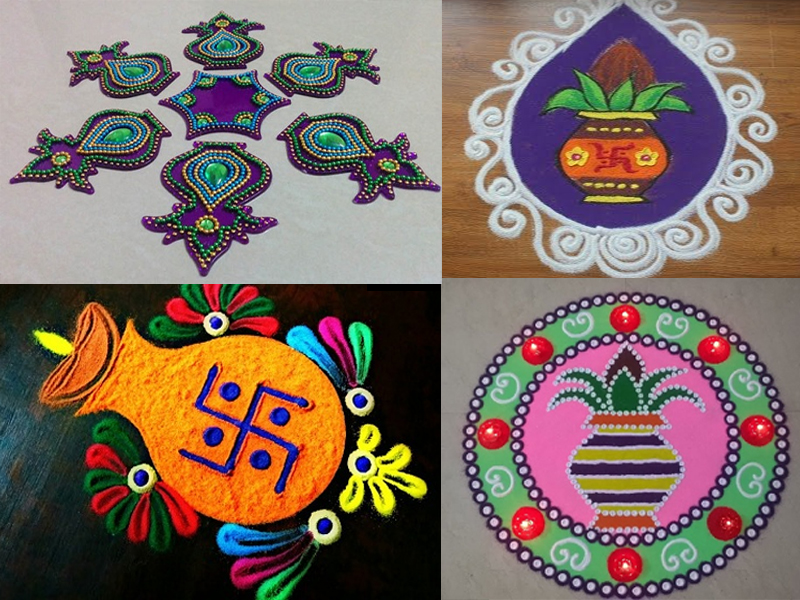
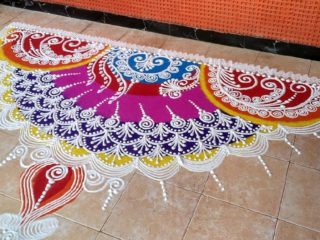
7. Floral Rangoli Design:
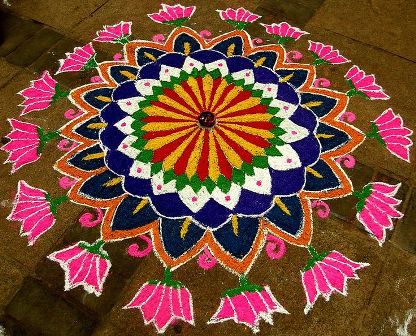
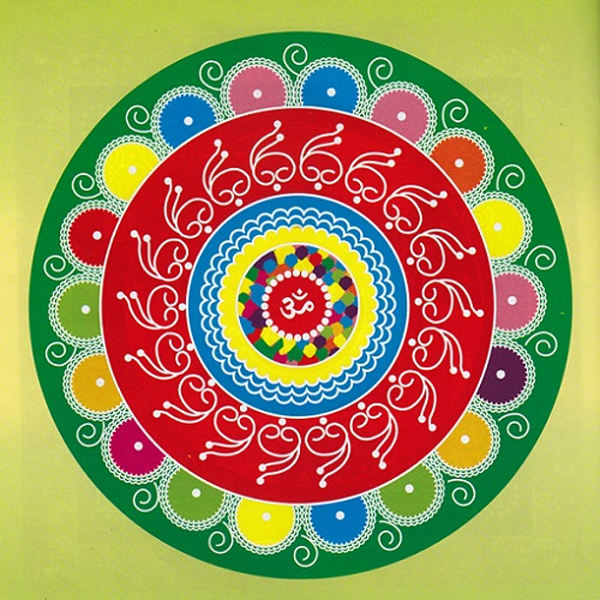
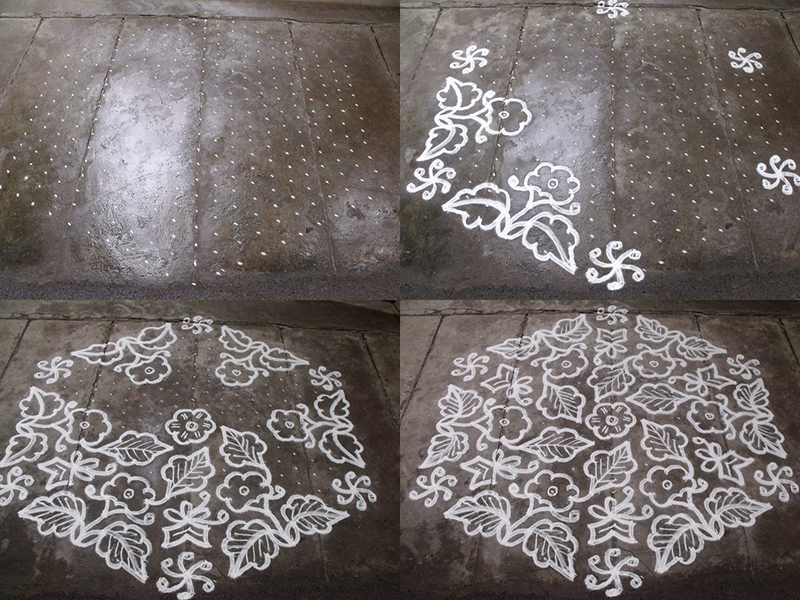
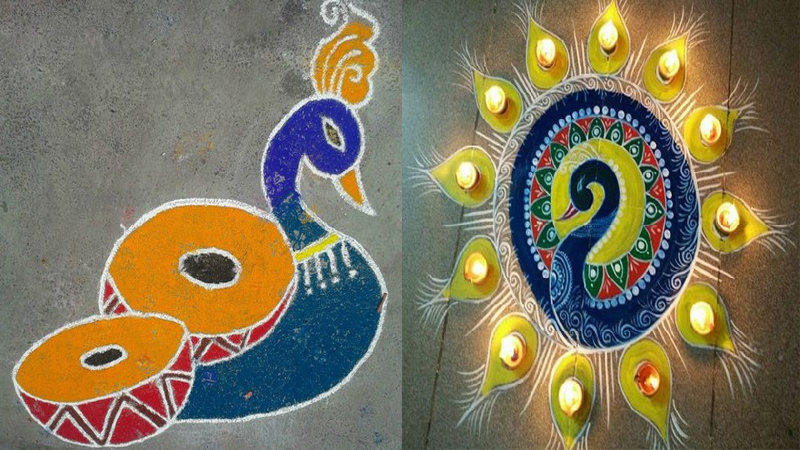
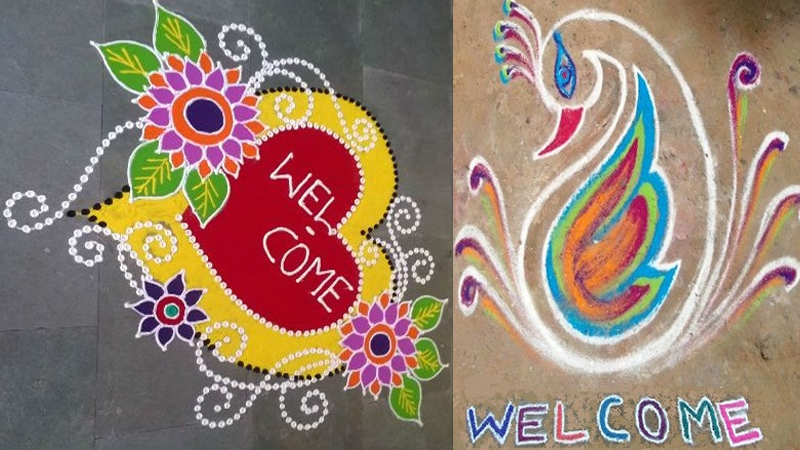
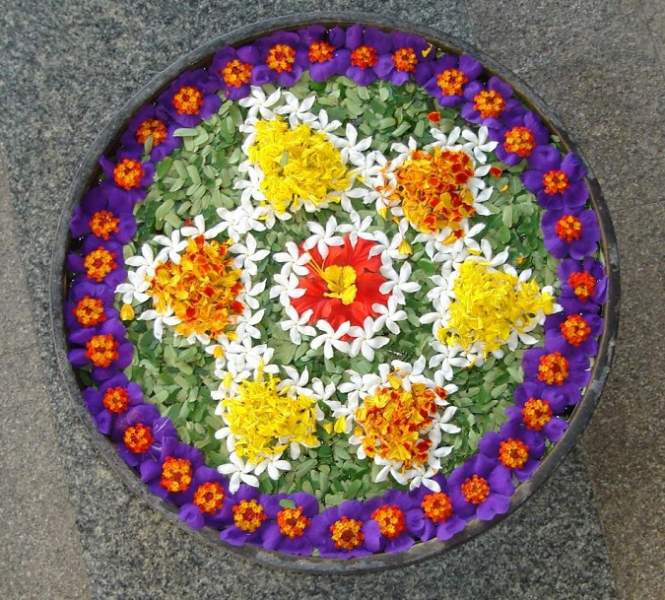
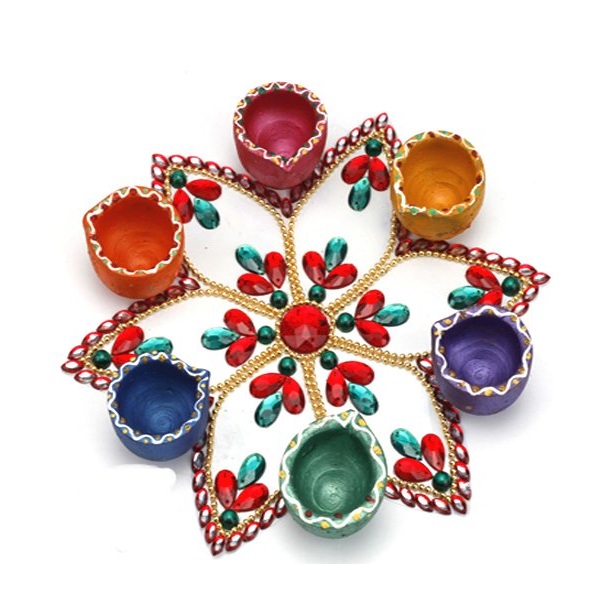
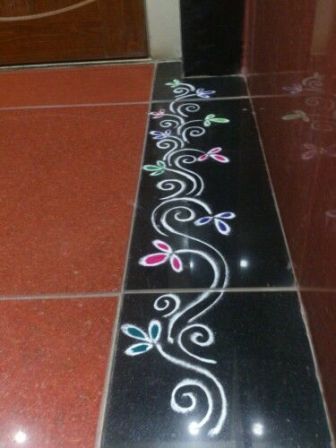
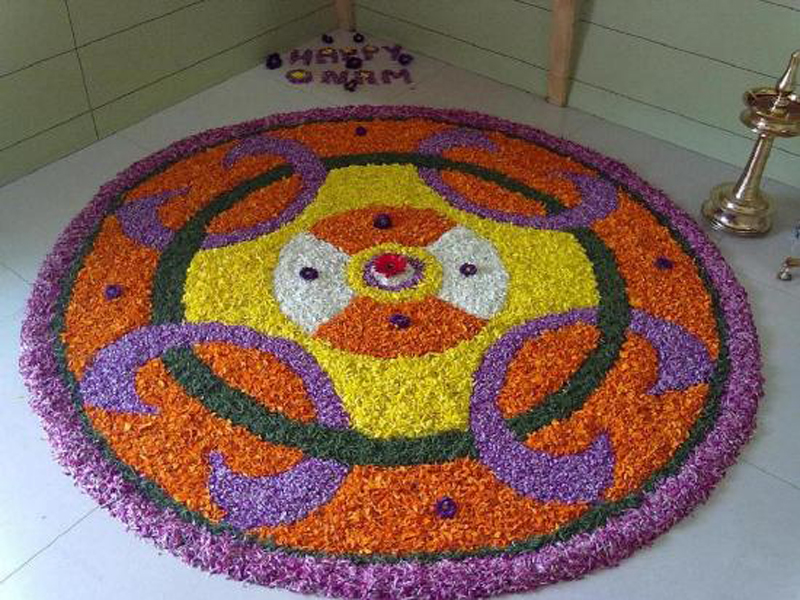
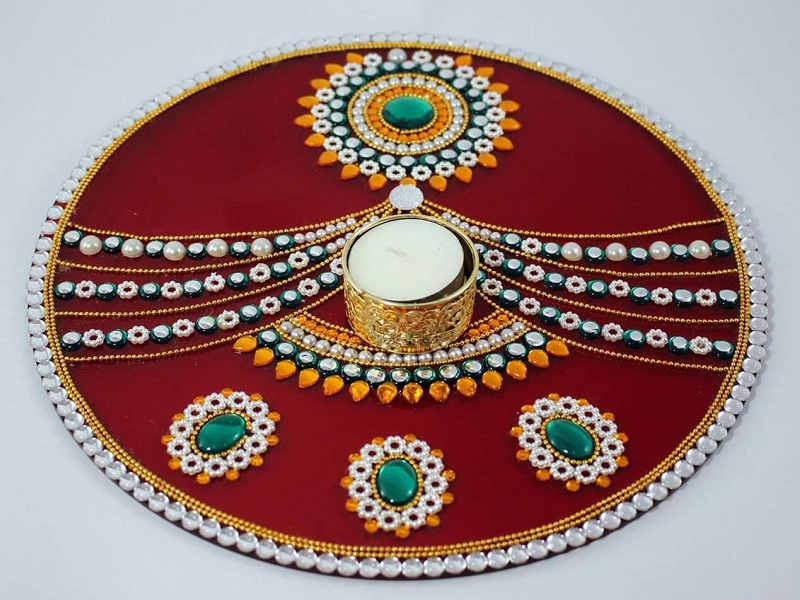
8. The Circular Rangoli Design:
See More: Best Indian Rangoli Designs
By now, we are sure you might have gathered a fair idea of creating that perfect Rangoli. Whether a beginner or a professional, remember that Practice alone makes you perfect. So, start with a cheat sheet and slowly work on your Rangoli skills. You don’t always have to create stereotype designs. Stick to the basics, but make your mark with some alluring designs.


