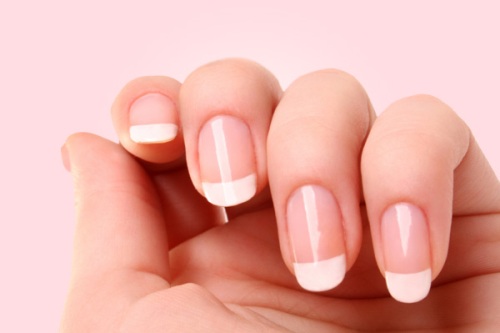
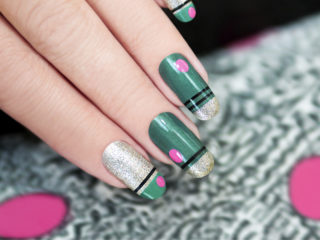
Acrylic nails are very much into fashion. They present nails in a variety of colours and designs. If acrylic nails are maintained and applied perfectly, they can stay for years. However, removing them may possibly hurt, so you have to take proper care while removing them. If you are searching for How to Remove Acrylic Nails? then certainly you’re at the correct place! Follow the directions with great care to stay away from any mistake.
File the Acrylic Nails Away:
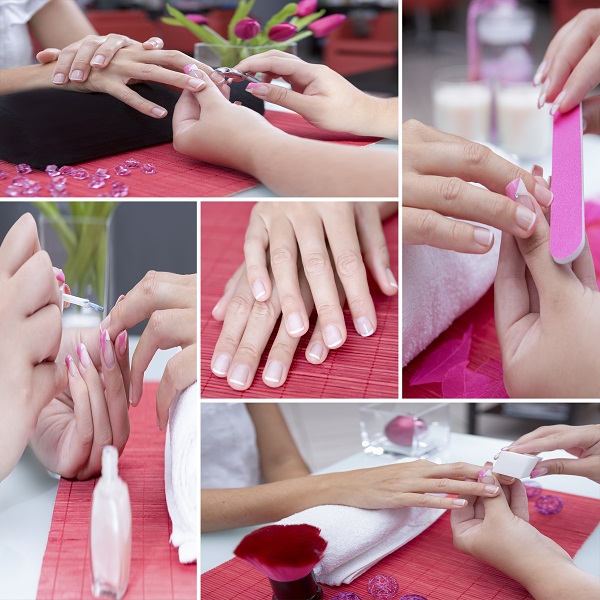
How to Remove Acrylic Nails at Home:
1. Trim your Nails:
It is important to trim the tips of your nails to minimum and to do so use a nail clipper. Trim down as much of the acrylic as possible. If you are finding this difficult then stop and move to the next step.
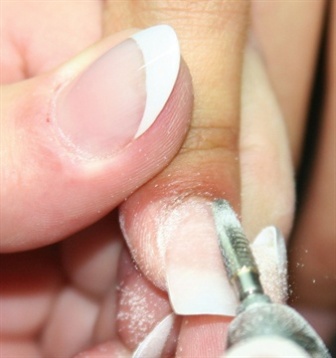
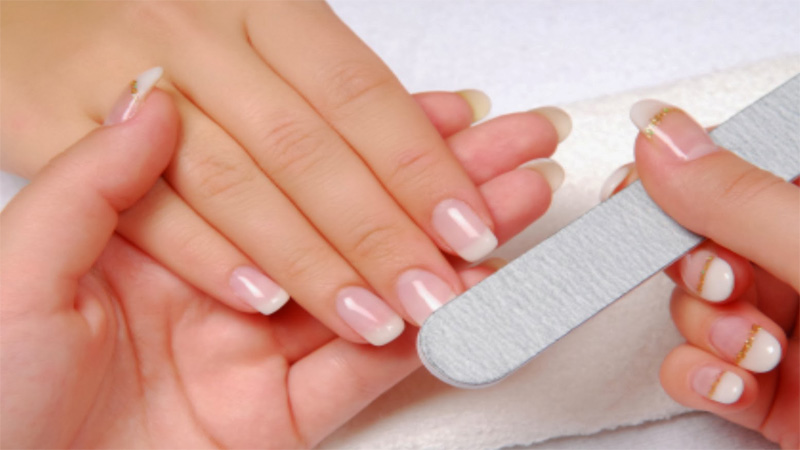
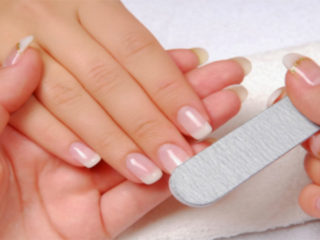
2. File your Nails:
File off gel sealer with a file or nail dimmer. Use the right side of the tool to file down each acrylic nail. You can file away enough acrylic so as to make your nails look almost acrylic-free. Keep filing the acrylic until the layer overlaying your natural nail becomes thin. Put your effort on one nail at a time and carry on until you’ve filed away as much of the acrylic from each nail as possible. Once you have faded away all traces of the acrylic continue to the next step.
3. Pry up the Edge of an Acrylic Nail:
Use a cuticle pusher to remove acrylic from the edges. Try to do it little by little as if you try to pry off too much it will tear off your natural nail. Once you’ve lifted the edge, put the tip of a cuticle scissors below it and start cutting the acrylic. Go on with lifting the edge and cutting the acrylic until the entire acrylic gets removed. Repeat this course for each nail until the acrylic is totally gone. Use a nail buffer to take out the remaining acrylic. Shape your nails with a nail clipper and file.
See More: Peacock Feathers On Nails
Pull it up with Dental Floss:
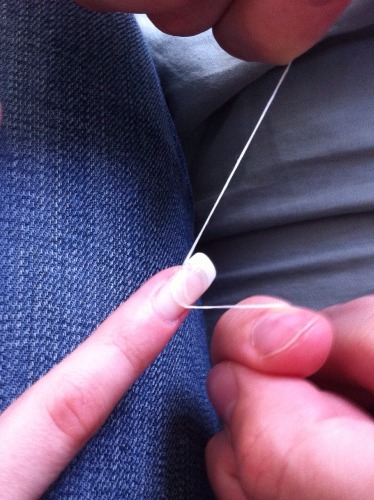
1. In this method we need to pull the dental floss under the nails. And since to pull the dental floss we use two hands, this method will require a second person for help.
2. Pry up the bottom edge of an acrylic nail. Just like the previous method use a cuticle stick to lightly pry up the whole bottom edge. Now tell your partner to slide the dental floss under the edge of the nail. Now hold the two ends of the dental floss in each hand.
3. Slide the floss back and forth under the nail. Tell your partner to slide the floss back and forth and pull it up, as a result the nail will begin to come loose. Maintain this motion until the acrylic nail comes off from your natural nail. Make sure your partner doesn’t yank the floss upward too quickly; you don’t want your natural nail getting torn off with the acrylic. Repeat the process with every nail until they’re all removed. Use a buffer to clean up your natural nails, which may have worn out from the process.
See More: Nail Art In Pink Colour
Soak The Acrylic Nails in Acetone:
Those who are learning how to take out acrylic nails from home, the proper and safest way to remove acrylic nails is by using a solvent. Removing acrylic nails should only be done with a solvent. The most popular solvent for this job is acetone. Acetone removes acrylic nails in a most easy and affordable way. It does its job by breaking the bond of the polymer chains. If you are having a broken or sore skin then do not use acetone as this will hurt and can cause ache.
1. Clip your Nails:
It is important to trim the tips of your nails to minimum and to do so use a nail clipper. Trim down as much of the acrylic as possible. If you are finding this difficult then stop and move to the next step. Make sure you don’t grab some of your nail bed as it will bleed.
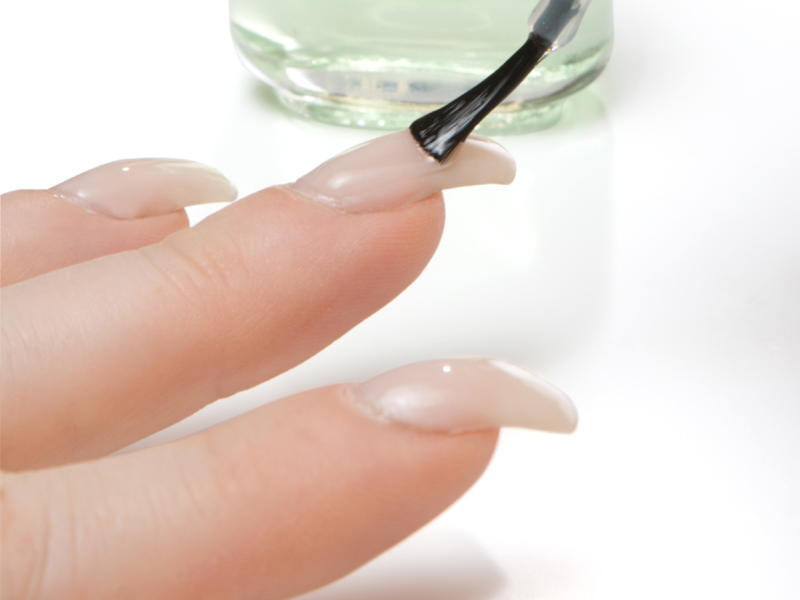
2. File the Topcoat off of the Nails:
With the help of a fine-grade buffer file off the paint and take out as much of the acrylic as possible.
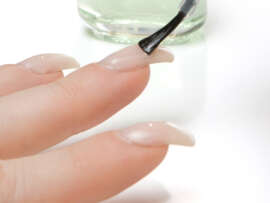
3. Apply Petroleum Jelly to the Skin Surrounding your Nails:
Acetone is hard on skin, therefore it’s important to prevention. This step will prevent your skin from becoming irritated by the acetone. Apply a little petroleum jelly to the skin close the nails, it will take care of the area from the harsh consequences of acetone. Don’t miss out this step as you might face severe deterioration of the skin due to the drying effect of acetone
See More: Home Pedicure Tips
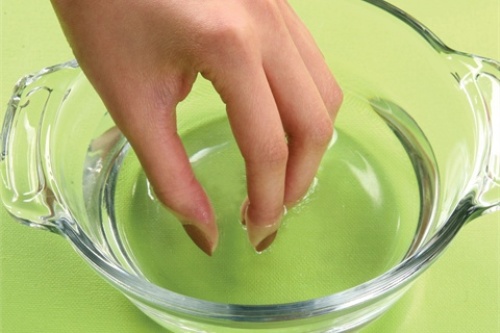
4. Pour the Acetone into a Bowl:
Use a 100 percent acetone. Bring out a glass bowl and pour some of the acetone in it. Make sure that the bowl top is wide enough to put your hand in it. Just pour enough acetone in it to cover the nails. Few people like to put the bowl in a larger bowl filled with lukewarm water, to warm the acetone which makes it work faster.
5. Apply the Acetone to your Nails:
Put the tips of your fingers into the bowl containing acetone. Leave it in for 15 minutes and then check it to see whether the acrylic has begun to come off or not. If the acrylic nails are still stuck firmly then leave it in for an extra 10 to 15 minutes so that the majority of the acrylic gets dissolved by then.
6. Remove the Remaining:
Now take a cotton ball and soak it in a nail paint remover solution and wipe it on the nails in order to get rid of the residual artwork.
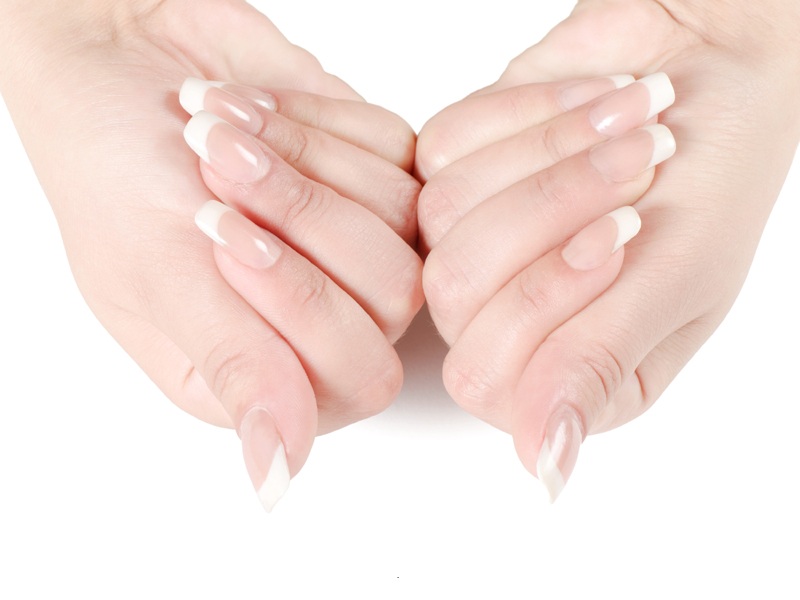
7. Shape your Natural Nails:
Use nail clippers and a nail file to shape your nail and to smooth the edges. To stay away from damages, file in single direction only.
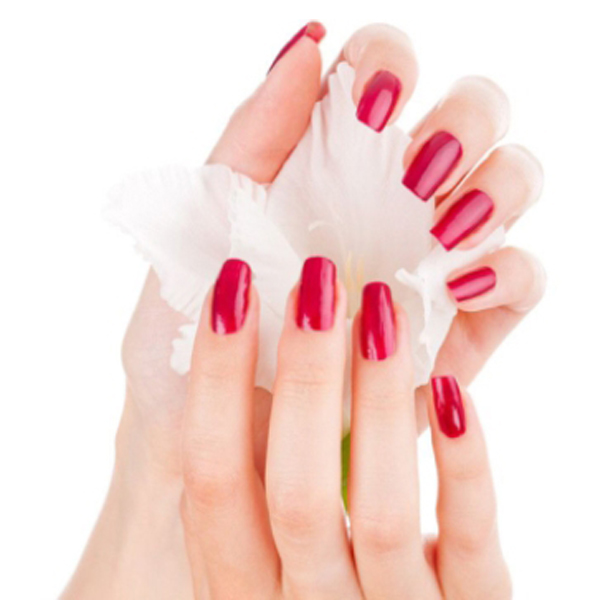
8. Restore the Moisture to your Hands:
Remove the left over with soap and water. Dry your hands and finish by applying a mixture of extra virgin olive oil and tea tree oil to hydrate your nails.


