Neon nail polishes or fluorescent colour nail polishes look totally different from normal nail polishes. They can give your nails a different look than you have always worn. China Glaze has some good neon nail polishes and also other brands. However, you may not get all those neon nail polishes in the Indian market right now. However if you can grab hold of some neon nail polishes, then you can try out various designs on your nails with those. They look fantastic when combined with other nail art.
If it becomes impossible to get neon nail polishes, you can try out neon acrylic colours too. However, the result will not be totally top class as it could be with neon nail polishes.
Best Neon Nail Arts Designs:
Here are our top 9 neon nail art designs which you will totally love just as much as we do.
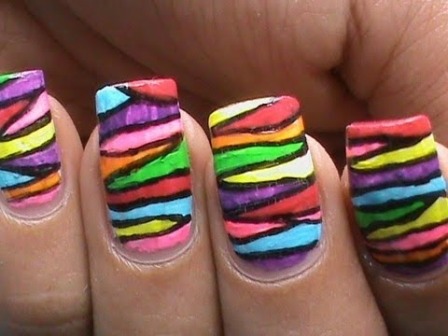
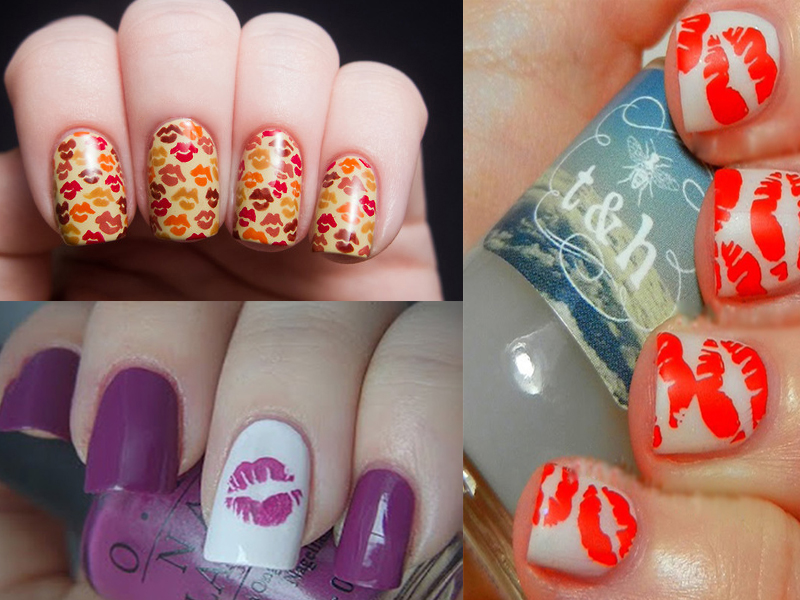
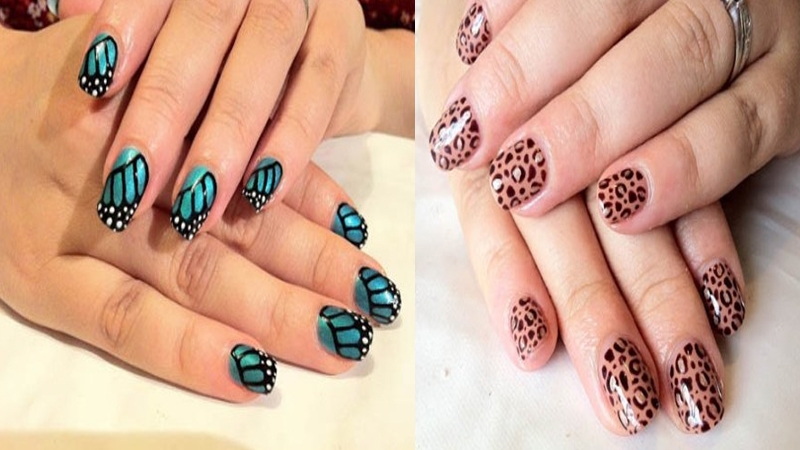
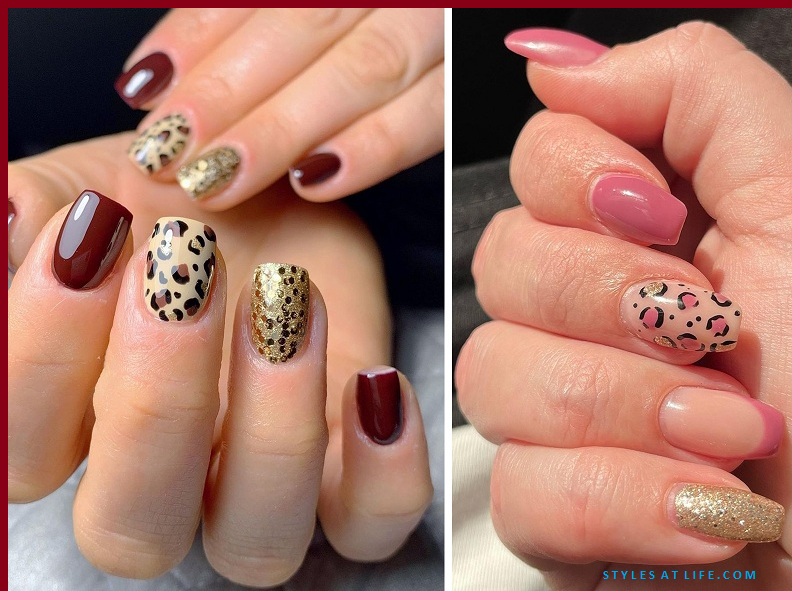
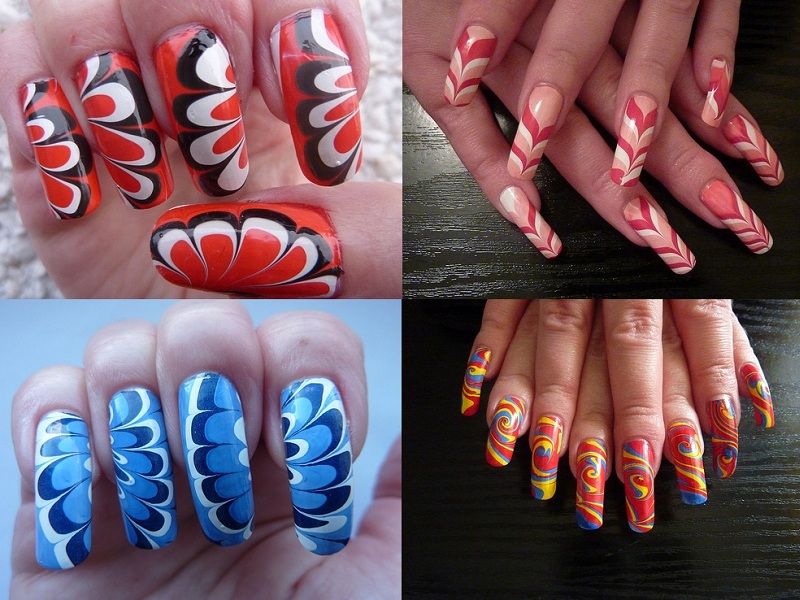
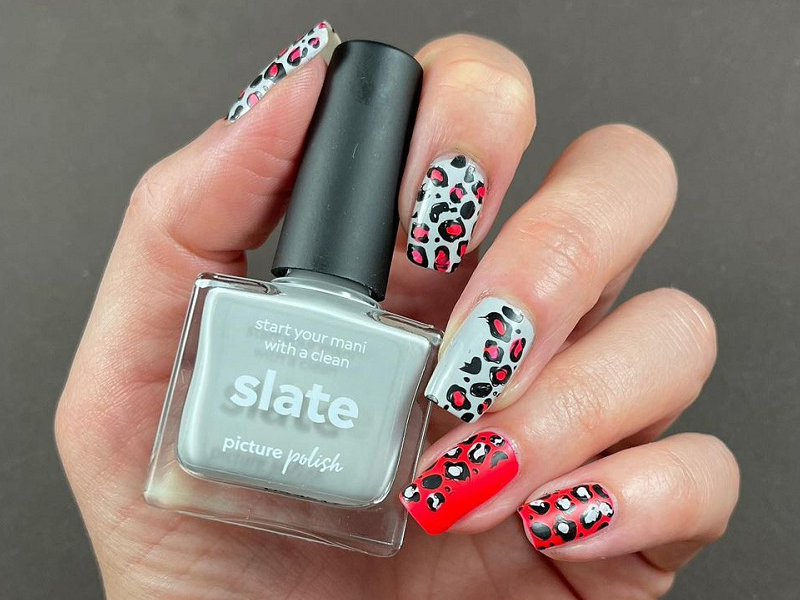
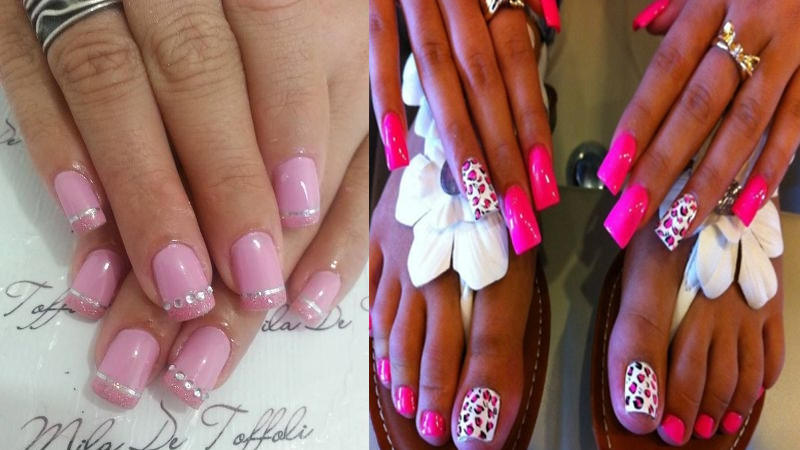
1. Neon Nail Art in Rainbow and Leopard:
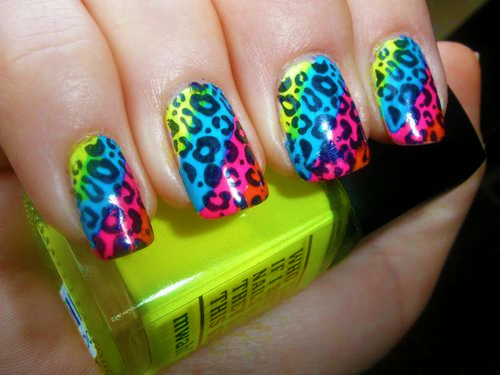
Looks freaky and awesome at the same time doesn’t it? You need to grab hold of 4 neon nail polishes for this design. Red, pink, blue and yellow. Use the nail polish brush to draw up diagonal patterns with the colours. You can next use either a stamping of leopard print from your stamping kit or you can draw uneven semi-circles for the leopard patterns. Would you try it?
See More: Corset Nail Art Designs
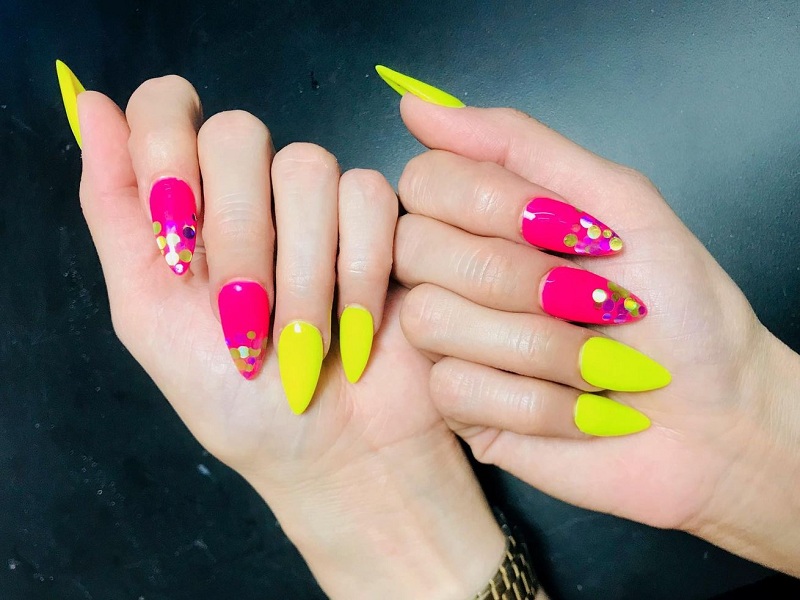
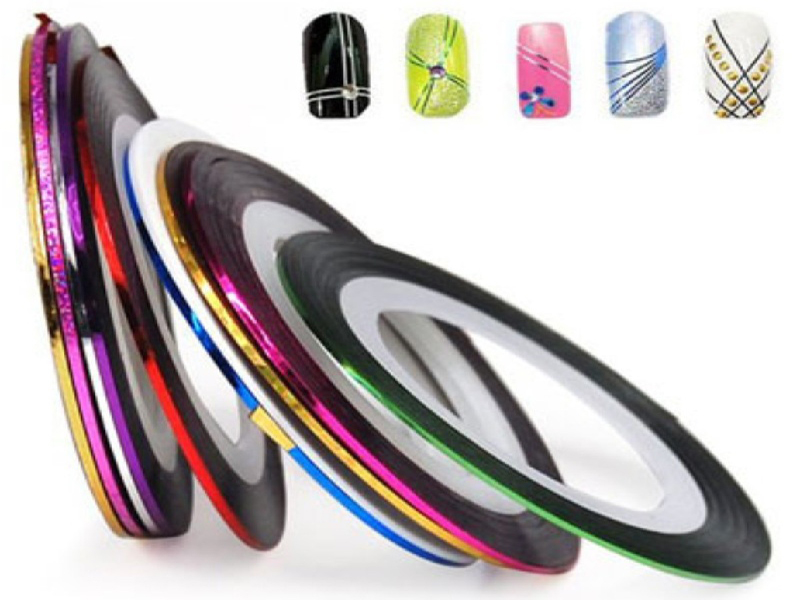
2. Striping Tapes and Neons:
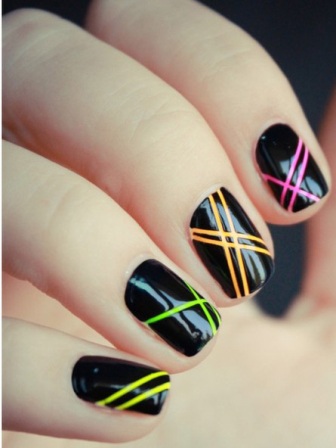
You will need to paint your nails with neon colours for the base for this simple nail art like you normally do. You will need neon colours in pink, yellow, light green and orange for this nail art. Now let the polishes get dry. Cut striping tapes in proper sizes and place them as you see the line designs in the picture. Paint your nails with black nail polish and immediately remove the striping tapes. You will get this nail art. Easy right? Now use transparent polish to finish the design.
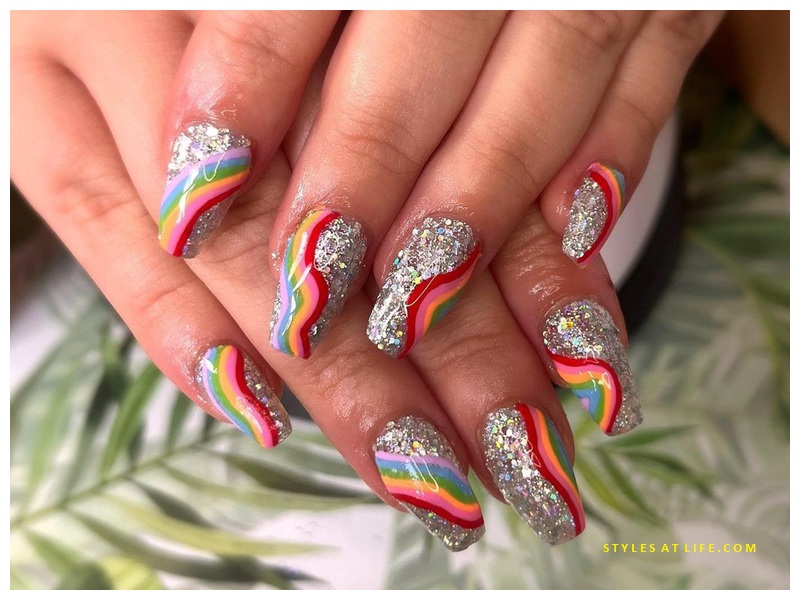
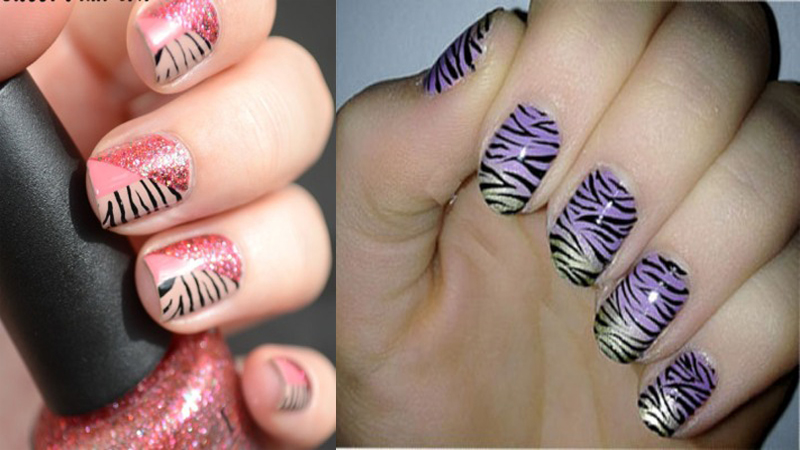
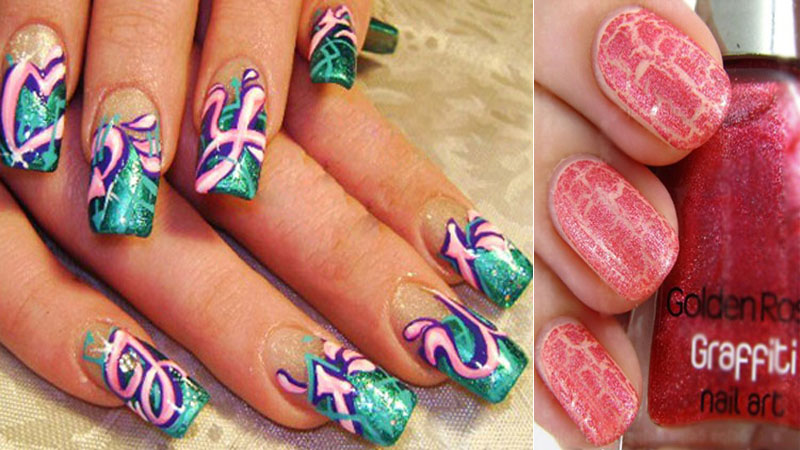
3. Zebra Rainbow Neon Nail art:
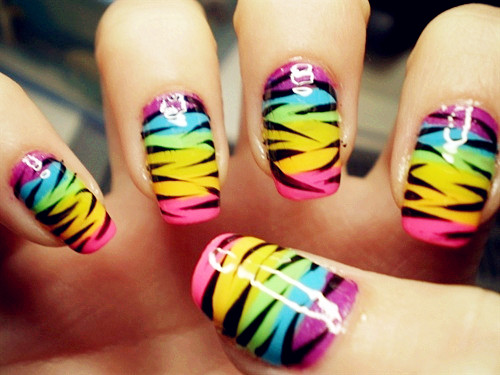
Use 5 neon colours viz. purple, blue, light green, yellow, and pink for this design. Use the polish brush in horizontal ways to paint up the nails in different colours. Use a black stripper or black polish and a nail art brush to draw the zebra designs coming to the centre from both sides. Try it!
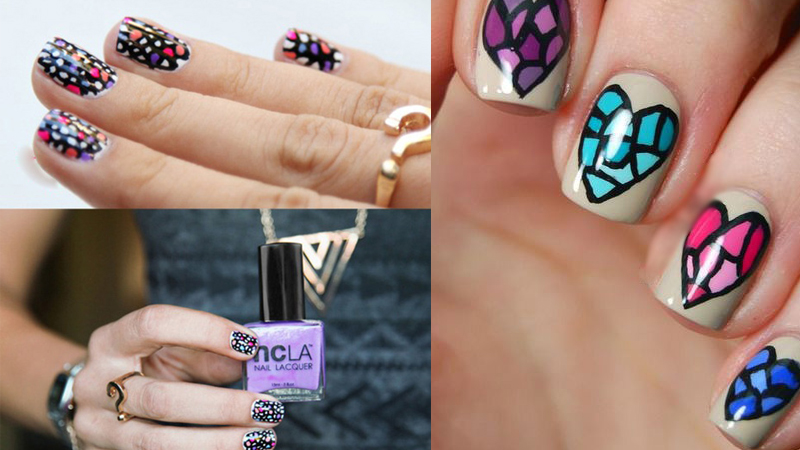
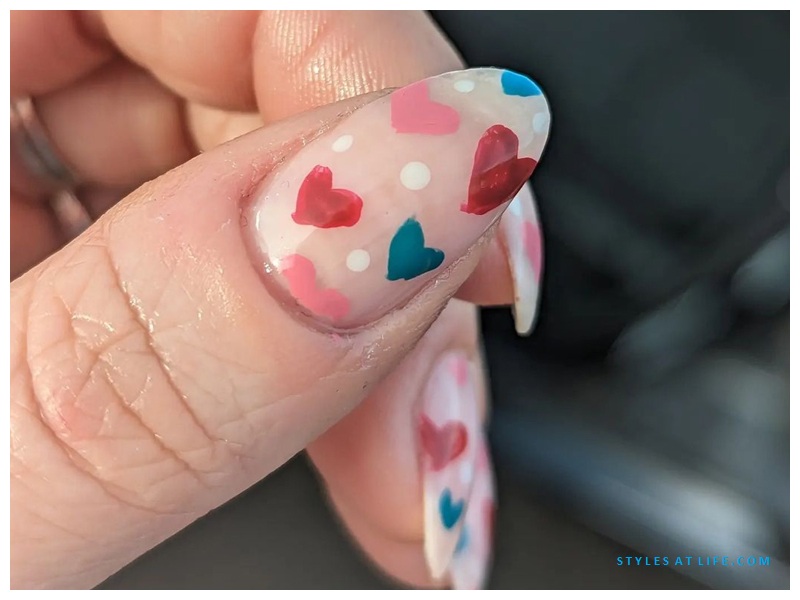
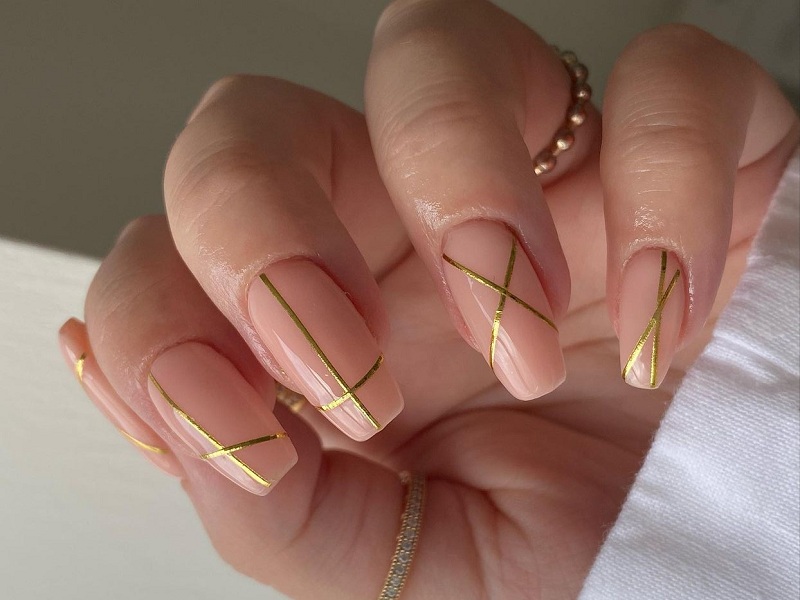
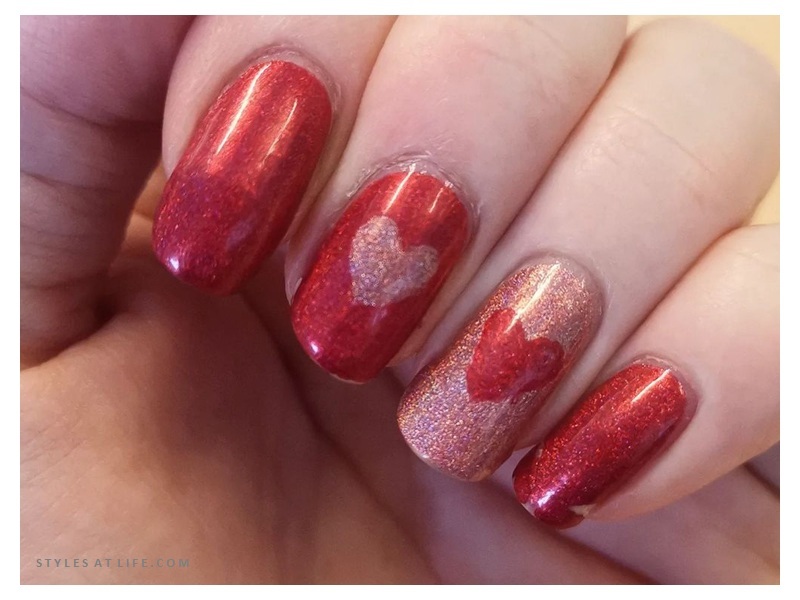
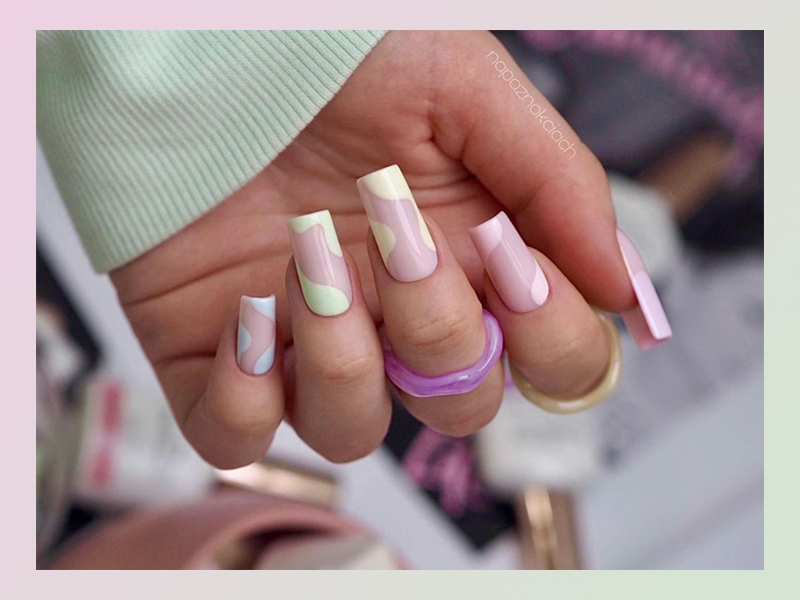
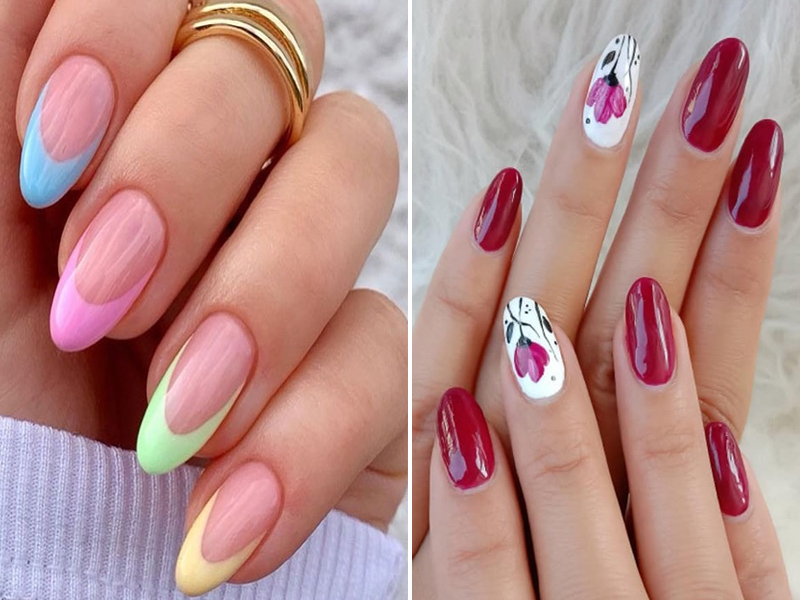
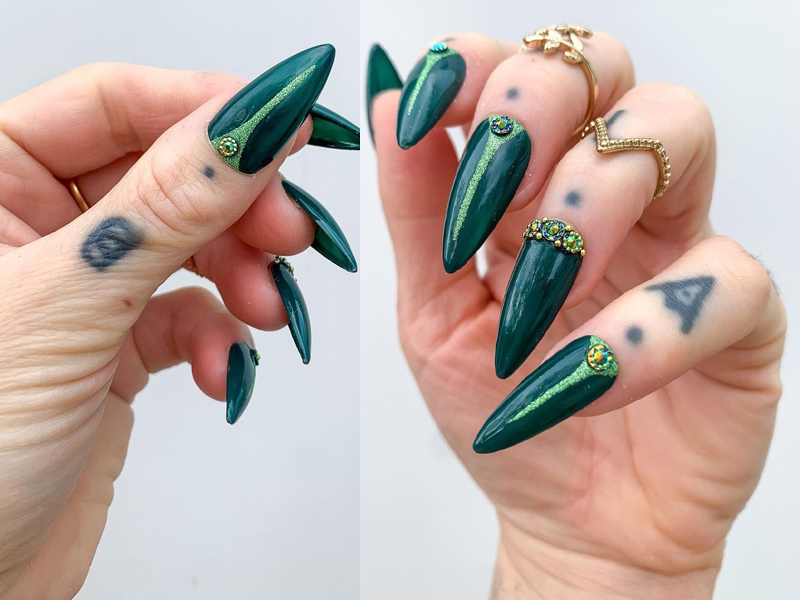
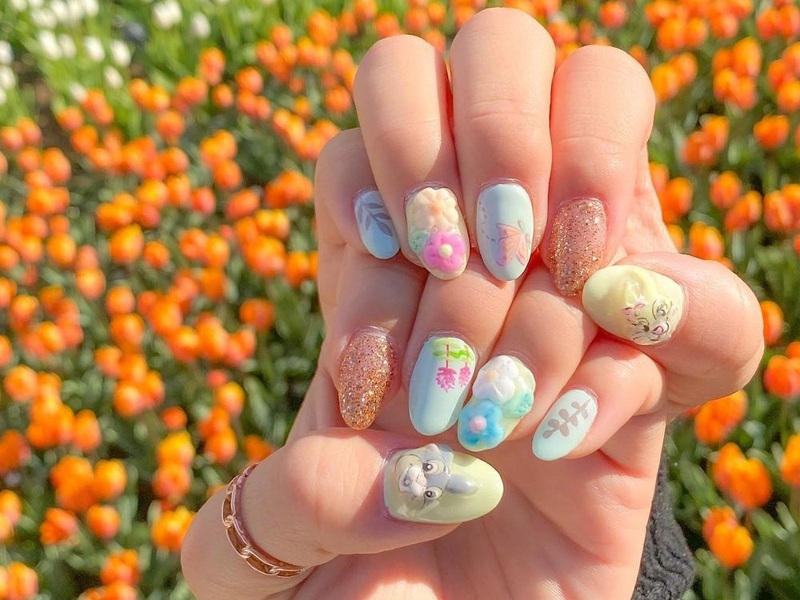
4. Abstract Neon Nail Art Design:
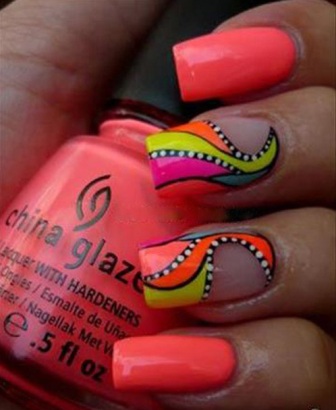
You can try out abstract French tip designs for your nails too. Try this out for your nice hands for painting.
See More: Kawaii Nail Designs
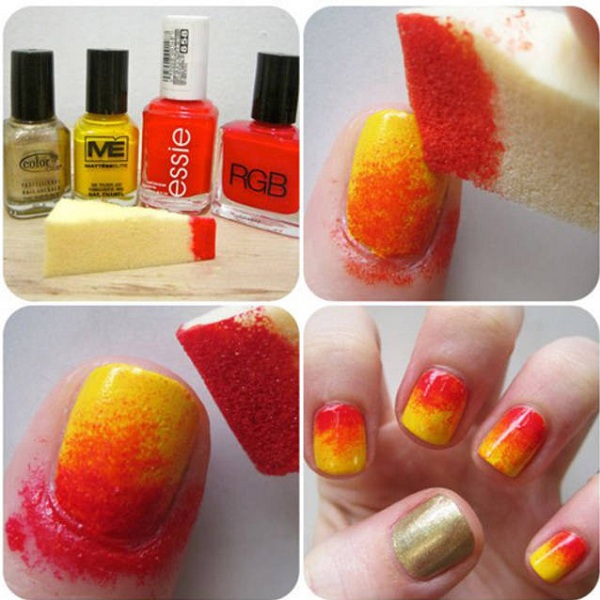
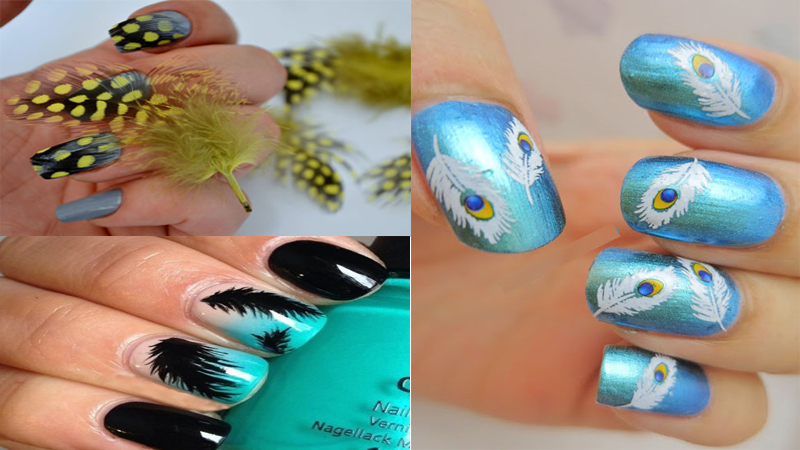
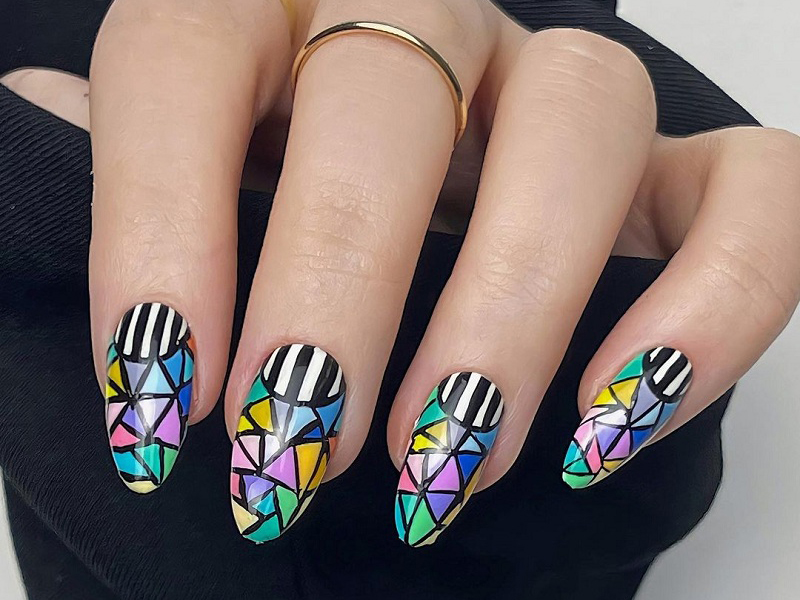
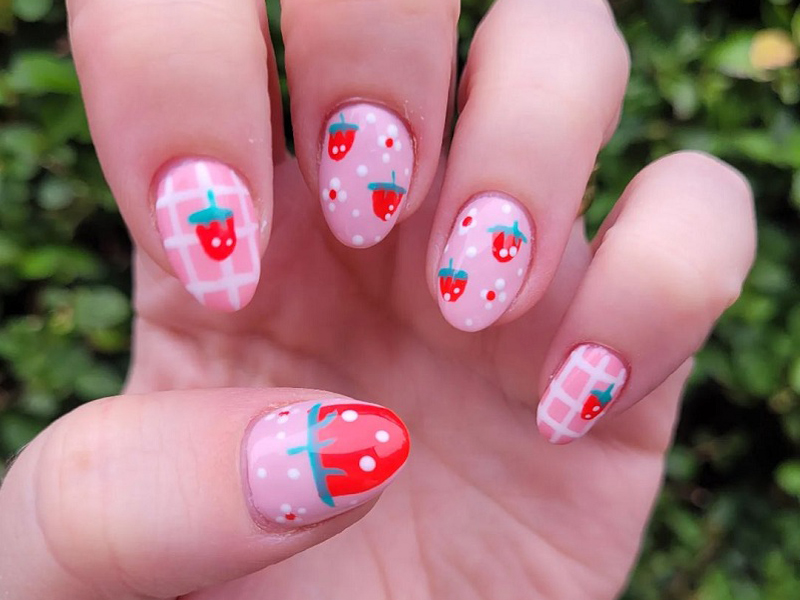
5. Music Waves Nail Art in Neon:
Use a sponge and bright neon colours to sponge up different colours onto the nails. Next, when the nails are completely dry, use a stamping plate or free hand paint the checkered design onto the nails for the music waves effect. Use a transparent top coat.
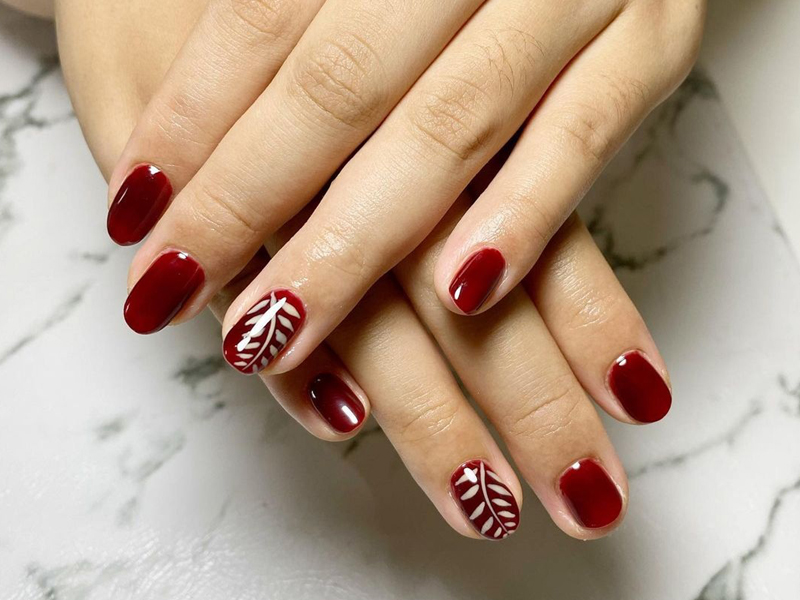
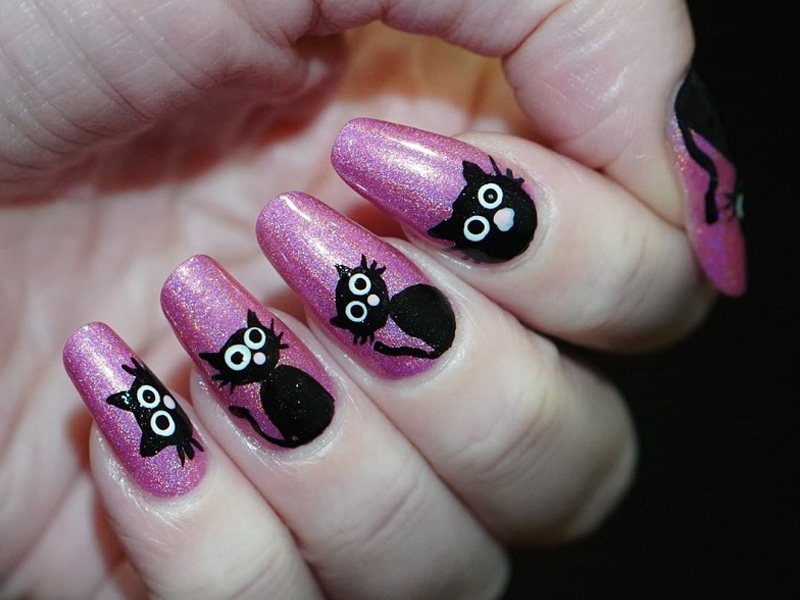
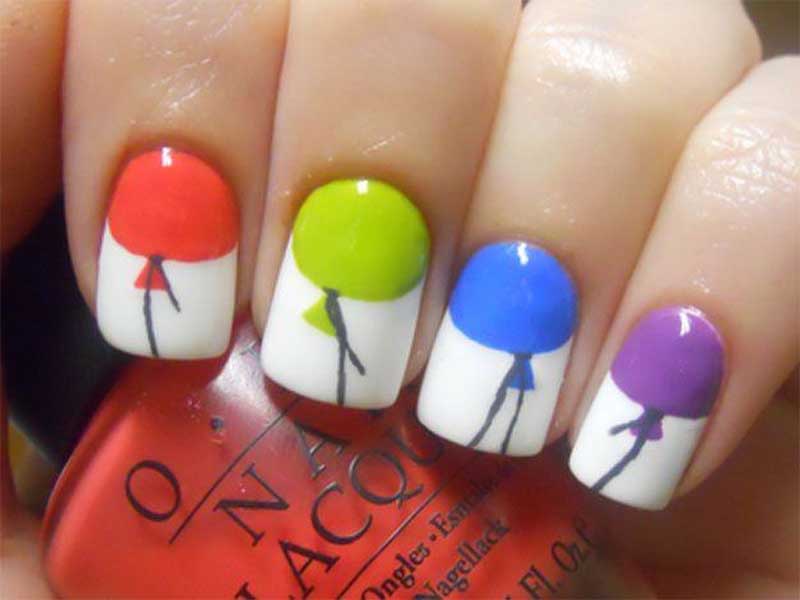
6. An Easy Neon Zebra Design:
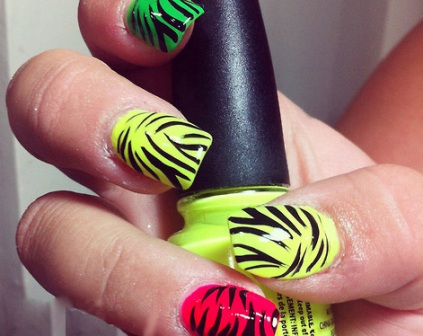
Got no time or like keeping things simple? Try out this design. Paint your nails with a neon yellow and one nail with a normal hot pink colour. Use a striper for the tree branch patterns or the “Y” designs. Your design is done! Use a top coat and enjoy!
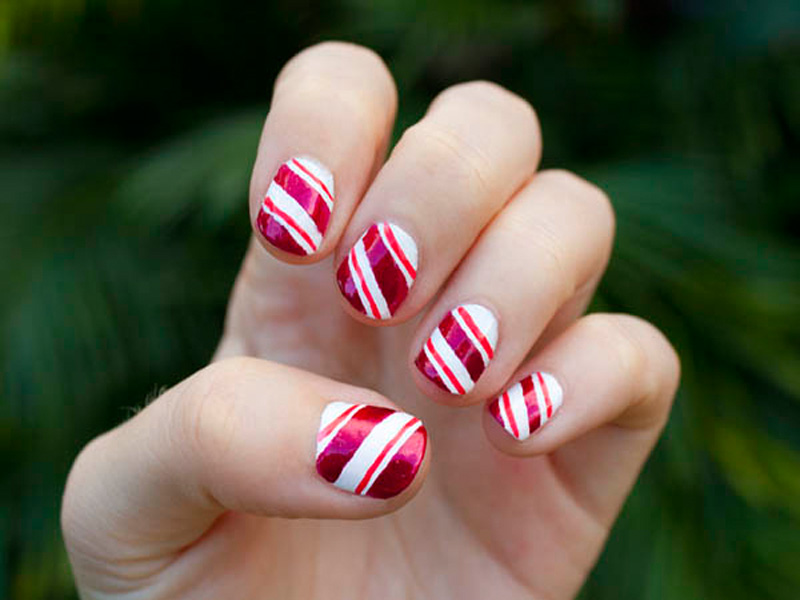
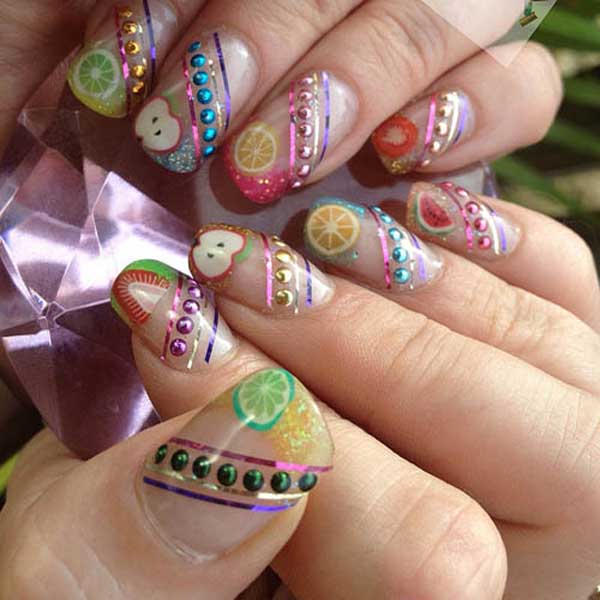
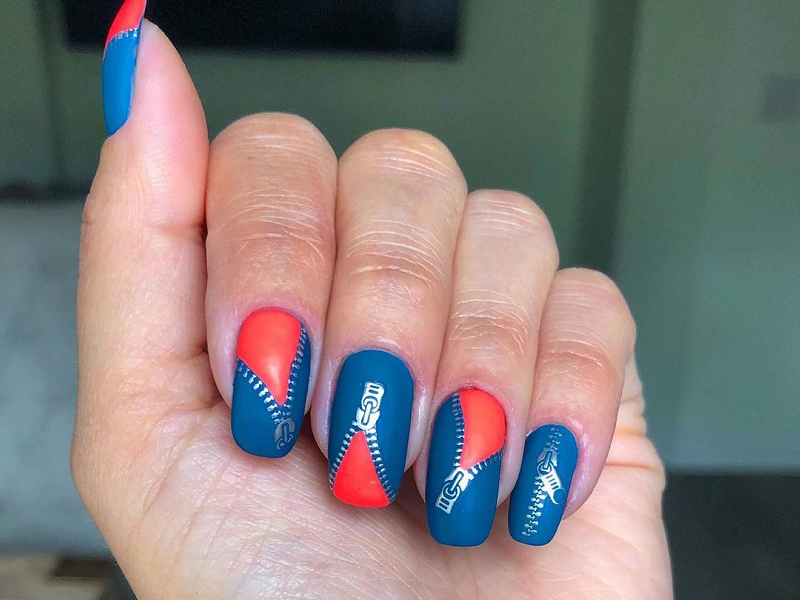
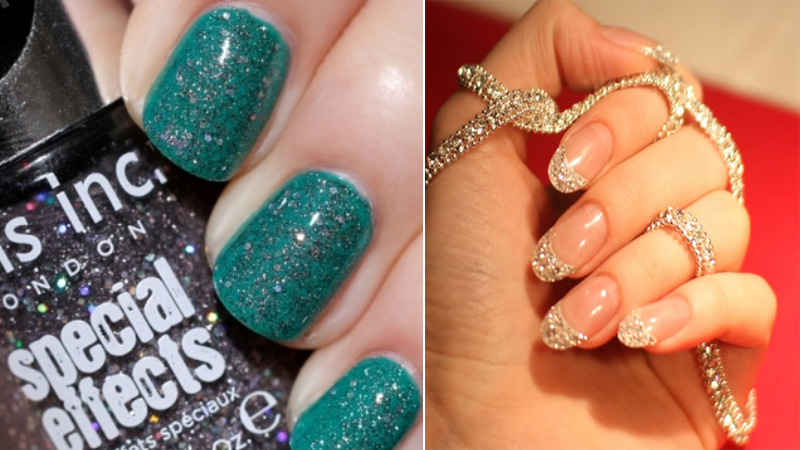
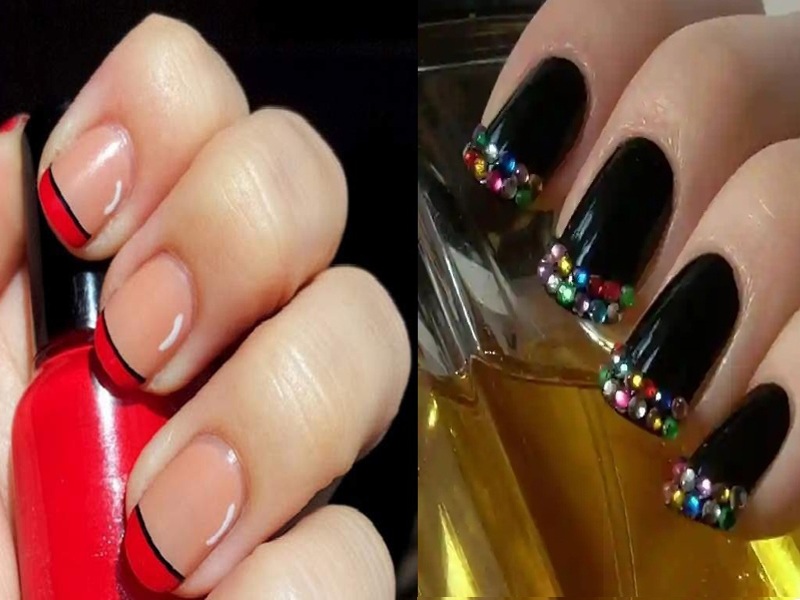
7. Neon French Tips:
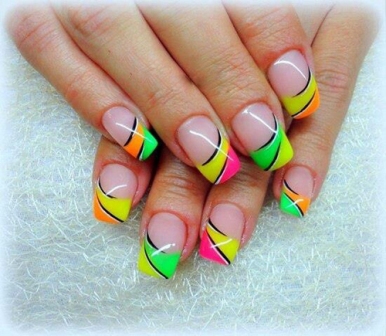
Neon French tips can be different from normal French tips. You can easily try a French tip pattern like this even for your work. Use your nail art brush for the white and black striping. In between 2 colours on the tips that you have used. Use a transparent top coat to seal in your design.
See More: Fimo Canes Nail Art
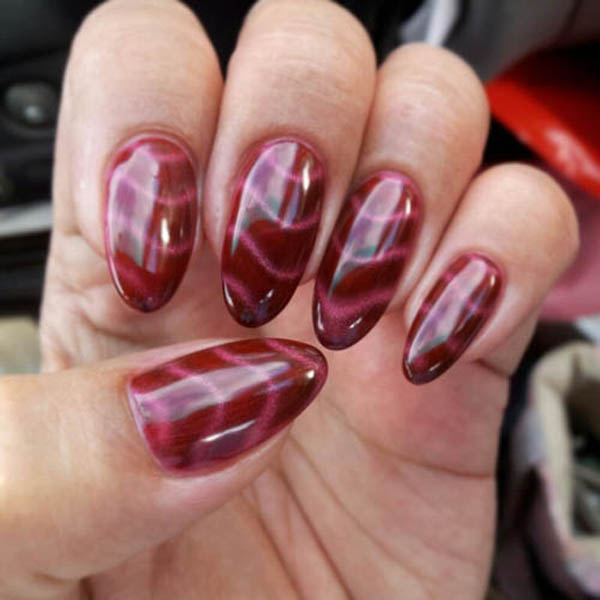
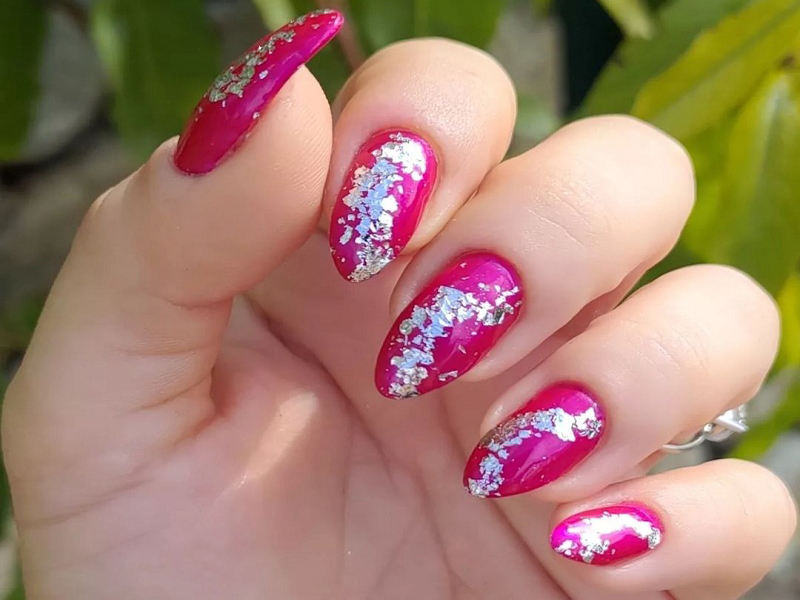
8. Water Marble Neon Nails:
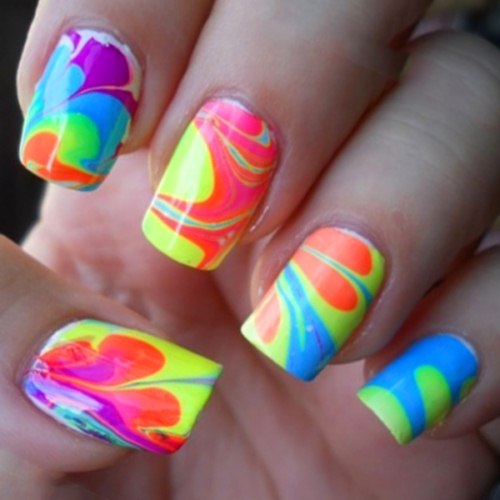
Water marbling is a very popular method of trying out nail art designs these days. You never know what kind of design you will end up with. However, you can keep in mind a few dragging forms of toothpicks on the colour-dropped water to get your shapes. Try out water marbling with neon colours for this type of look. Do not forget to coat your nails with a white base paint before water marbling. When you are happy with the water marbling so done, seal in your design with a top coat. Enjoy!
See More: Cute Nail Art Designs
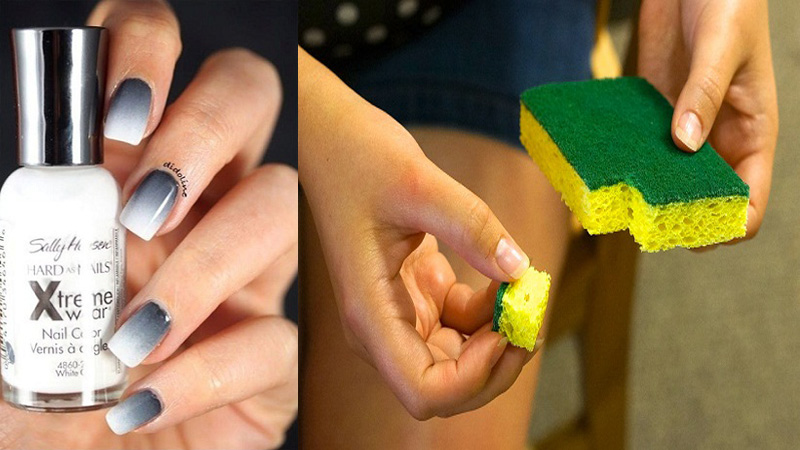
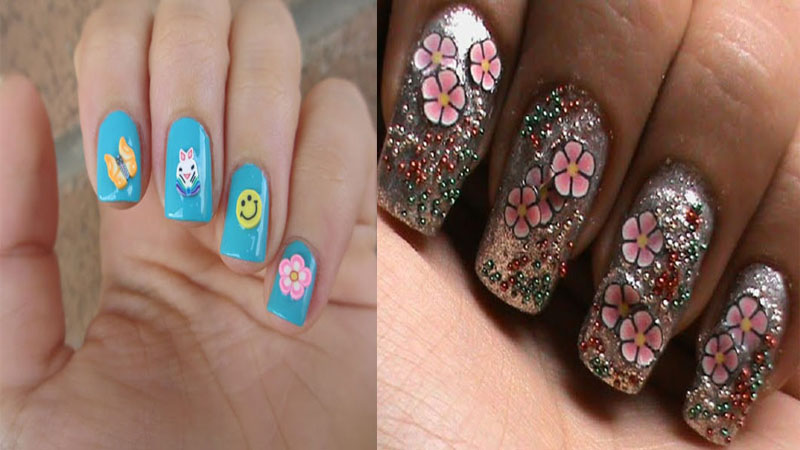
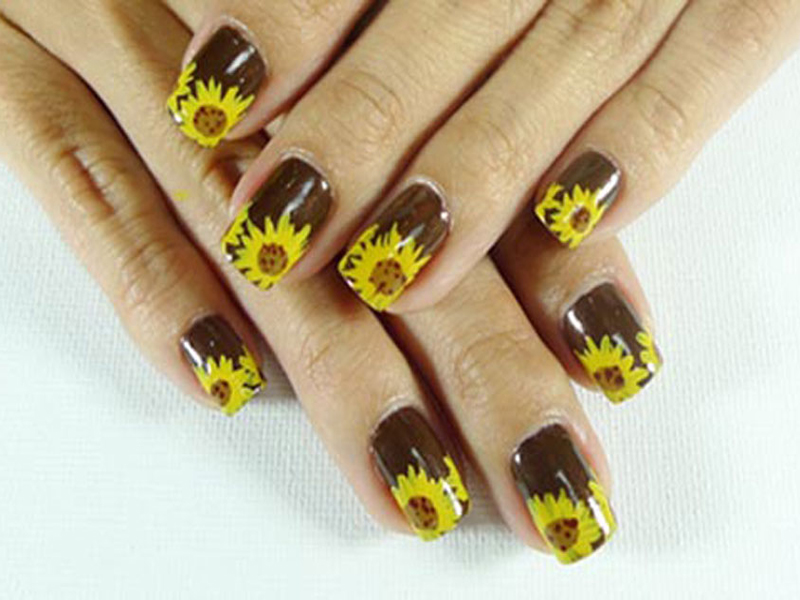
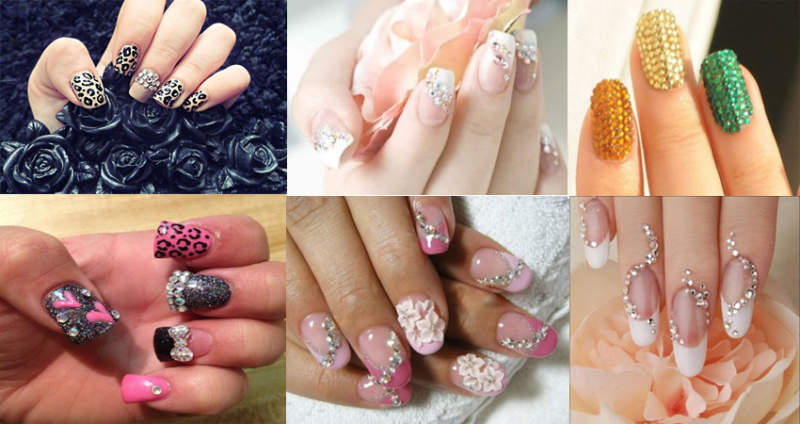
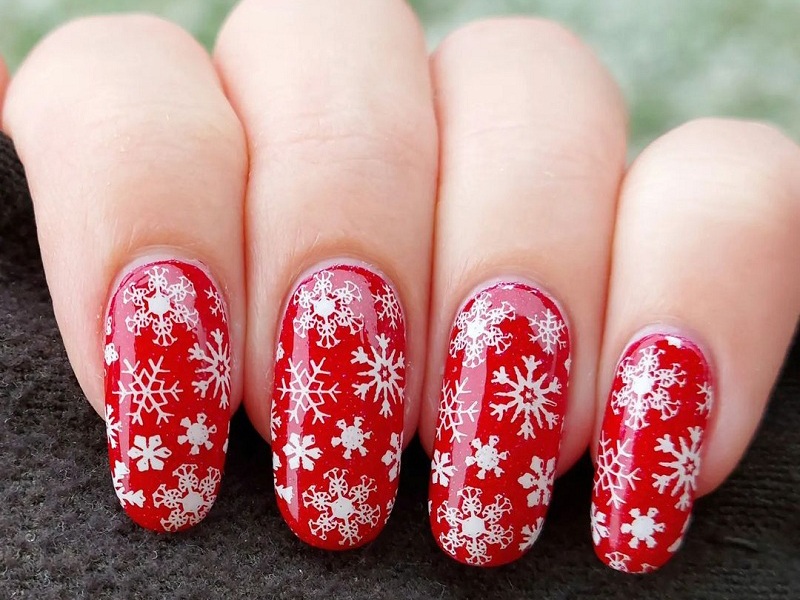
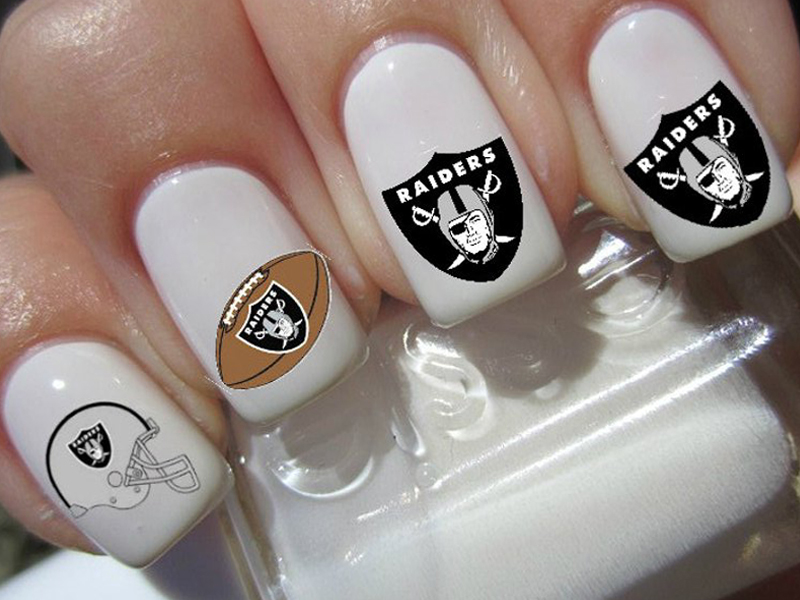
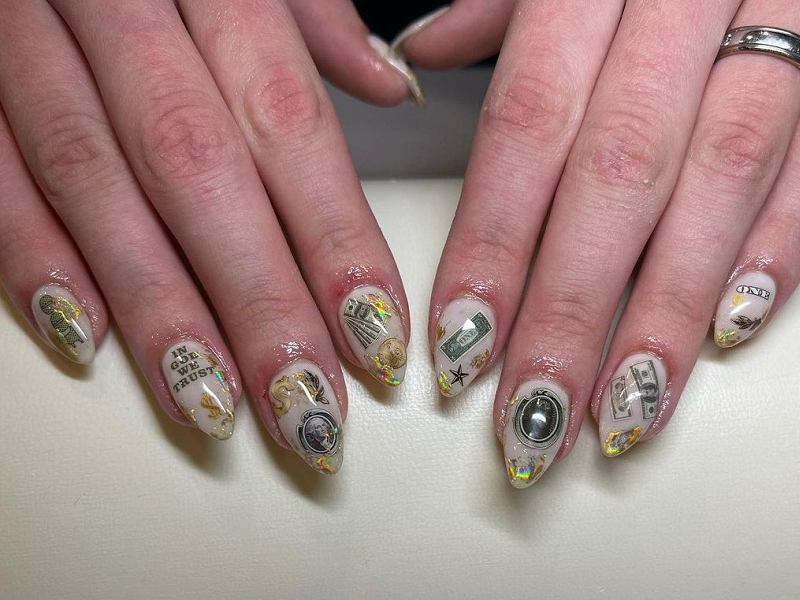
9. Neons and Stamping:
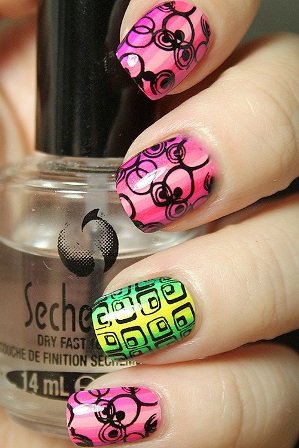
Don’t have a good hand at painting? Try out stamping. You can use a sponge to sponge up vertical layers of 2-3 neon colours and then go all the way to stamping to get designs like the ones above. The designs depend on which stamping plate you are using and of which brand. Different brands like Konad, Saloon Express, etc. each have their own stamping plates and different designs. Give it a try!
We have many coloured Neon Nail Art Designs i.e. neon yellow nail art, neon black nail art, neon orange nail art neon Pink nail art etc. Did you like this post? Let us know if you have got your hands on some neons.


