We as girls know the best how much time consuming our salons can be and yet we being girls of course look forward to that time when we can finally maybe take some time out of our otherwise busy schedule to splurge a bit on ourselves. Being girls we do love to do ourselves up but not every time do we get a chance to doll up.
It’s a busy schedule we maintain and this is why every month when it’s time to appoint that salon time we feel haphazard. Suppose there is an event that requires your pretty feet to be out in the open and you want to run in for a quick pedicure and then there is the salon giving you dates and asking you to wait your turn. We simply can’t have that and so the best way to work out the solution is to learn the trade right at home so that you don’t feel obliged to go and wait your turn in a salon while you are running out of time.

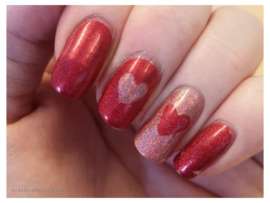
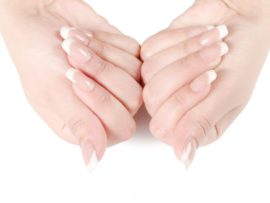
For those who still don’t know what trade we speak of, a pedicure is a formal term for a beauty treatment regarding your feet and nails. Just like manicure, here also through certain techniques using certain tools, the little ‘piggies’ on your toe are sparkled and glistened and colored to look as alluring as your hands. After all, every part of us should dazzle like us. In this article, we speak of French pedicures.
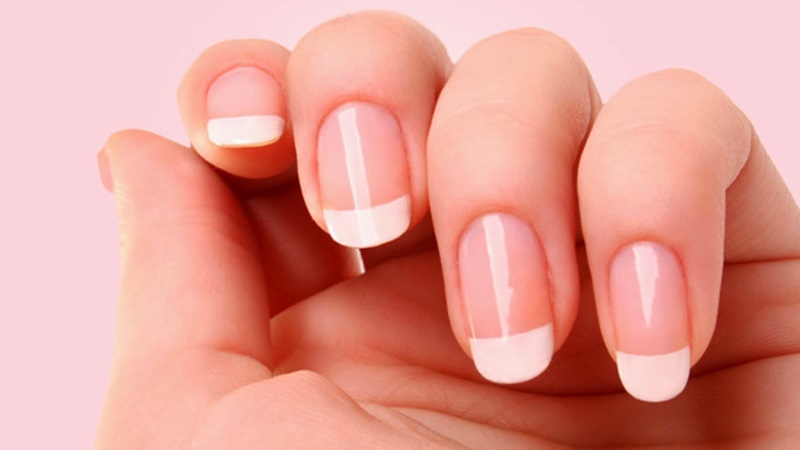
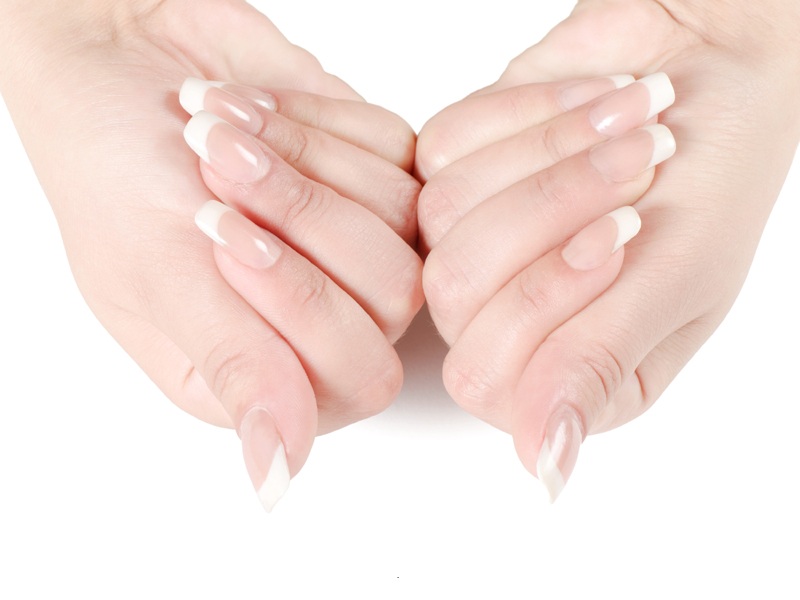
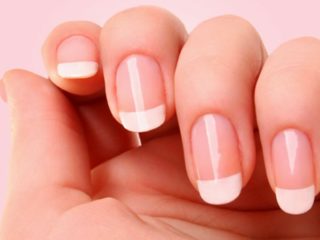
We all are familiar with the word French manicure where the hands and the hand nails are targeted. The plus point to this pedicure or manicure is that it has a definite style or pattern of doing up your nails. The nail tips, the parts protruding are colored in a peach or white color and the rest of the nail is put under a clear polish.
[ Read: Toe Nail Art Designs for Beginners ]
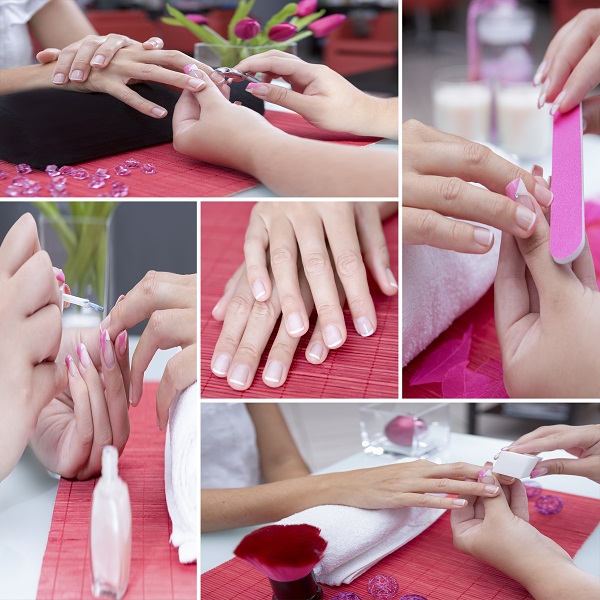
9 Easy Steps To The French Pedicure:
Even though it may sound hard, here are the easy steps to a French pedicure sitting right at home:
1. Ready Your Instruments:
Before we start gather all your supplies and pile them in one place so that you can reach out anytime and grab the product you need. Keep the working station otherwise clean, for example, use a towel or a piece of clothing underneath the floor for a firmer base. You may even use cardboard pieces for a firmer footing. The products you will be needing are nail clippers, filers, nail buffers, orange stick or cuticle stick, strips, two nail colors preferably one clear transparent, essential oil or foot cream, Epsom salt, foot scrubber, cotton ball, and q-tip and toe spacers. All of these can be availed from a nearby drug or cosmetic store.
2. Working Space Clearing:
You might be here for a while sitting and working on your toe so make sure your working place, the floor, or the footing you have chosen is clean and clear without any unnecessary items lying around.
3. Soak It Up:
The first step to a pedicure is to keep the nails and the little toe fingers immersed in water for a while so that the coarse skin on top softens and becomes easy to operate. For this, you will need a big bowl with enough space and water to dip your feet. Use slightly warm water and mix Epsom salt and if desired essential oil and dip your toes in it.
4. Scrub It Up Good:
For this, you will need the foot scrubber which in the common household is our pumice stone. Now that your toes are softened by the warm water dip, rub the pumice stone against the skin and see the dead skins peeling away softly. This scrubbing is done to rid the feet or toes of any extra tough skin evening and smoothing out the skin eventually.
5. Moisturize:
Now that you have scrubbed out the dead skins, if you suffer from dry skin you may use foot cream to moisturize the area. Do not overdo it though since too much cream and oil will tamper with your manicure. Massage well to make sure the skin on the toe remains soft. Don’t leave your nails out.
6. Cuticle Care:
Now we have to take care of the nasty cuticles. Use a clipper, a special cuticle clipper to clip the skin around the nails, and then apply cuticle cream on the nail tops. The cuticle pusher is also known as the orange stick now comes to play. Using the top of the orange stick, push the cuticles gently forming on the base of your toe and then finish off by rubbing your feet dry and clean.
[ Also Read: How To Paint Your Nails ]
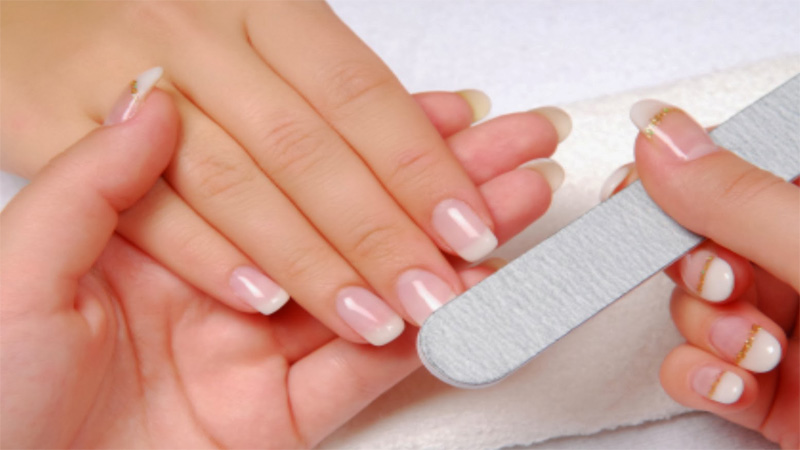
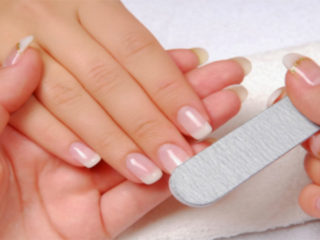
7. Filing:
Now we need to use the nail trimmers to trim down the nails to the desired length and shape. The trick is to not keep it too short and not to let it grow too big either. This is why choose a length in between and clip the nails slowly. Now comes the filing part which might be a bit difficult. Place the filer just underneath the nail tip and starts slashing gently in an up-down motion. Make sure you pivot your hands to match the angle you are stroking at. Once before the filing, you may also use the nail buffers to keep the nails even and soft. You may now dip the q-tip in nail polish remover spirit and clean the area dry and clear.
8. Process Commences:
Here is the commencement of the process to French pedicure color application. Prior to this you might use the foot cream again in a slight amount and massage the area thoroughly. Now is the time for you to put the toe separator on each foot. Pull out one nail strip now and access the position just above your nail bed where your nails start from. Press the strip firmly there to even it out. Do the same with the other fingers. You may choose any color but the most common is the white color so apply the color to the top of the nails. The strips are there to maintain the line of the nail bed so do not put colors on the other side of the strip.
[ Read: How To Do Manicure And Pedicure At Home ]
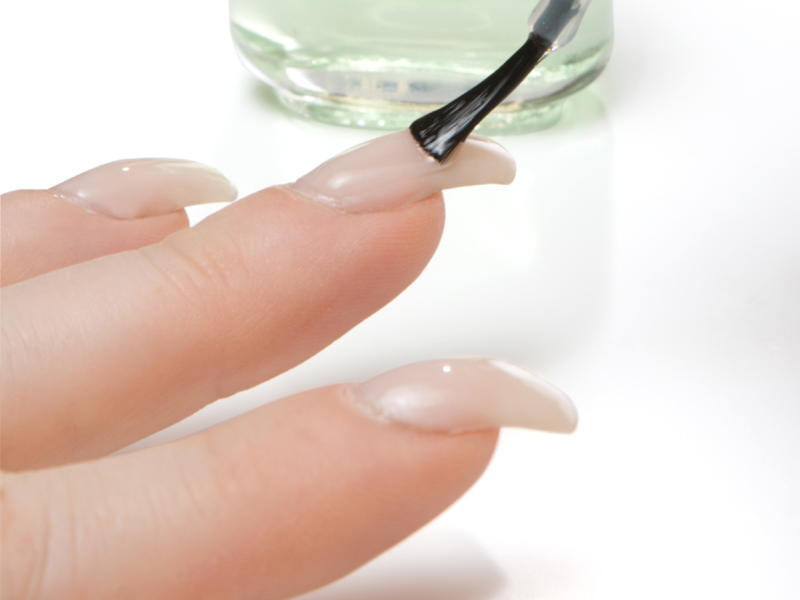
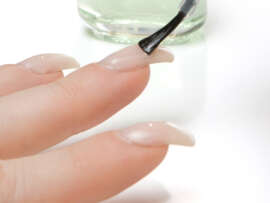
9. Seal The Deal:
Wait for the color on the top to dry and once it does, put the clear polish on top of it to seal the color. You may also try out drawings or patterns depending on your skill and then apply the transparent coat.
Final Thoughts:
In the end, I think You came to know that how simple it is to do the French Pedicure after reading this article. Try at home with easy steps and surprise your friends by showing off your beautiful feet.


