Specially formulated soak of gel technology and special designs on a nails with the color pigments creates the ultimate gel technology. It can be used as a polish in a simple brush on application; and when added with different colors of nail paints can get you the nail arts you have always dreamed of. Gelish nail arts are gelish effect on nails due to the color pigments of nail colors, which appear, when applied.
Gelish Nail Art Designs with Meanings:
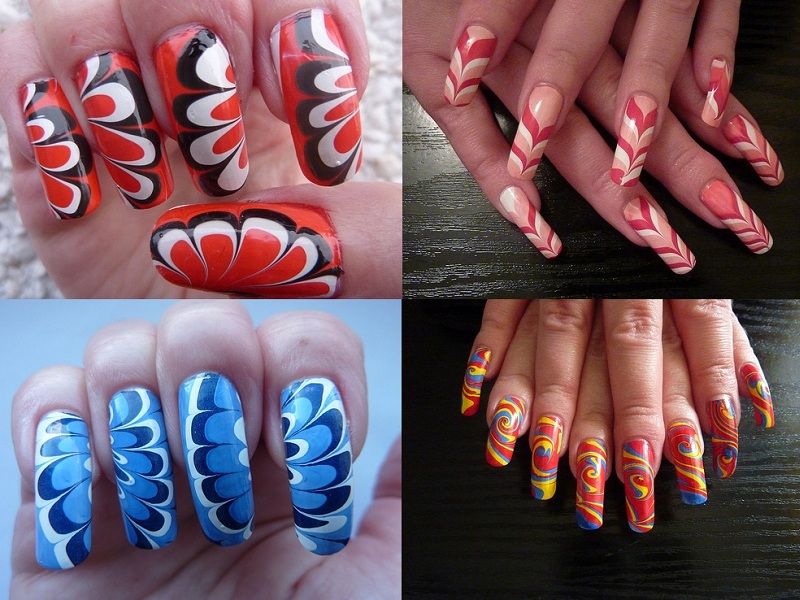
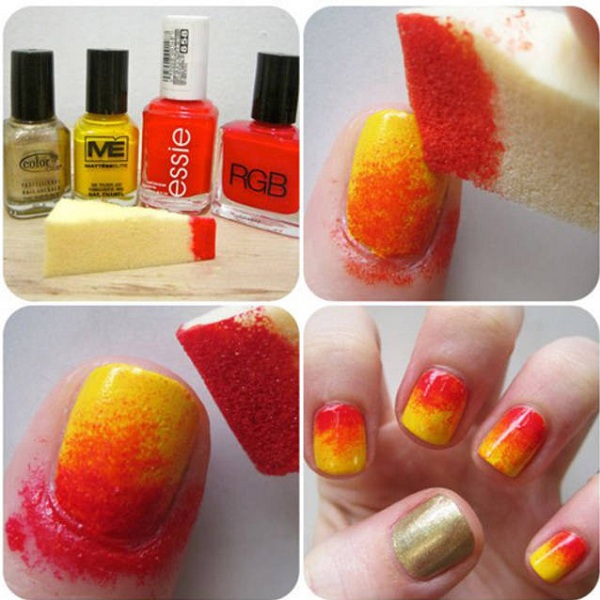
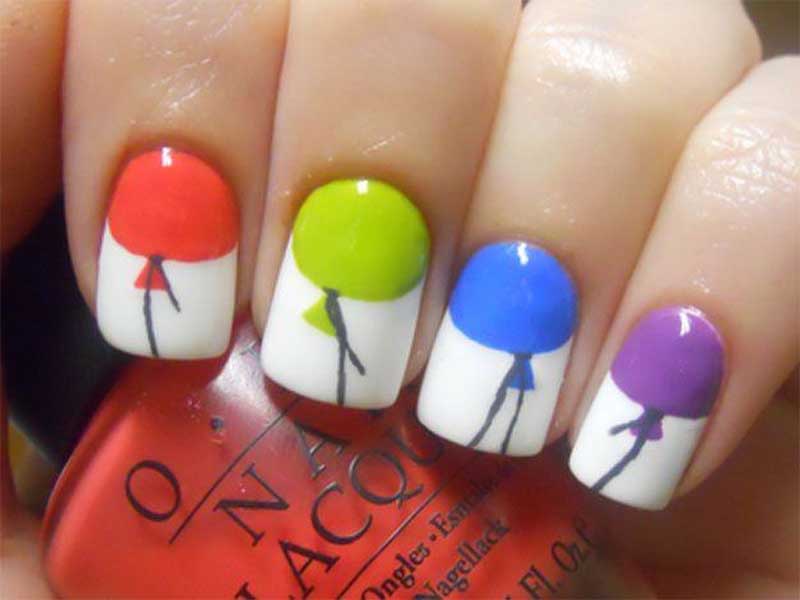
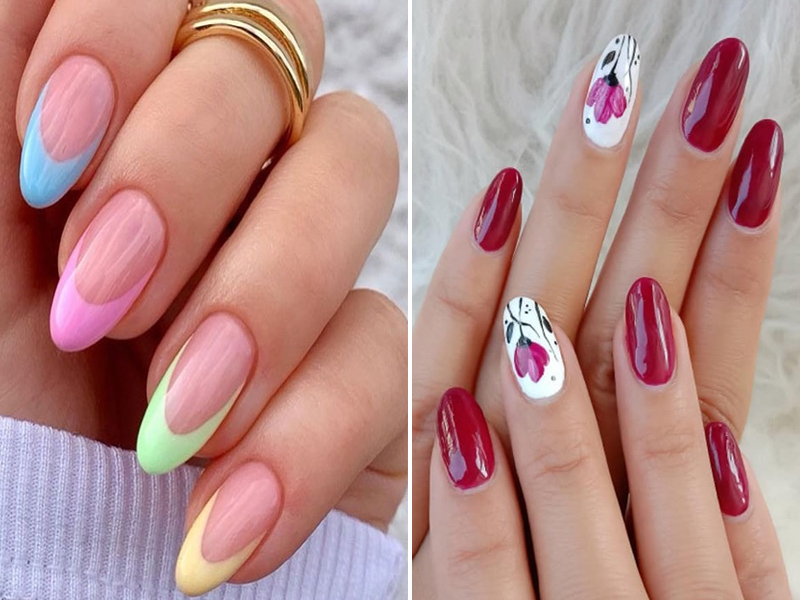
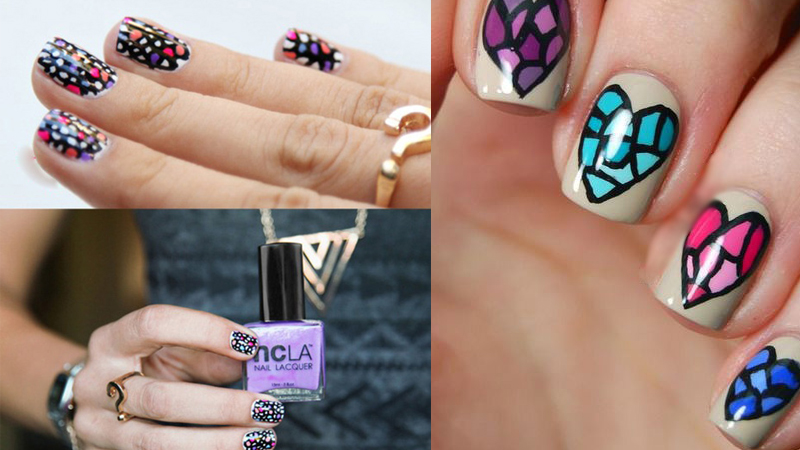
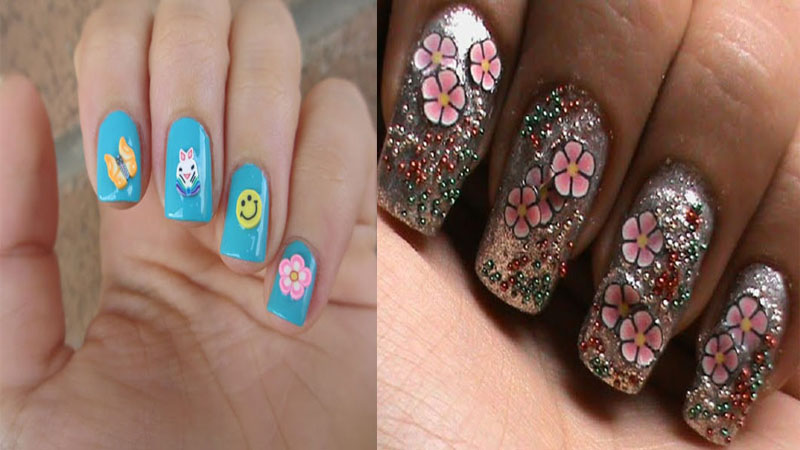
1. Color Splash Gelish Nail Art:
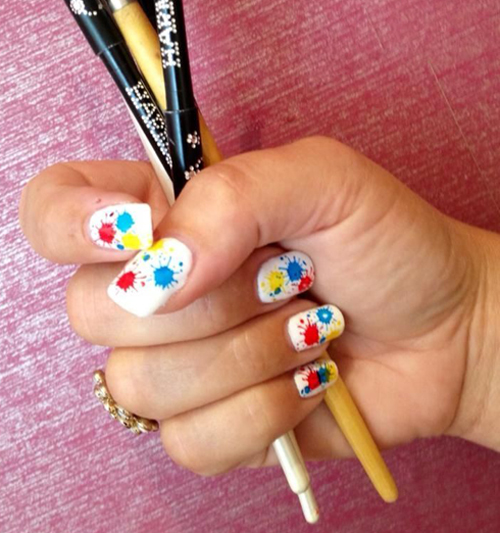
You would need white nail paint for the clear base and different colors for the splashes, as you see in the image below. Paint your nail white and let it dry, take another blush and splash a drop of blue nail paint. There take two more and splashes of yellow and red nail paint and you’re done with the ‘arty’ gelish nail art design.
See More: Easy French Nail Tips
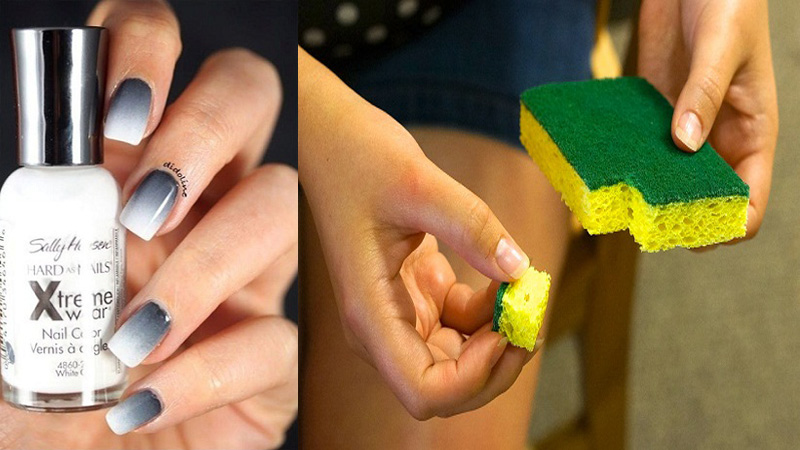
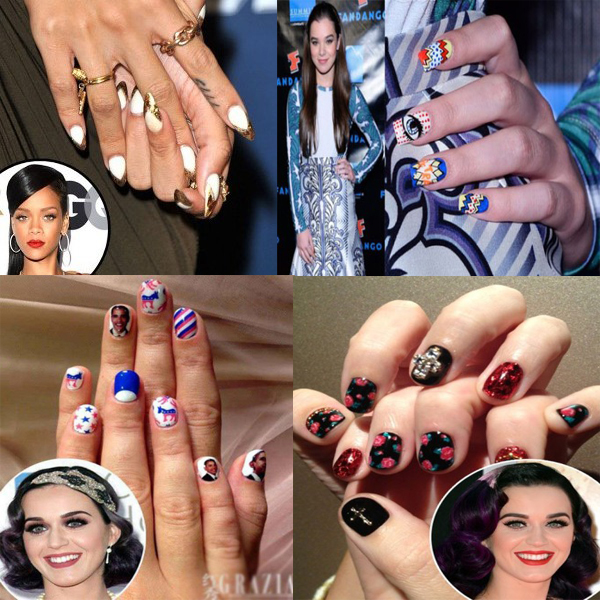
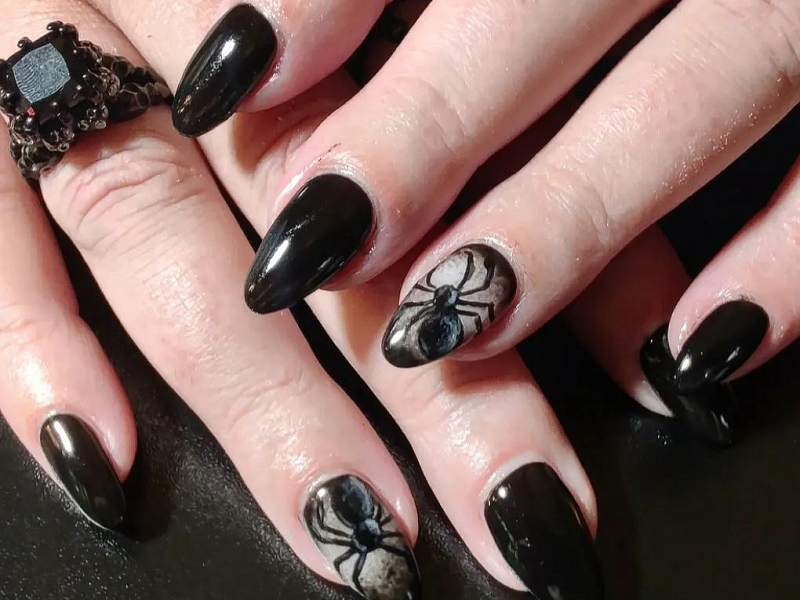
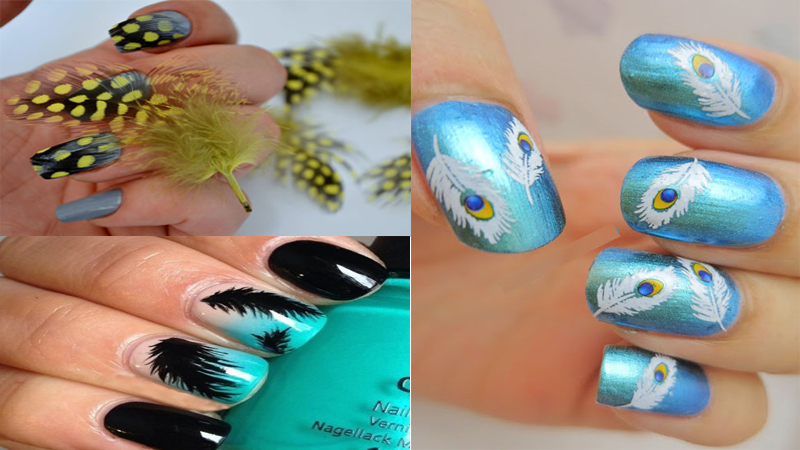
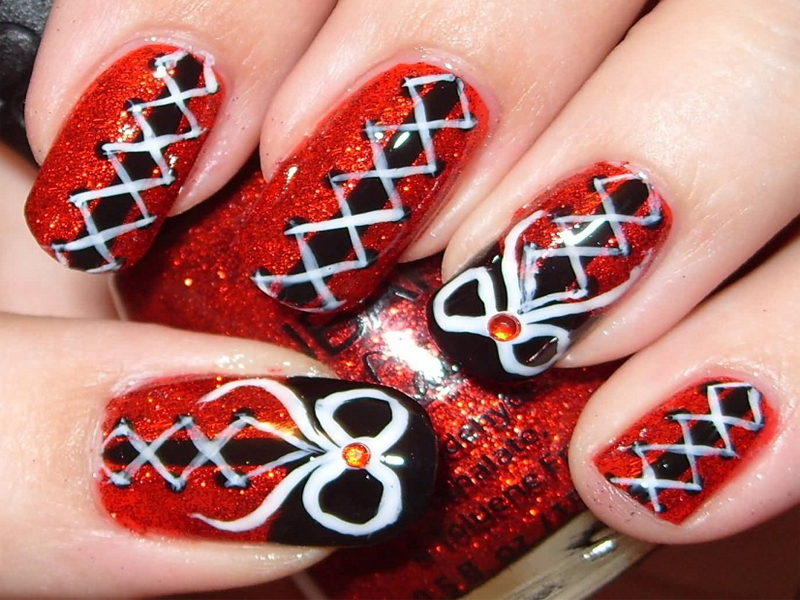
2. Black Bow and On White Gelish Nail Art:
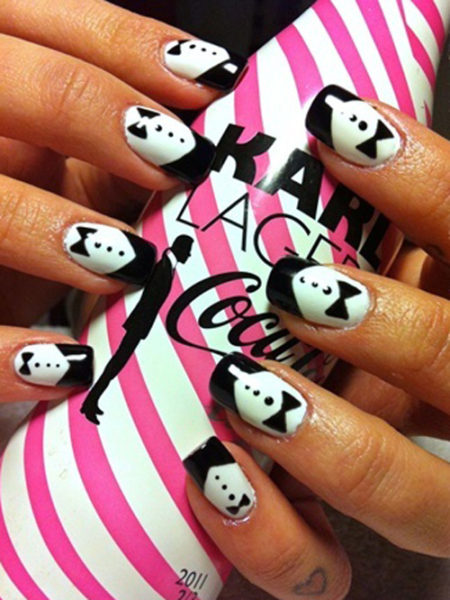
To get this retro black and white nail art you first need to paint the base white and let it dry. Take a thin paint brush and make the bow on the bottom of your nails. Easy way to do that would be to make two triangular shapes side ways and join them, which would make them look like a bow. Then paint the edges of your nail with black and for the finishing, just drop a few black paint for making three black dots on the nails.
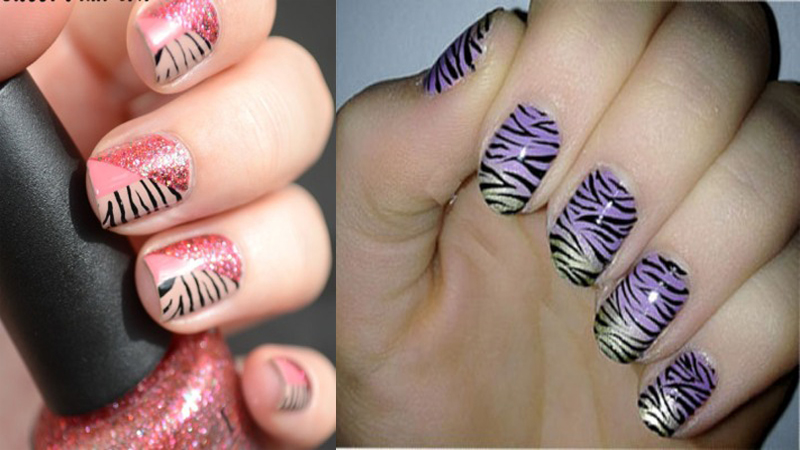
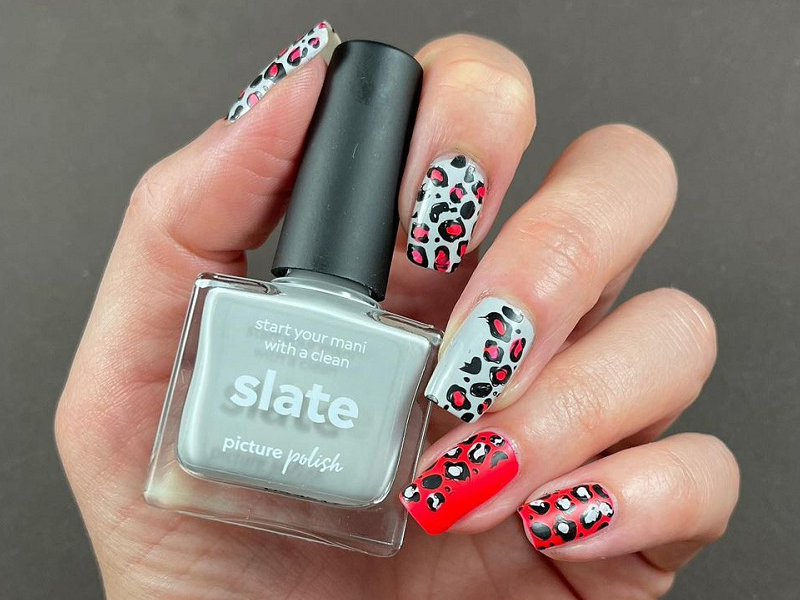
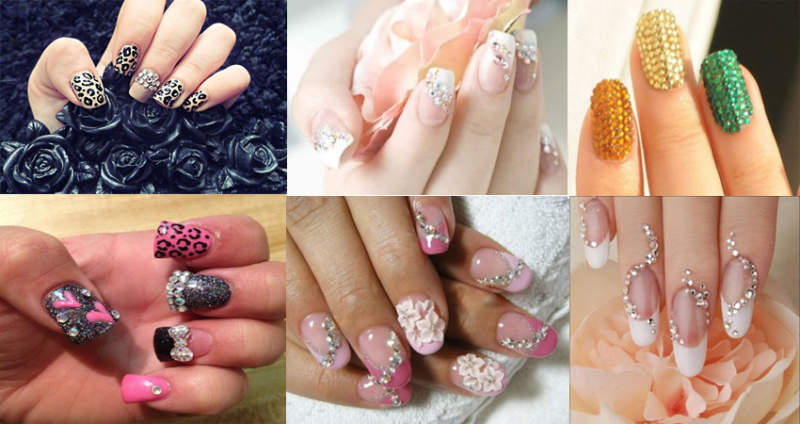
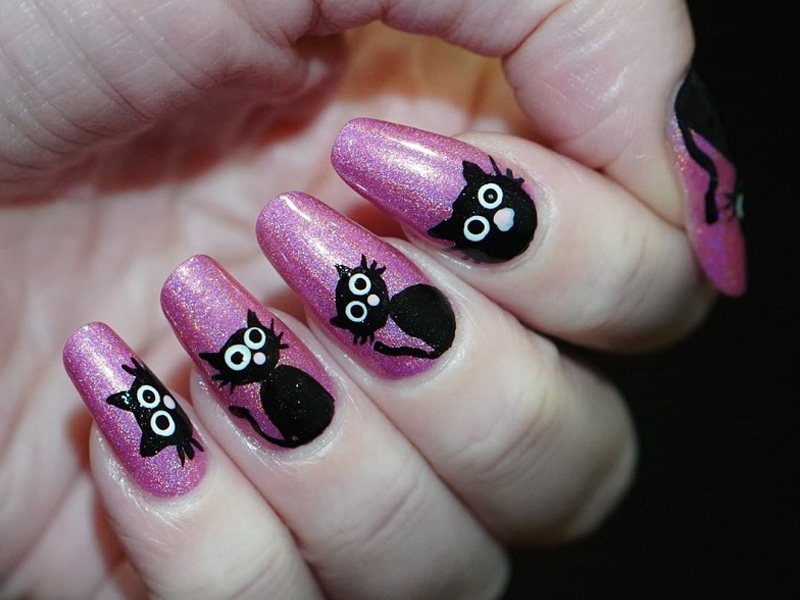
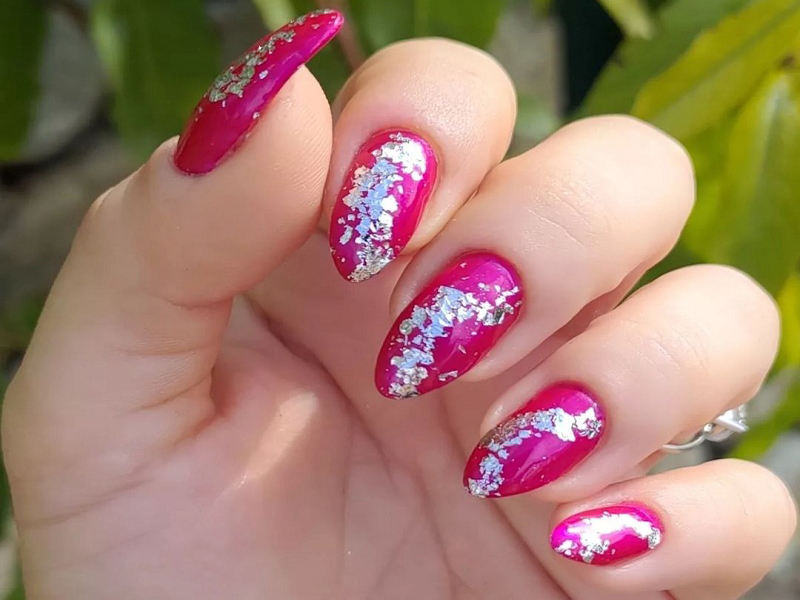
3. Pink and Black Gelish Nail Art Design:
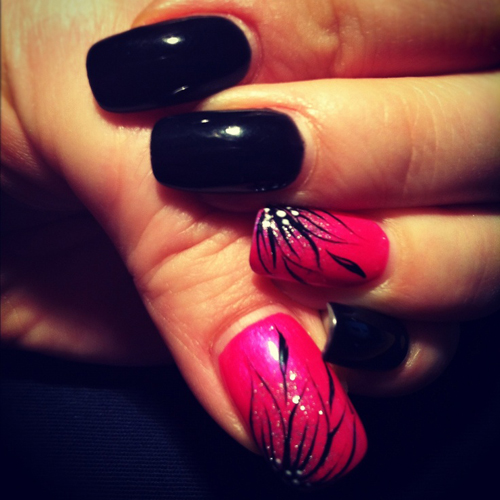
Dark shades of pink and black look really good together. Paint your thumb and ring finger with the dark pink shade and paint the other three nails completely black. Take a thin nail brush and make thin lines from one corner of the edges on the pink nails. This basically looks like grass. Just pull bent black stripes and it would look somewhat as you see in the image. To make it a little shiny add silver glitter nail paint on the edges which are maximum in that area and faded towards the middle.
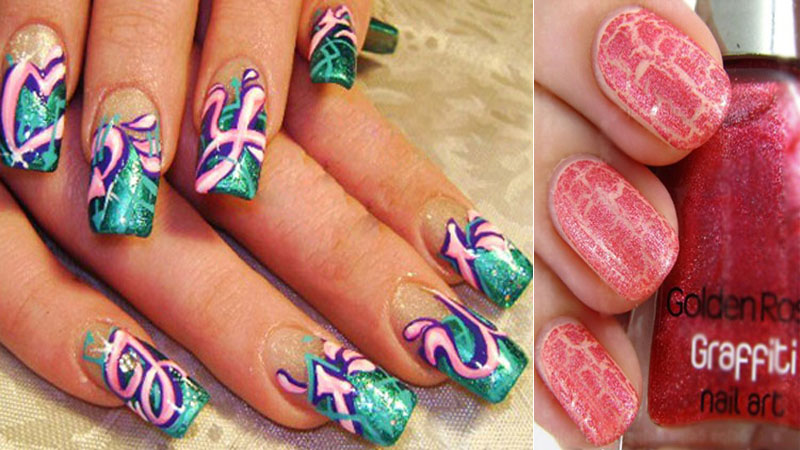
See More: Graffiti Nails Designs
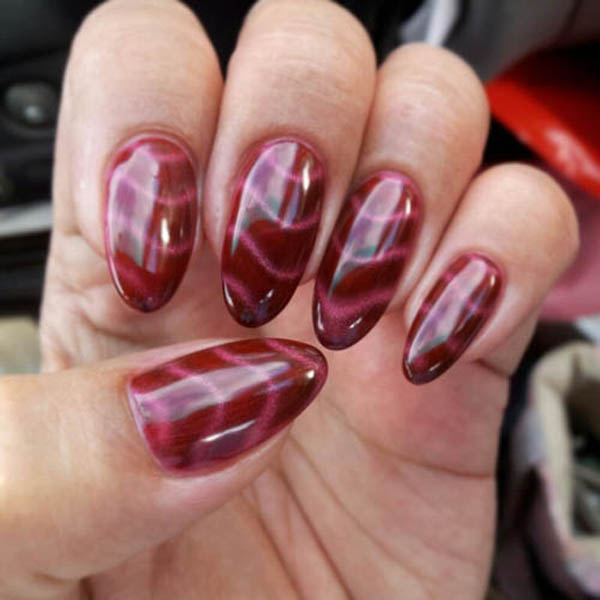
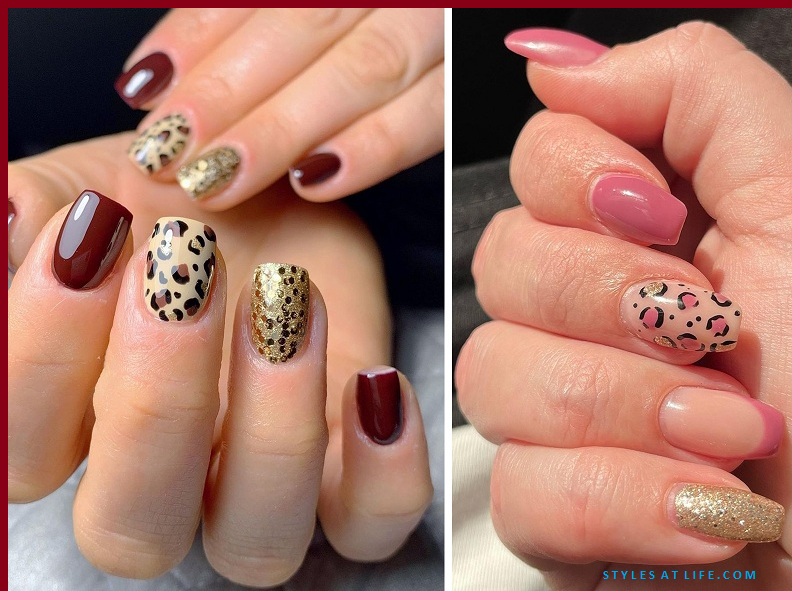
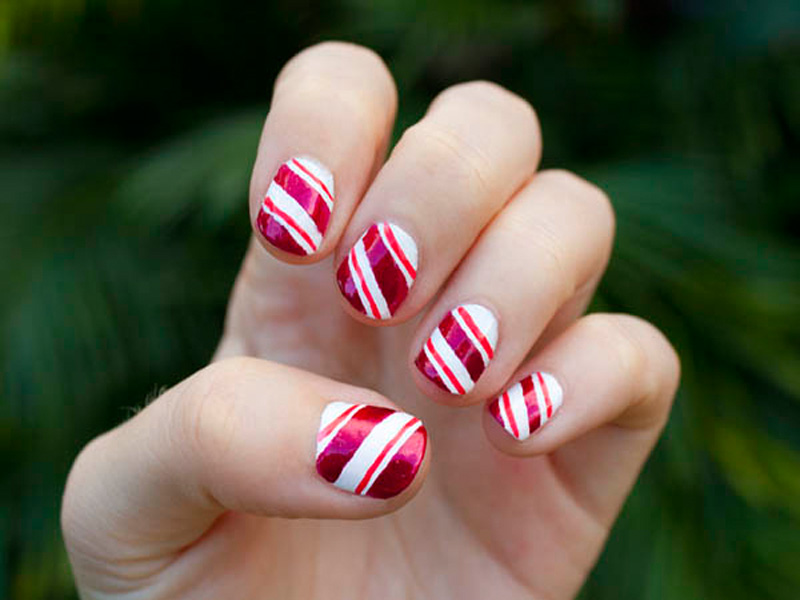
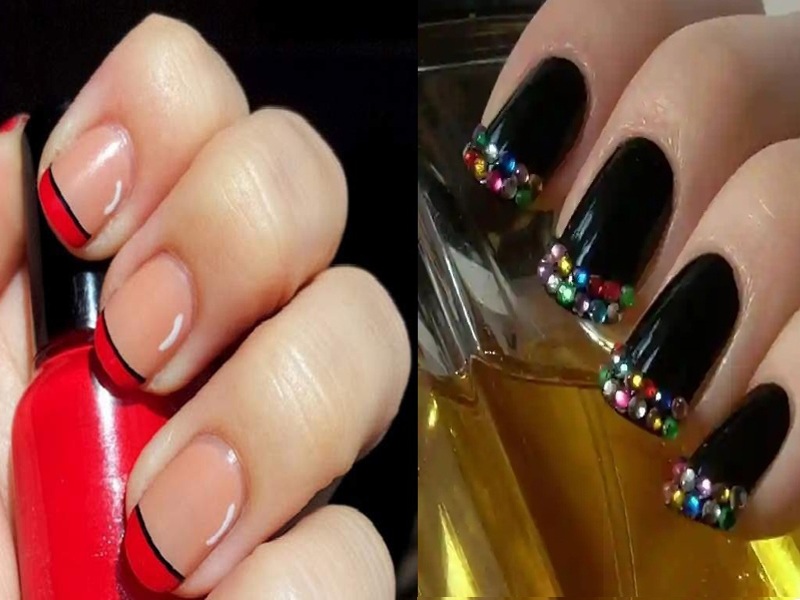
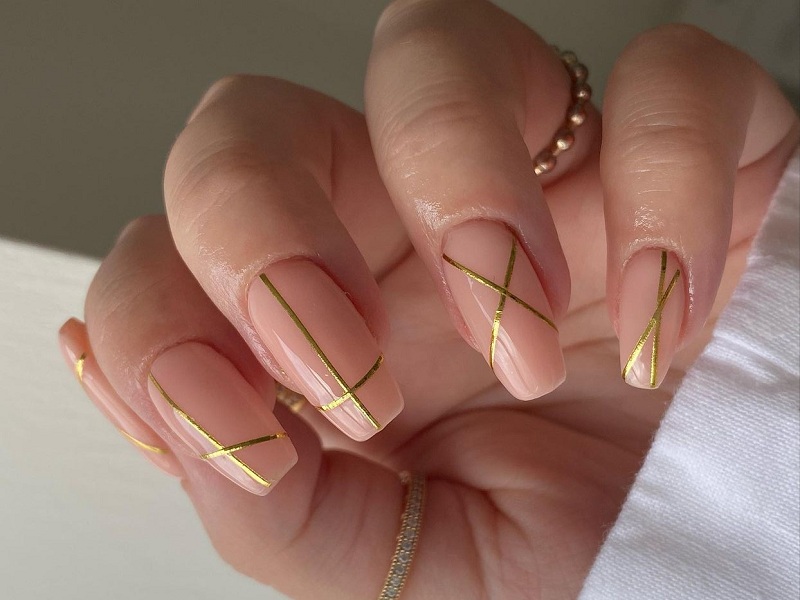
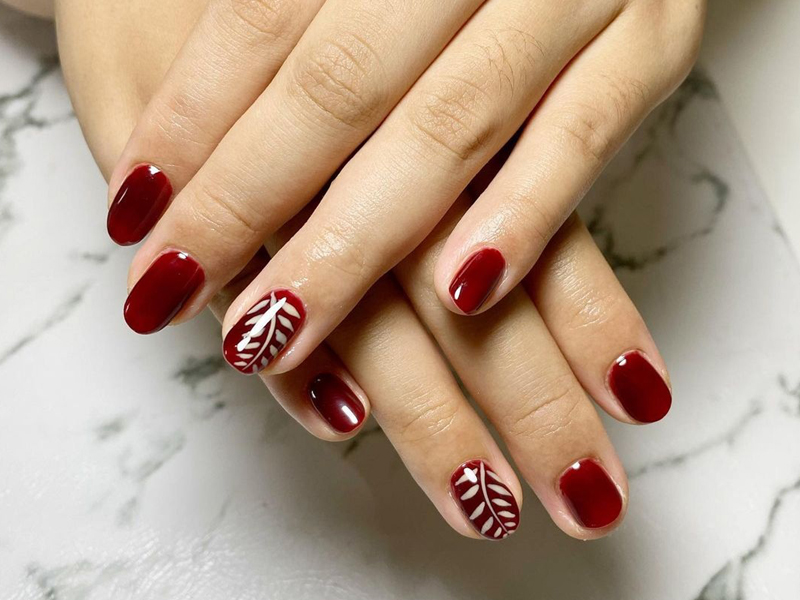
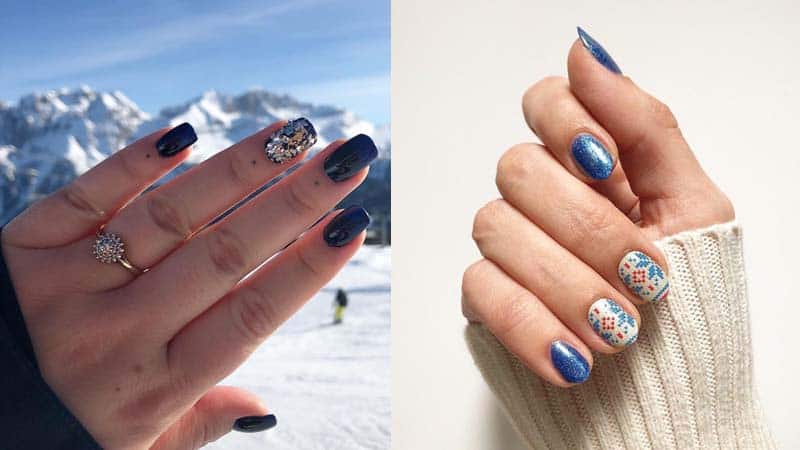
4. Black Nails with Peach Stripe Gelish Nail Art Design:

Paint a gelish black color on your nails to make a shiny and glossy base. Take peach color nail paint and with a thin nail brush make two parallel stripes on the nails horizontally. Take another nail color, better if it is a lighter color than peach; and make the final horizontal stripe in the nail below, to make it look like what you see, in the image.
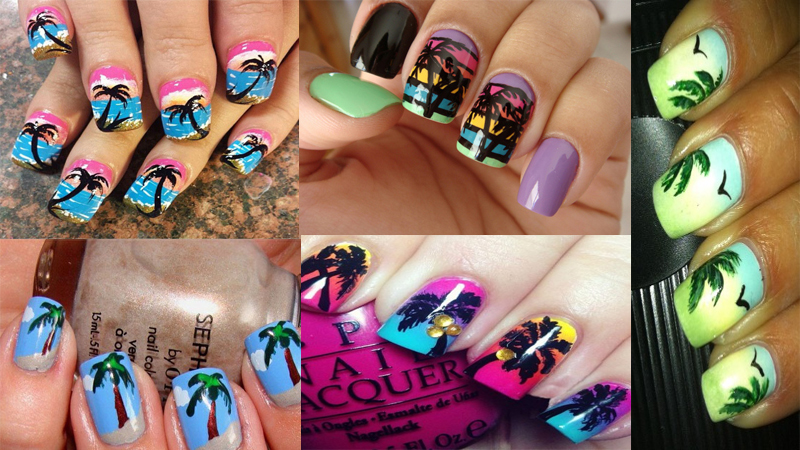
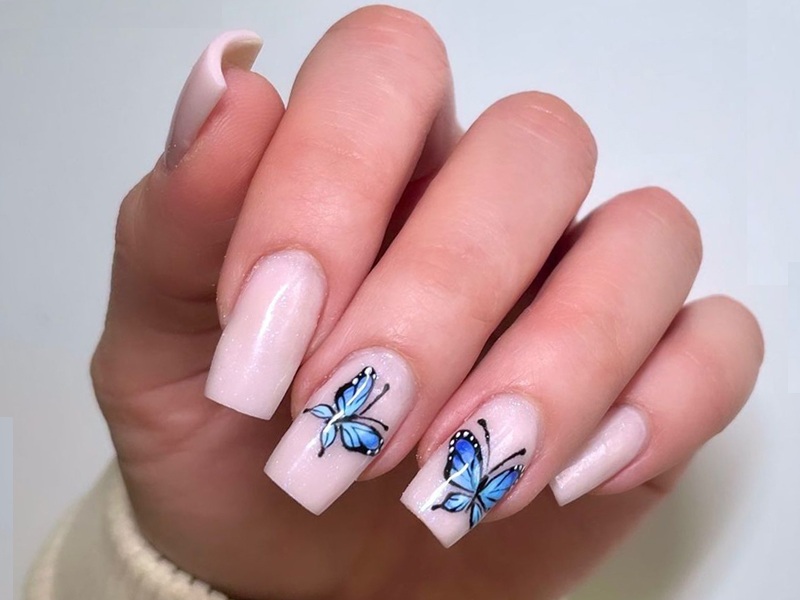
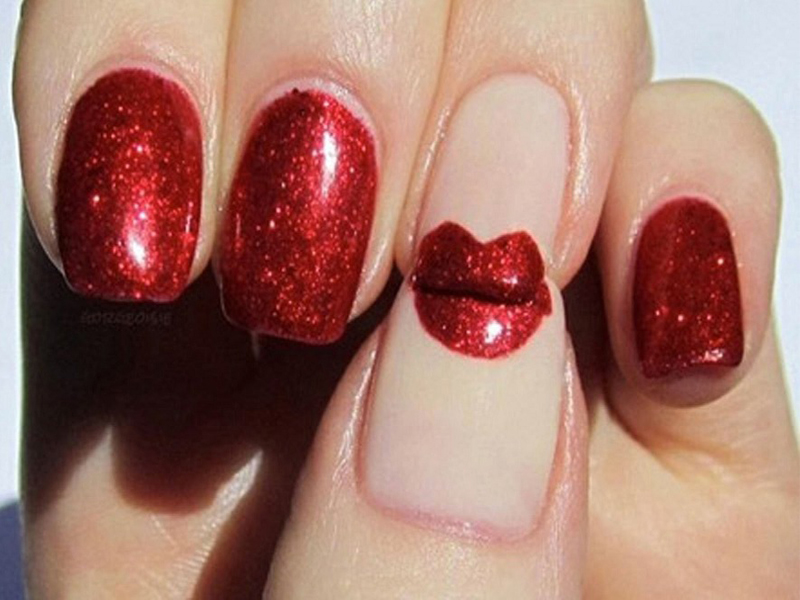
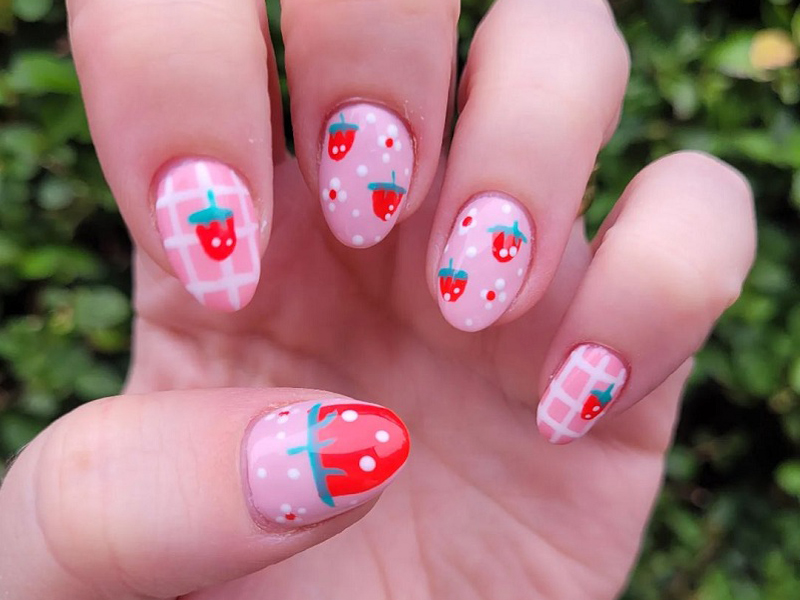
5. Flamingo Gelish Nail Art Design:
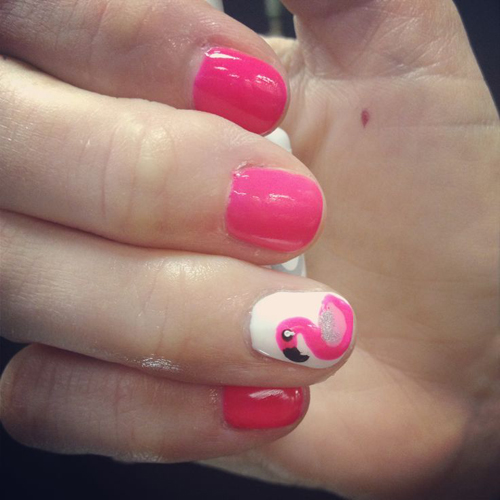
This pink flamingo nail art designs is cute and comfortable. Paint all your nail with the pink nail polish except your ring finger. Paint that with white for the base and make an opposite S shape for the body of the flamingo. Make its beak with black nail paint and make an eye with just a dot of it. Take a lighter pink shade and fill the body of the flamingo and then to add the finishing touch, take silver nail design and make a wing on the body and you’re done.
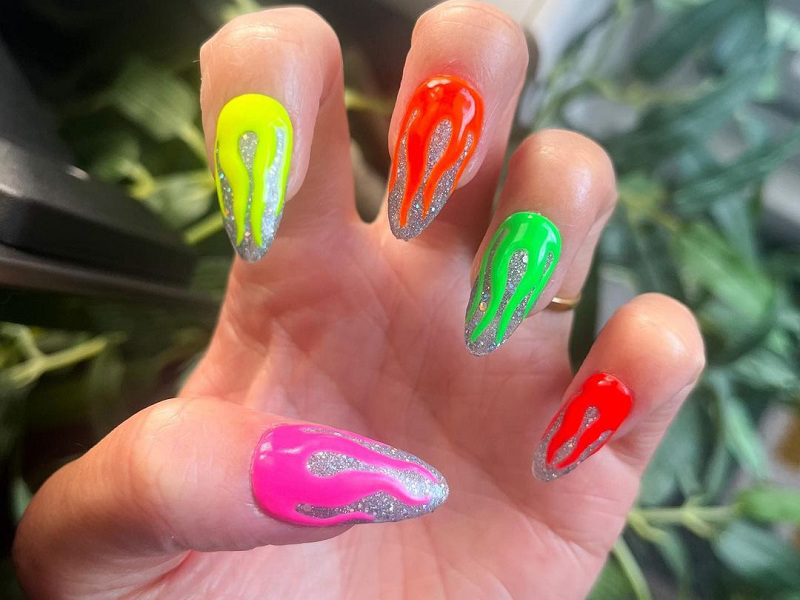
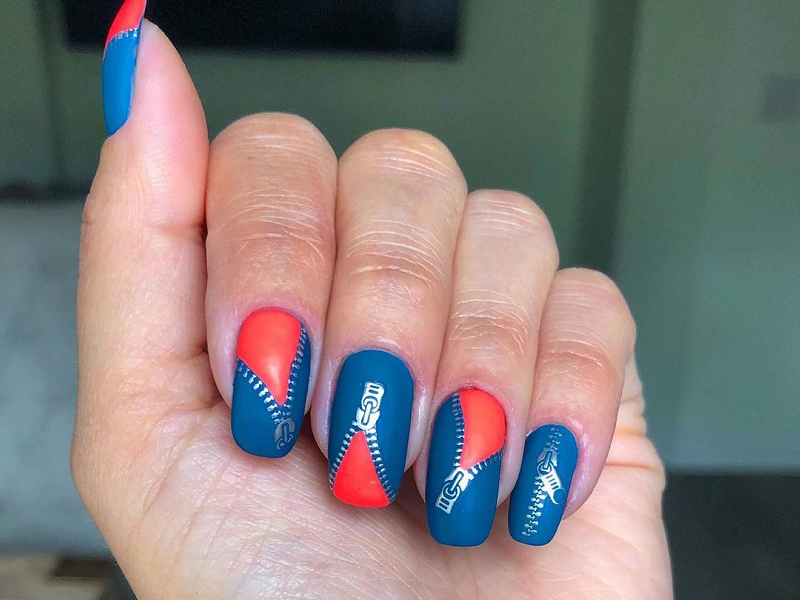
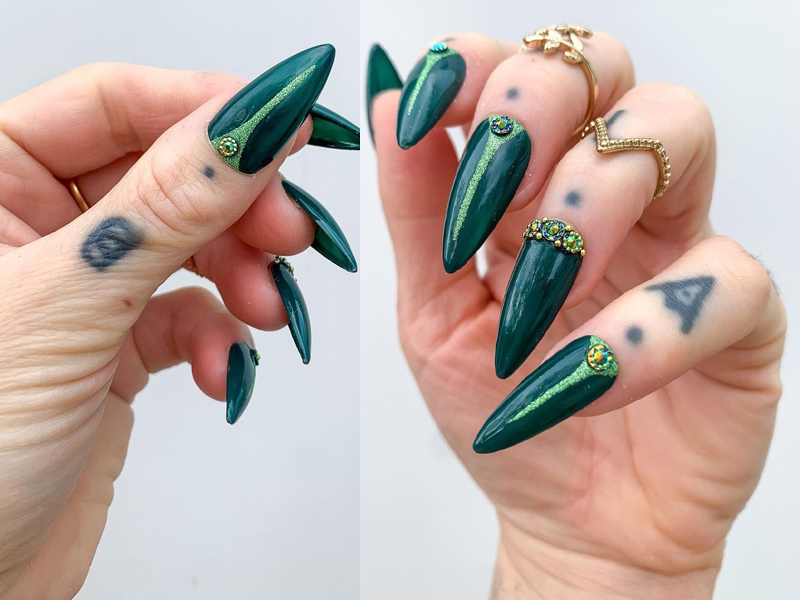
6. Fluorescent Gelish Nail Art Design:
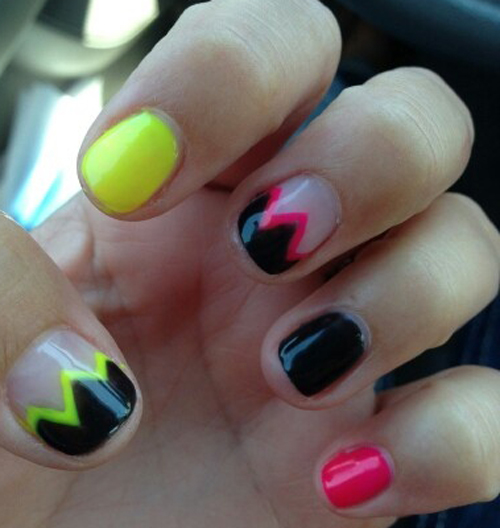
Florescent are so much in trend now. So if you are following the trend and wearing florescent attires then why not even give your nails the trend touch? You need black, pink and florescent nail paint to do the nail art and also the gloss nail paint for the above coat. Paint your index finger florescent, your ring finger black and little finger pink. Take a thin brush and florescent paint to make zigzag design in middle of the thumb. Paint the upper side of it with black until the edge and the lower side keep should have gloss. Do a pink zigzag similarly on the middle finger and paint black on the upper half again.
See More: Sonoma Nails Images


