Whether you are an experienced gardener or a novice, we all must have heard a lot about composting. Unlike professional people, beginners in the gardening scene might find making compost at home a bit daunting because of all the misconceptions. However, learning how to make compost at home is pretty simple and is cost-efficient when you do it properly. The significant investment for homemade compost is patience and time. By the end of the process, you will have one of the best concoctions that will feed your growing veggies, improving your garden efficiently.
Therefore, without further ado, let us go through this article to learn how to make compost at home and what are different types of composting processes are in detail. Read on!
What Is Compost And How To Use It For Garden Plants:
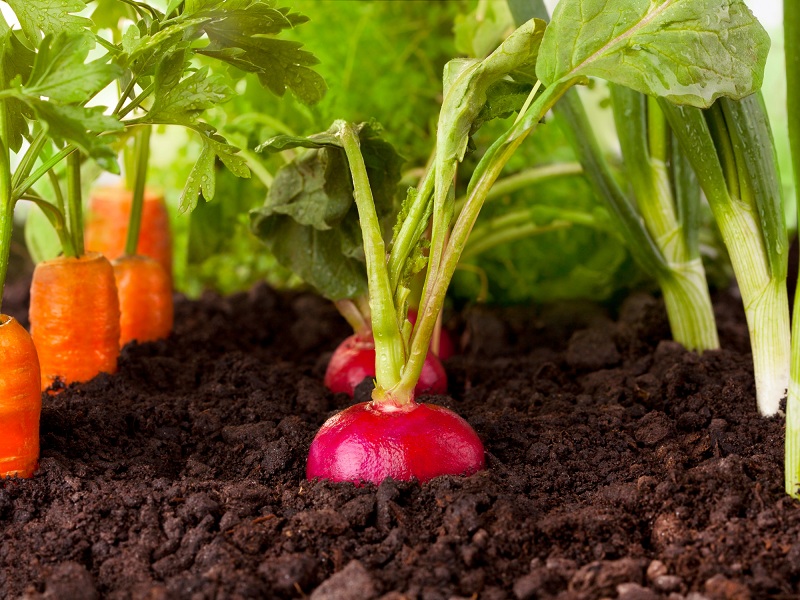
A mixture of ingredients used as plant fertilizer is called compost, which improves soil’s biological, chemical, and physical properties. Compost comprises food waste, decomposing plants, manure, and other organic materials. Compost enriches soil and plants by acting as a valuable fertilizer. When finished, compost looks crumbly, dark, and rich in colour.
Finally, you can find the end product when you can’t find the original ingredients with an earthy, sweet smell. The end product might need more time if it is too stringy or lumpy. The amount of time required for compost preparation varies, ranging from three to 12 months, depending on factors like temperature, type of material used, decomposition, and many more.
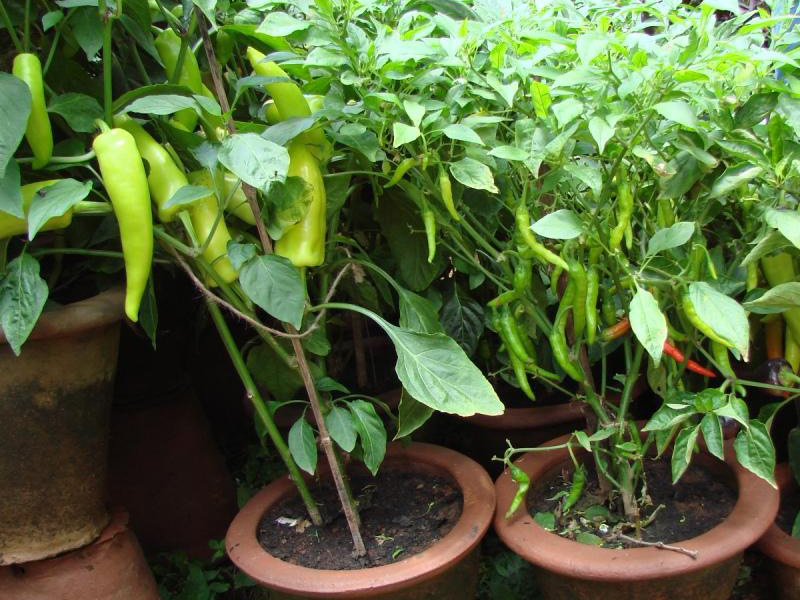
You can add the finished compost to any soil at any time of the year. Since the product is natural, you don’t have to worry about polluting water or burning plants. Compost enables the soil to retain nutrients, air, and water which helps build the earth’s structure, benefiting the plants significantly.
Types of Compost for Gardens and How to Make It at Home:
Several benefits are associated with compost made at home with all the organic scrap material available. There are several ways you can prepare compost, varying by the materials used. Here are the prominent ones:
1. Kitchen Waste Compost:

As the name suggests, the compost prepared with the waste in the kitchen is called Kitchen Waste Compost. Here are the easy steps you can follow on how to make compost from kitchen waste at home for your garden:
- Amount of wasted food, vegetable peels, or fruit peels in it.
- Take another container and collect the dry organic matter like sawdust or dried leaves.
- Drill four to five holes into a large earthen pot or a bucket to help let air inside from different levels.
- Use soil as a layer on the bottom.
- Now, alternate between wet and dry waste, creating layers in the container.
- To retain the moisture and heat, use a plastic sheet or a plank of wood to cover the container.
- To provide aeration, make sure to use a rake to give the pile a quick turn every few days. You can sprinkle water into the container to keep it moist if you feel the pile is too dry.
- Your pile should start forming compost within two to three months. The final product smells like earth, is dark brown, and is dry.
Read: Beautiful Kitchen Garden Ideas
2. Garden Waste Compost:
Garden waste compost involves using various wastes available in the garden, hence the name. It consists of various gardening activities, including removing or cutting vegetation and weed removal. For example, mowing lawns, trimming hedges, Here are some simple steps you can follow on how to make compost from garden waste at home:
- Composting from garden waste helps in environmental conservation by helping recycle your garden and reducing the waste going into landfills. Some examples of garden waste are sawdust, twigs, dry grass, straw, stems, and weeds.
- The quality of compost made from garden waste is outstanding.
- The garden waste is kept on a flat paved surface where the compost elements do not come in touch with the soil from anywhere.
- Now, dissolve one kg of urea in water and combine it with one quintal of garden waste. This process helps with the growth of microorganisms by increasing the nitrogen content.
- You can also add nitrogenous agricultural residues like dhaincha in place of it.
- Now, at 25 kg per quintal, combine the dung of green fodder-eating animals.
- Until the compost is ready, maintain a moisture content of 50 to 60 per cent with the help of sprinkling.
- To dissipate the energy and heat generated and to maintain the atmospheric condition, turn the compost every third or fourth day.
- It takes about a month to prepare a final product from garden waste.
3. Vermicompost:
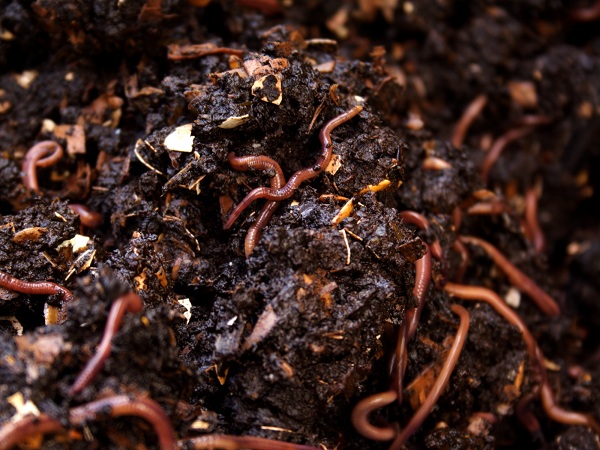
The scientific method of making compost using earthworms is called Vermicomposting, and the resulting final product is called Vermicompost. Earthworms excrete the digested form of biomass into the soil, where they are commonly found. The worms’ excretion is a rich source of several minerals that enhance the quality of the soil, which can also be used as a potting compost for indoor plants. Here are some steps that will help you on how to make vermicompost at home:
- Depending on the availability of the raw materials, you can use a plastic or a concrete tank to prepare Vermicompost.
- Place the biomass under the sun for 8 to 12 days and then use a cutter to chop it into pieces of the required size.
- Prepare a cow dung slurry for quick decomposition and sprinkle it on the heap.
- Make sure to add soil at the tank’s bottom, creating a 2 to 3-inch layer.
- Now evenly distribute partially decomposed cow dung, dried leaves, and other biodegradable wastes to prepare fine bedding on the sand layer.
- Alternate between chopped bio-waste and partially decomposed cow dung up to the depth of 0.5 to 1 foot, layer-wise.
- Release the species of earthworms over the mixture after adding the bio-wastes altogether. Now use gunny bags or dry straws to cover the compost mixture.
- To maintain the compost’s moisture content, sprinkle water regularly. Furthermore, protect the compost from direct sunlight and rainwater, and prevent the entry of mice, snakes, lizards, and ants by covering the tank with a thatch roof.
- Ensure to maintain the bin’s temperature and moisture, and to avoid overheating, check the compost frequently.
4. Mushroom Compost:
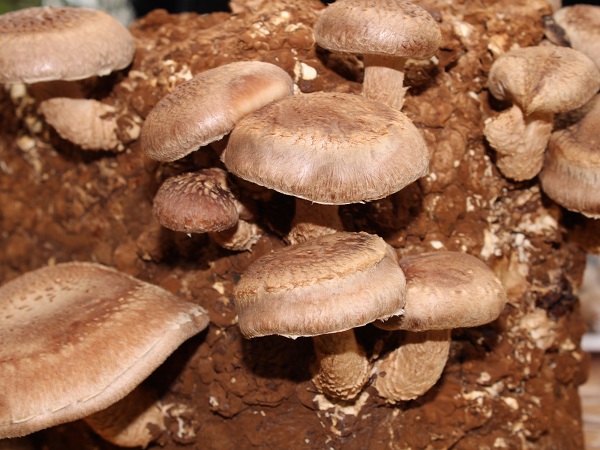
A type of slow-release, organic plant fertilizer made by Mushroom growers is called Mushroom compost. The growers use organic materials like horse manure, poultry, hulls, corn cobs, straw, or hay to prepare this compost. This type of compost has several other garden benefits apart from producing mushrooms. Here’s how to make mushroom compost for plants at home
- First, mix the mushroom bacteria, soil, straw, and manure. Then, let the massive piles of compost heat up by letting it sit for 30 to 60 days. During this period, the mushroom bacteria give most of the essential nutrients by feeding on straw and chicken manure.
- Make sure to process your compost thoroughly, making it safe for garden use after harvesting your mushrooms.
- Remember that you will need to monitor the mushroom compost during the weeks of processing. To achieve pasteurization, make sure that the pile maintains an adequate temperature.
- When done commercially, you can inject steam into the compost pile at 140°F when done commercially, though you can skip this step if you are preparing this compost at home.
- Allow the compost to cool down before you use it; only after the compost pasteurization is completed. The seeds will overheat and die if you don’t maintain the ambient compost temperature lower than 90°F. For example, 100° soil is fine if the air is 100°.
- The mushroom compost is ready to use in your garden at the end of this composting process.
5. Animal Manure Compost:
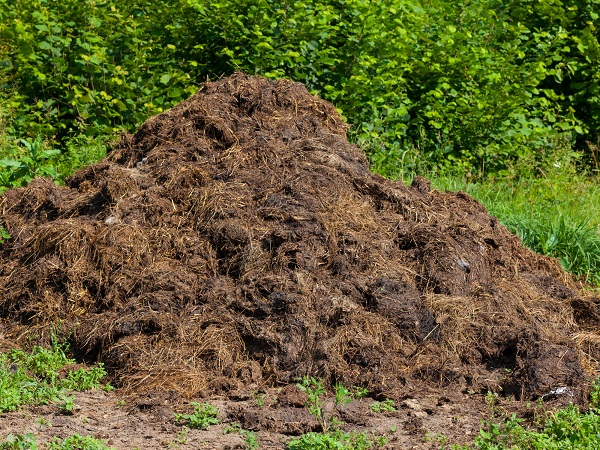
As the name suggests, the compost prepared with the help of animal manure, when combined with agricultural waste, is called animal manure compost. You get a better quality product when you combine these two ingredients. Composting livestock waste is done with the application of microorganisms as decomposers. You can use animal manure in the garden to feed the plants with all the necessary nutrition.
Top 5 Best Compost Bins for Home:
1. Terracotta Compost Bins:
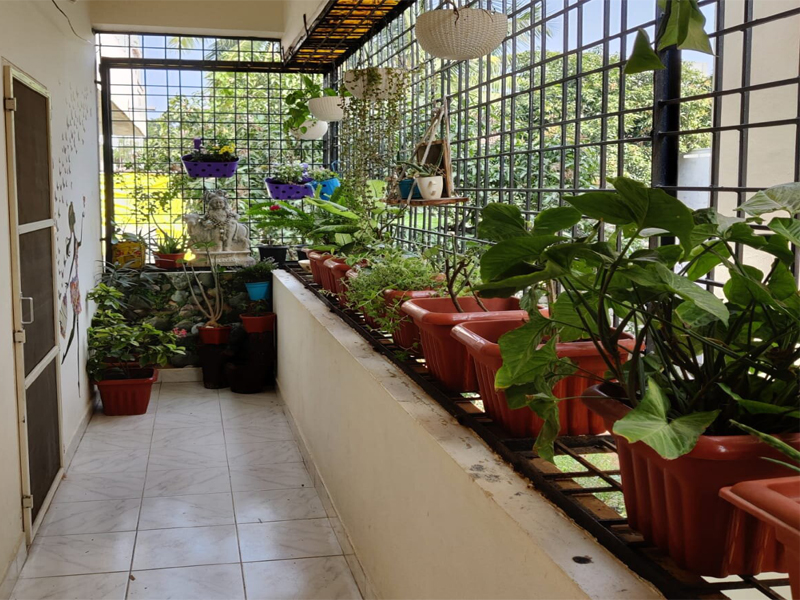
Composting in terra-cotta pots can be an excellent option for people who want to create compost in small outdoor or indoor spaces like balconies or terraces, especially in urban dwellings. The material used to create a Terracotta, beautiful, stackable compost bin has the advantage of natural breathability.
2. Electric Compost Bin:
An appliance that breaks down organic waste into additives that you can mix into the soil is called an electric composter or an electric compost bin. Compared to traditional compost piles, electric composters break down food scraps much faster by using electricity. Generally, you can expect the finished product from electric food compost bins within a day.
3. Plastic Compost Bins:
If you are looking for a bin ideal for small space, then the plastic compost bin can be an ideal choice. This bin’s plastic sides and lid encourage rapid decomposition by retaining moisture and heat. It also stops the weeds from growing by blocking out light. Ideally, grass or earth is the perfect place to keep this bin.
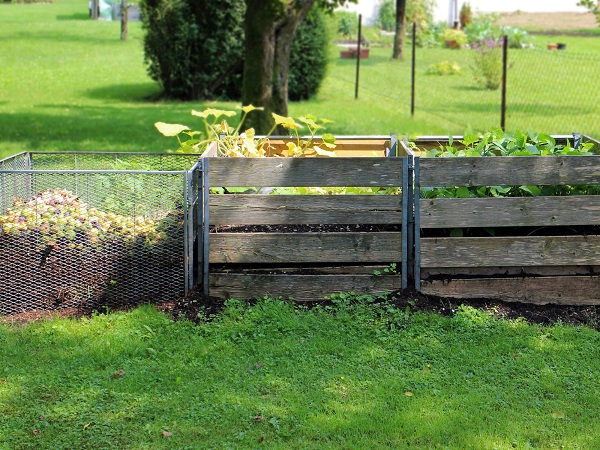
4. Wooden Compost Bins:
The compost bins that produce the most compost are called wooden compost bins. Typically, you can get hundreds of litres of compost from the most significant wooden bin, which is 1x1m. To ensure a steady supply, you can combine several modular ones and cycle compost throughout the year. You can use a wooden lid or a plastic cover to increase efficiency or keep them open to the elements.
5. Hot Compost Bins:
The bins which allow decomposition at higher temperatures are Hot compost bins because they are insulated with a close-fitting lid. Compared to other composters, the hot compost bins allow decomposition at a higher speed because of the high temperature, which results in finer compost. However, the hot compost bins must stand on a hard surface since they are roughly the size of a wheelie bin.
It is up to you to decide which method of composting fits your lifestyle and gardening needs because every gardener is different. However, learning how to make compost at home can be environment-friendly and incredibly easy by following the simple steps mentioned in the article. Furthermore, the compost you make at home can be an exceptional treat for your garden using the scraps from your kitchen and a little patience. Don’t forget to let us know if you found the article helpful!
FAQ:
1. What are the things you shouldn’t add to the composting process?
Here is the list of things you shouldn’t add to the composting process:
- Scraps of meat and fish.
- Oils, fats, and dairy.
- Pesticides or preservative-treated wood or plants.
- Debris of black walnut tree.
- Insect-infested or diseased plants.
- Charcoal ash.
- Waste of cat or dog.
2. What should the frequency of compost turning be?
You will be able to produce compost more quickly by turning the compost more frequently, about every two to four weeks. This is because the pile’s centre heats up and promotes maximum bacterial activity by waiting at least two weeks. However, the average time can be every four to five weeks for a composter turn.
3. Is it okay if we use too much compost?
There is a chance of developing a high concentration of nutrients like sodium, potassium, calcium, magnesium, and ammonium when soils have excessive compost application, signing manure. In addition, high concentrations of hydroxyl, carbonates, and bicarbonates are developed in these soils.


