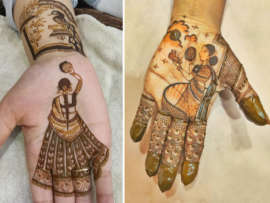
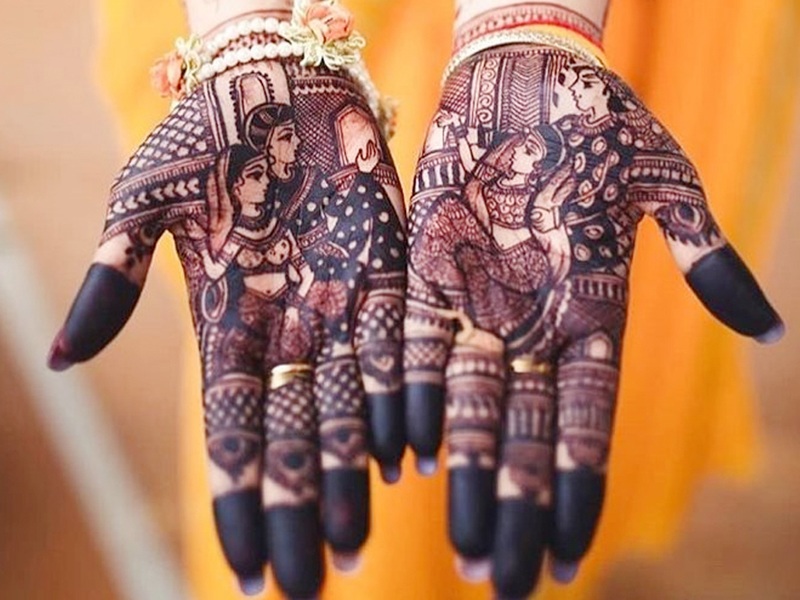
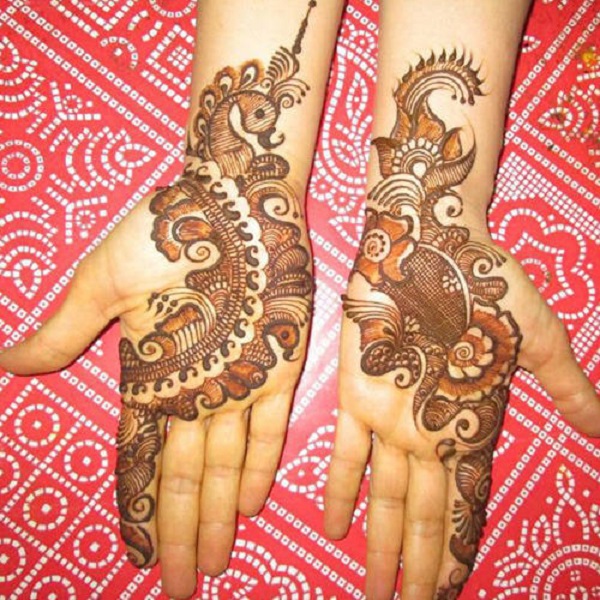
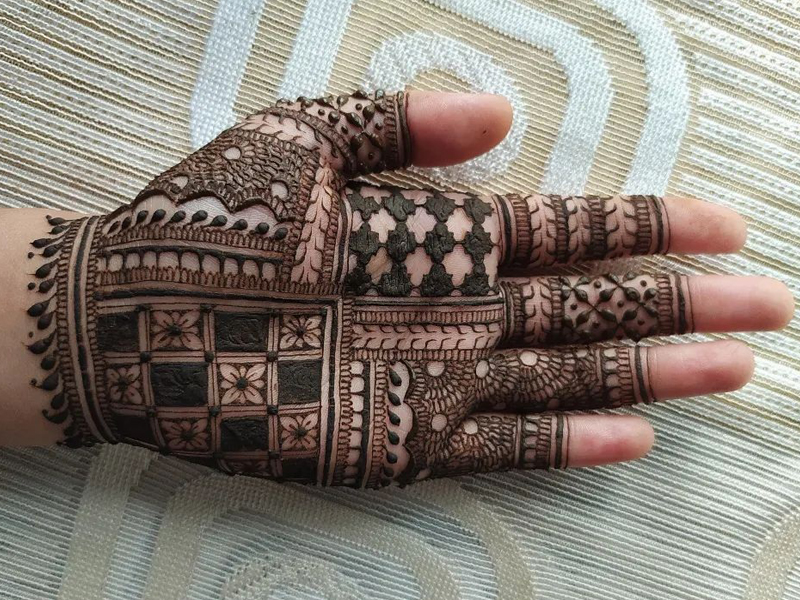
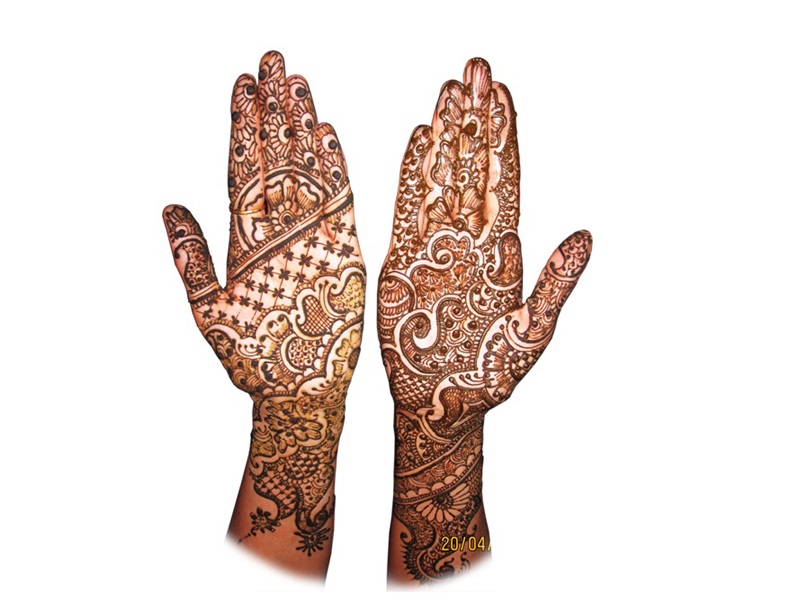
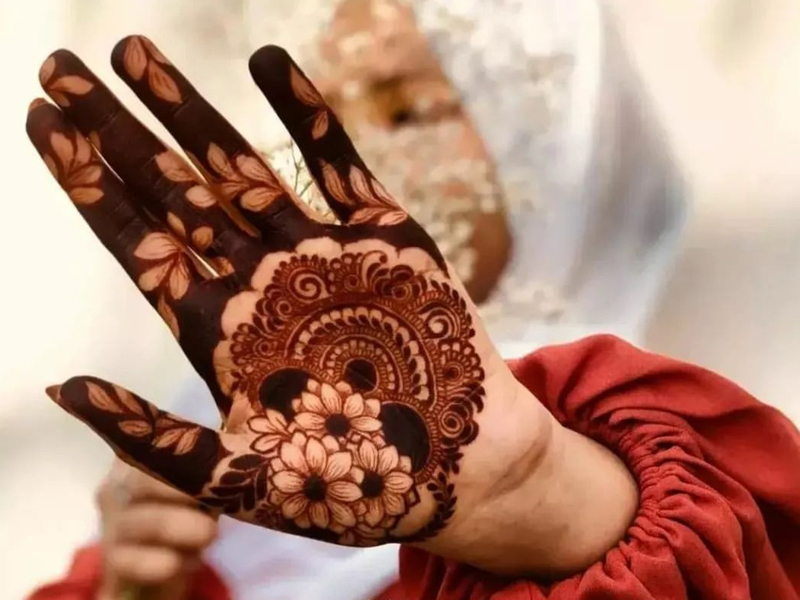
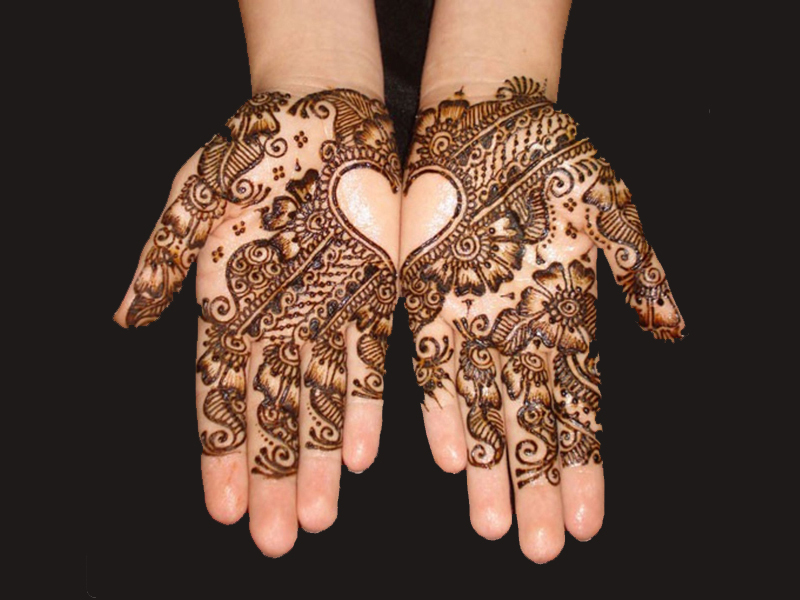
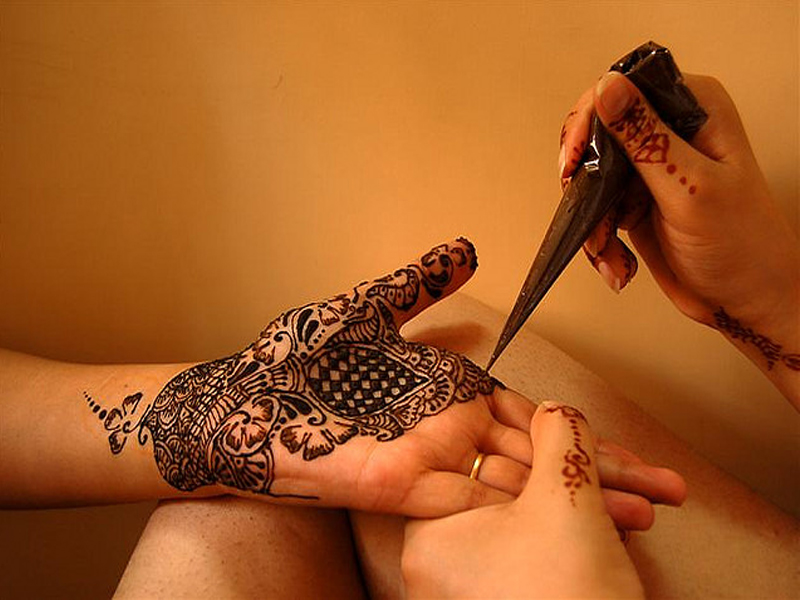
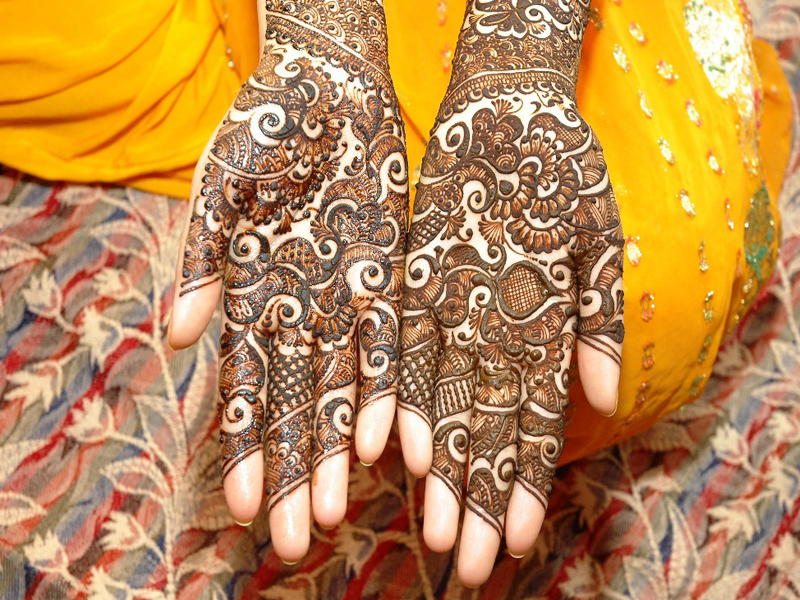
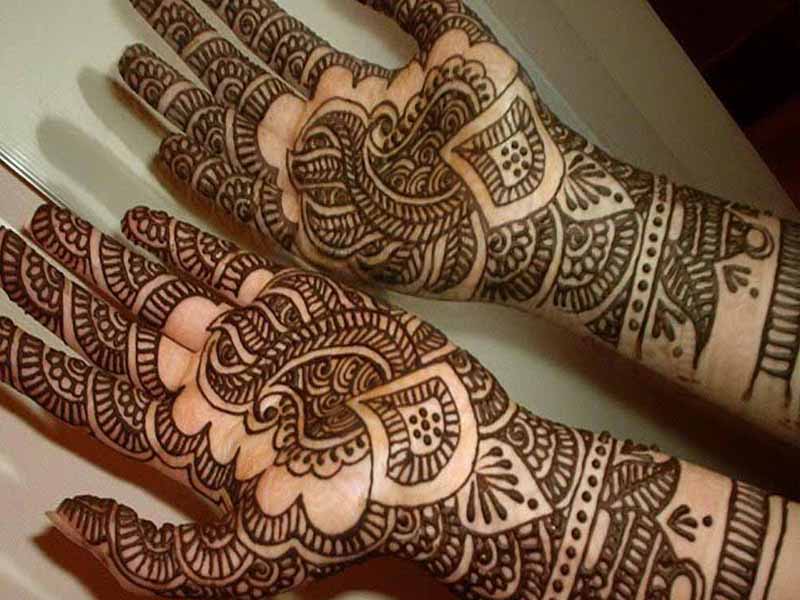
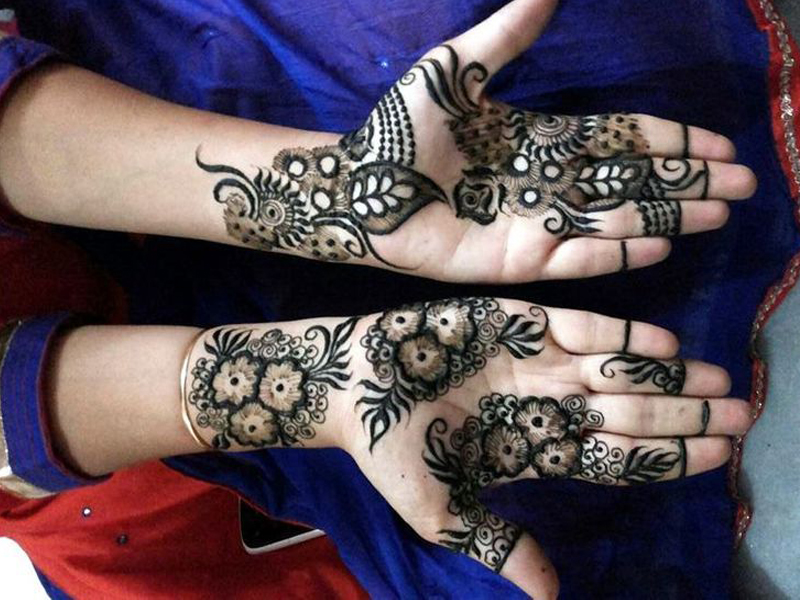
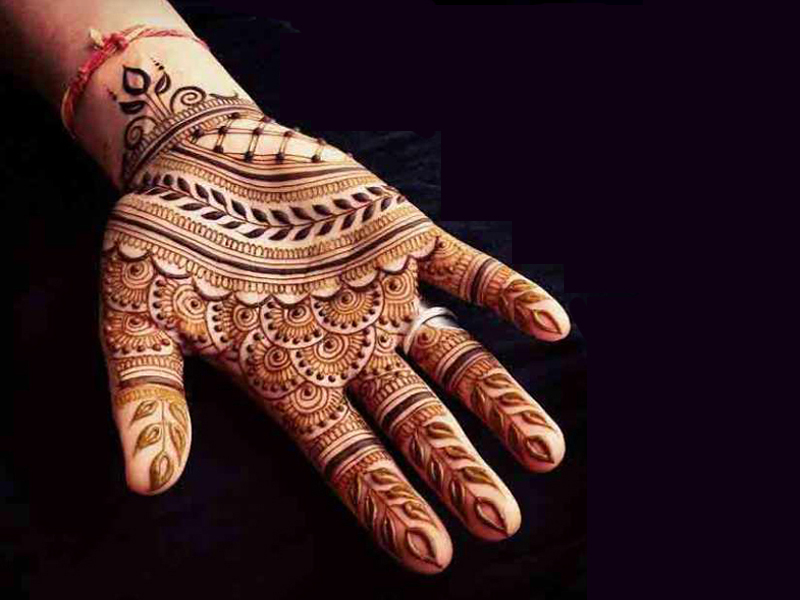
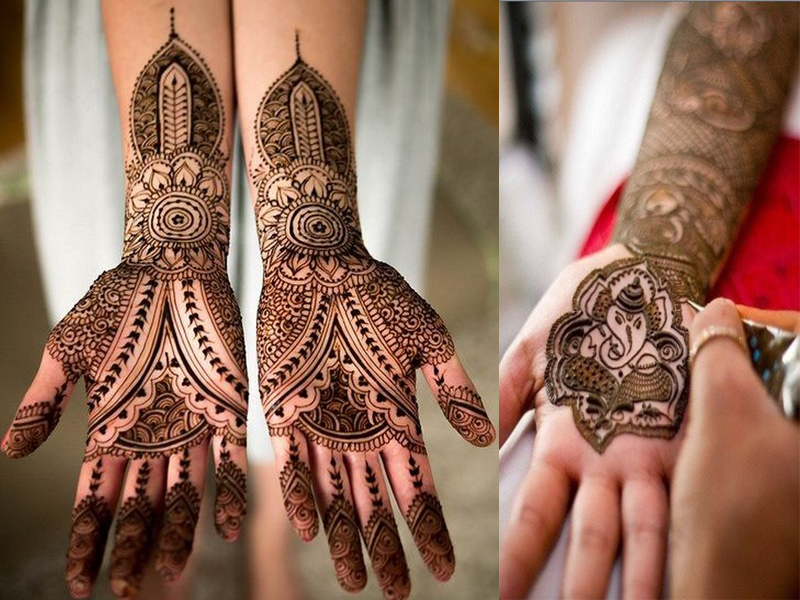
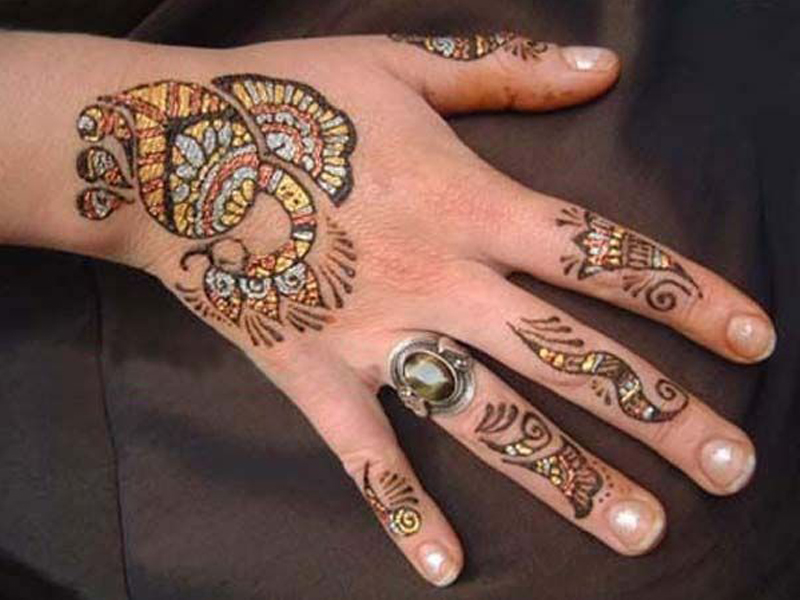
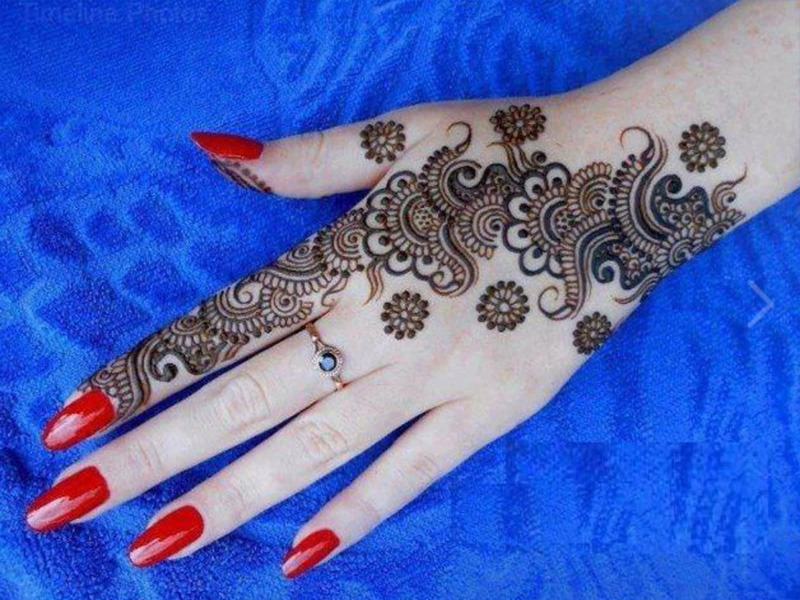
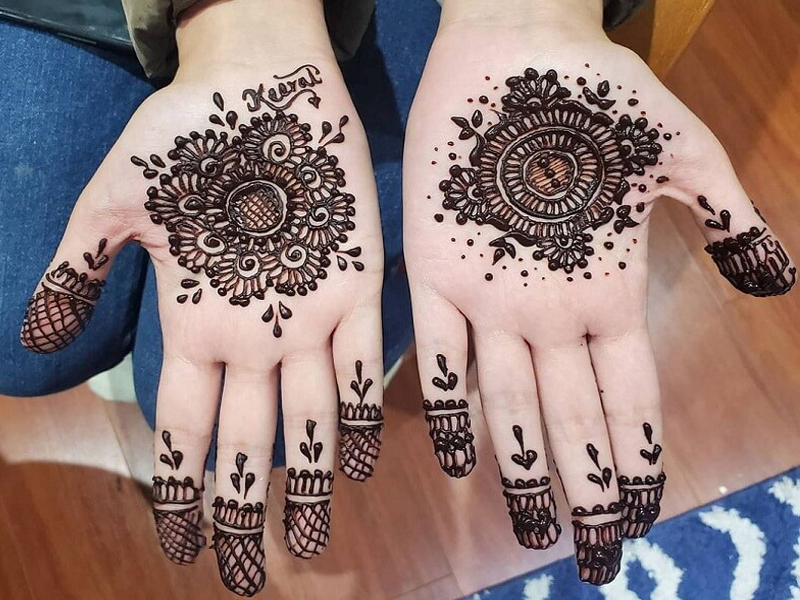
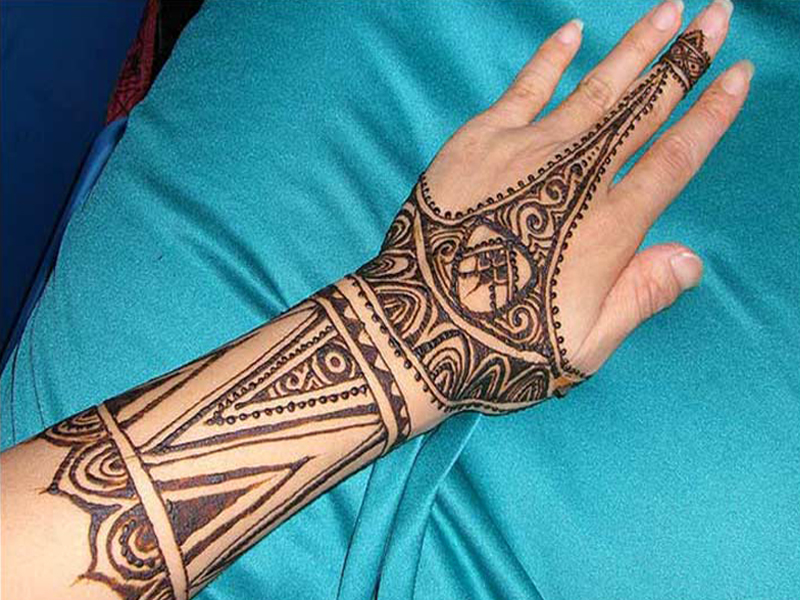
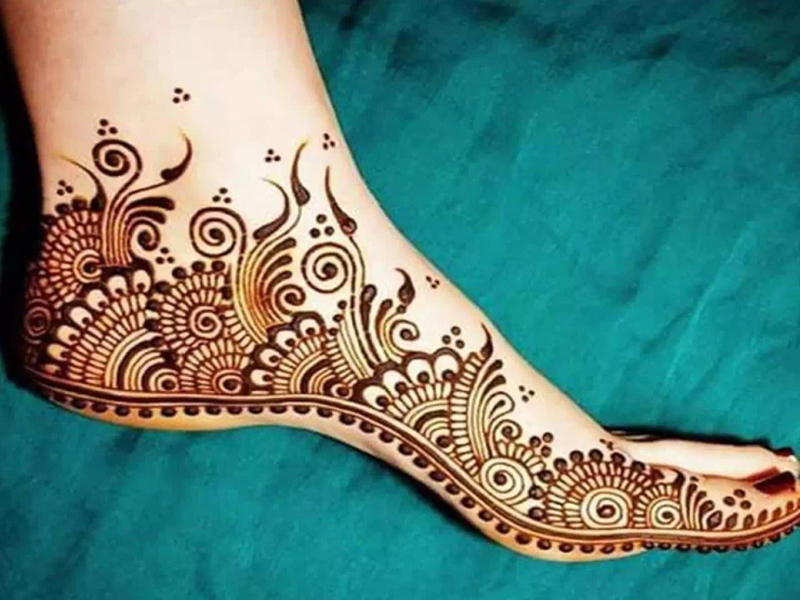
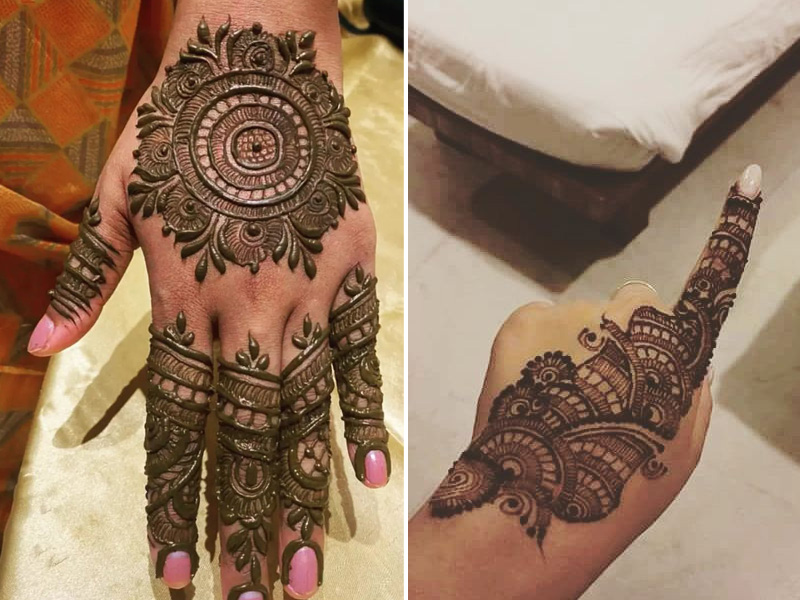
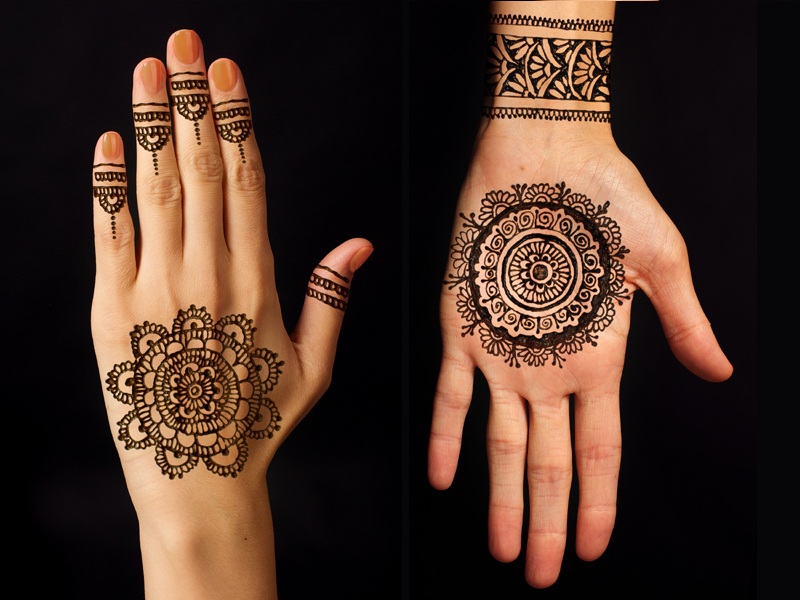
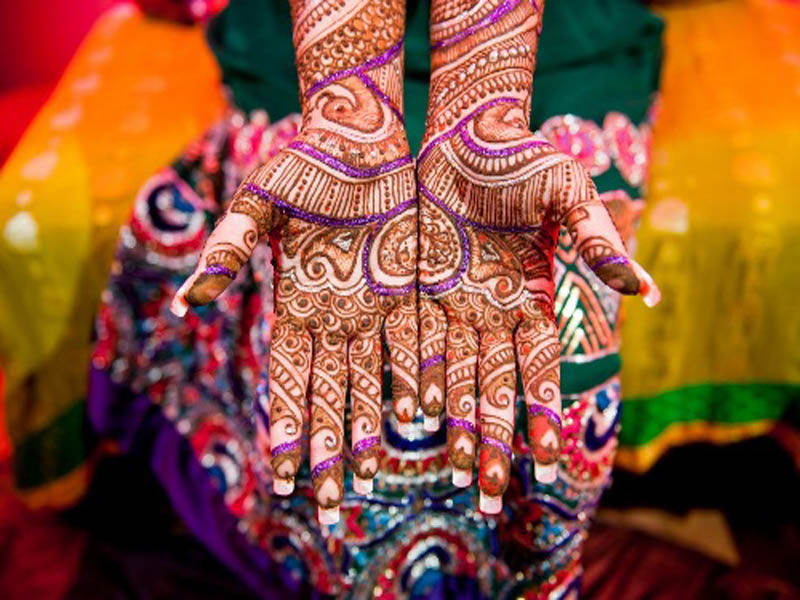
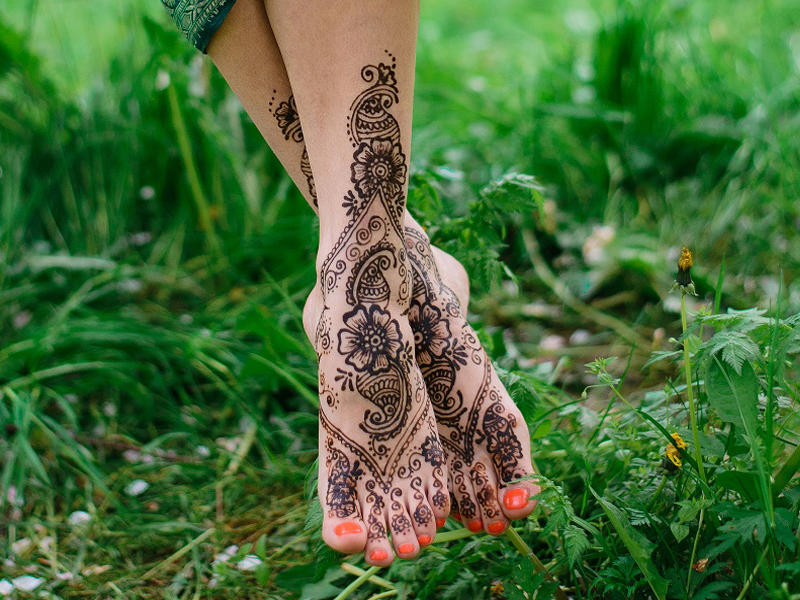
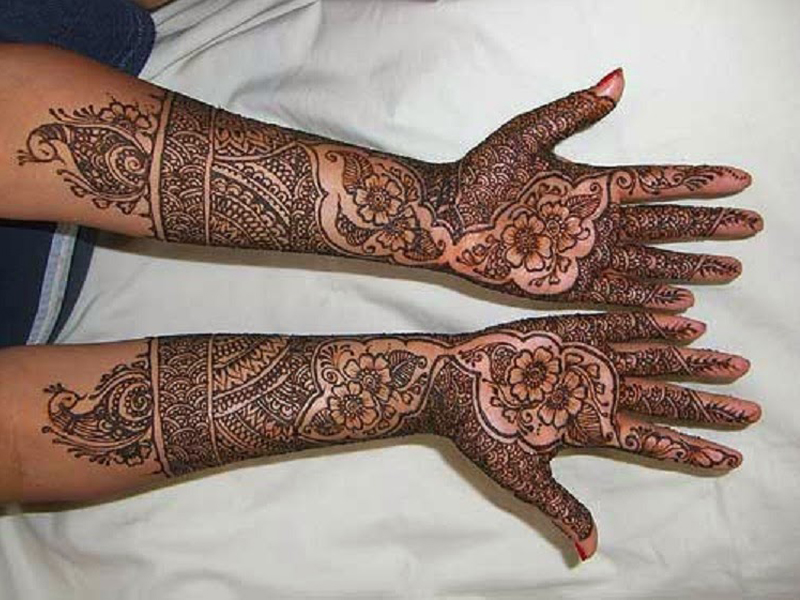
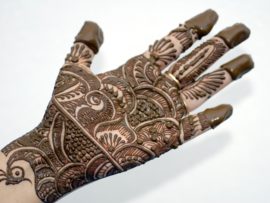
How to make mehndi cone at home perfectly? do you want to know the process and steps involved in that. Mehndi making at home is very brilliant idea. Mehndi is truly the essence of Indian culture. It’s rich colour and an amazing fragrance has us all falling for it. It is a form of art which is well appreciated as well as enjoyed. But even as an established artist, one can go wrong if the tool used isn’t constructed to perfection.
The mehendi design made can portray you as a novice if the henna cone is not made correctly. There are many people who use sticks for creating henna designs but the process is extremely difficult to learn. Hence, hand rolled mehandi cones have been used for ages now, to make the process easy and practice the art without straining the artist’s hands too much. Here we give the step by step process for how to make mehndi cones at home correctly with perfection which made mehndi design more darker.
How To Make Mehandi Cone Step By Step
Making henna cones is not rocket science. Following a few simple steps (and definitely practicing a number of times) can make you perfect.
Things You Need
The first task is to assemble the supplies and tools you will require:
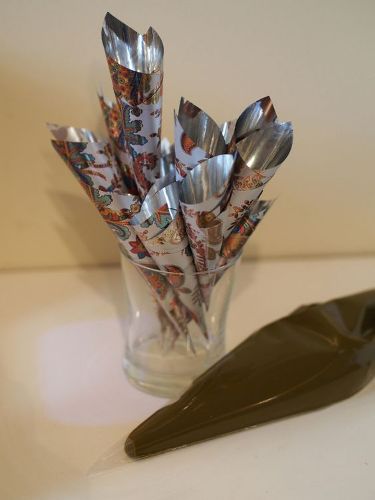
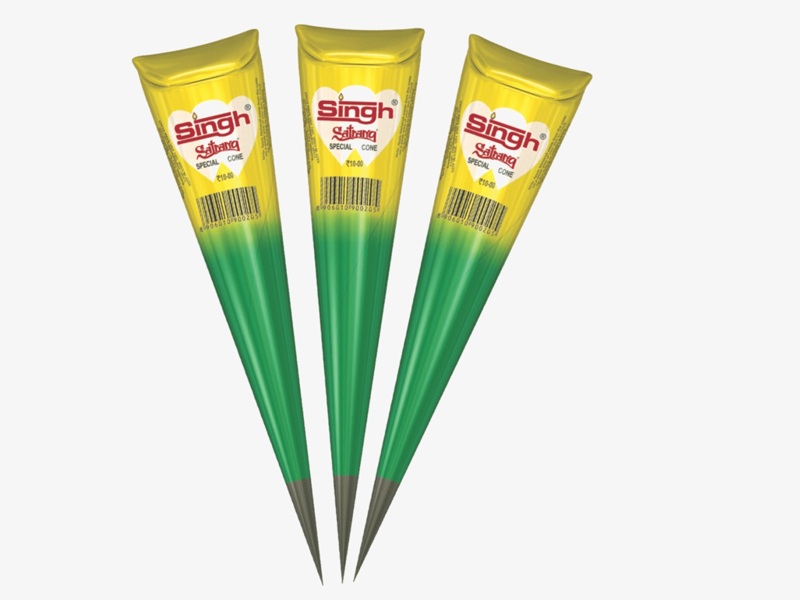
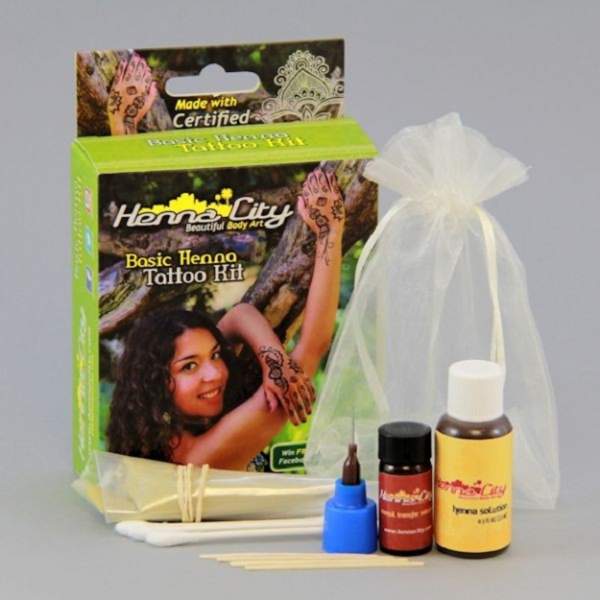
- Cellophane or Flora phane or Mylar sheet. Cone making is easier with thicker sheets.
• A pair of scissors.
• Sticky tape.
• Small rubber bands to secure the cones.
See More: Matching Colour Dress For Mehndi
Step by Step Method to Prepare a Mehendi Cone :
Once you have all the supplies at your disposal, begin with the task at hand.
- Cut the sheet into a rectangle sized 6X7 inches. Though triangular pieces can be used too, rectangles are preferred more due to the extra layer of material which is provided by them and the same helps in preventing any leaks, when rolled into a cone.
- Begin rolling the cone – All you need to do is grab the upper right corner of the rectangle and follow by folding it left, towards the centre. The centre of the wider edge of the sheet becomes the pointed end of the cone.
- Roll and roll! – Continue rolling the sheet until you finally form the cone. You may use a small pushing – pulling motions to adjust the length and width of the cone, as per your desire and requirement.
- When you reach the end, shift the cone, followed by pulling it, to make the opening of the tip as per your desire. It is recommended to keep the tip opening as small as a pin hole. If you require bigger openings, the tip can be cut with a scissor, later.
- Tape along! – The little tail of the cone end must be taped properly. Leave one and a half inches from the tip while taping.
- Next, a small piece of tape is to be added around the tip of the cone. This will secure the tip and protect the tiny, teensy opening in place. Also, it prevents unwrapping and any spillage of the henna.
- Tape along the seam with approximately one and a half inches pieces. Secure from the inside with tape too.
How to Make Mehendi
There are two ways to making Mehendi at home.
1. Fresh Leaves:
- If you plan to use Mehendi leaves, clean them throughly
- Grind them into a paste with little water
- Make sure the paste is not lumpy or coarse
- The smooth paste can be used as Mehendi
2. Dry Leaves or Powder
- Dry the Mehendi leaves in Sunlight and powder them or Use Market ready Mehendi Powder
- Mix the paste with water and few drops of lemon juice
- You can add a few drops of Eucalyptus oil to the mixture for better results
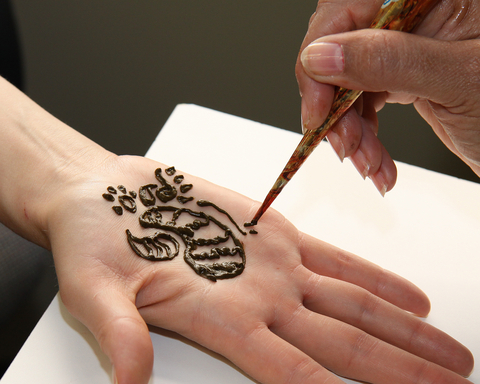
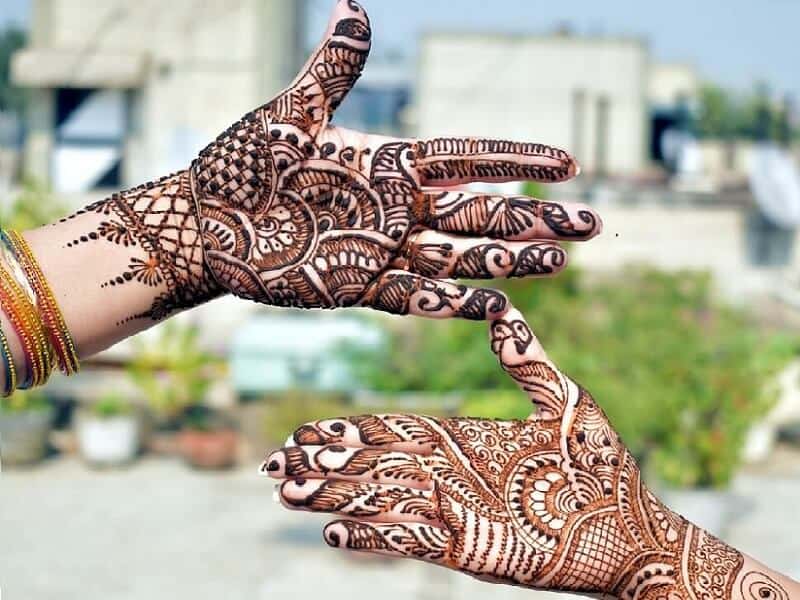
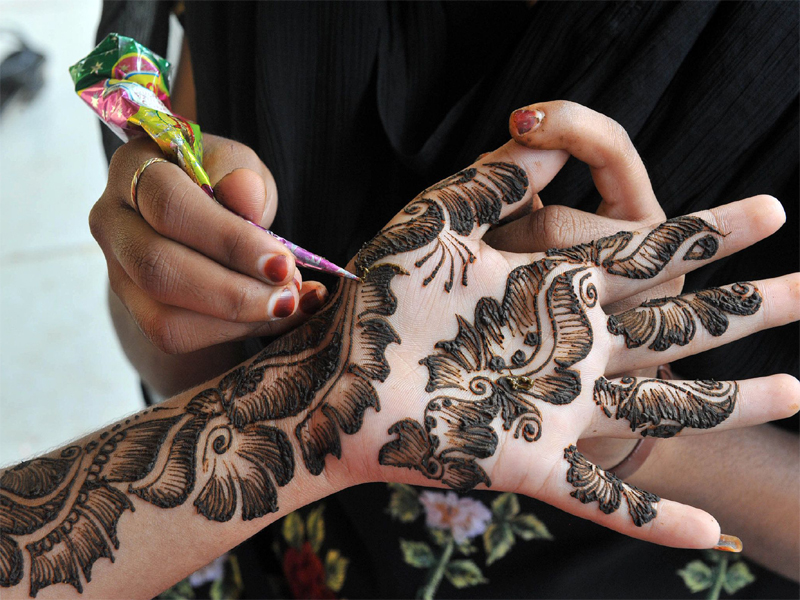
How to Use a Mehendi Cone For Perfect Application:
- Fill the cone up to a half or two third of the length with prepared henna.
- Give a twist to the cone, just above the henna paste and use a tiny rubber band to seal the cone.
- Cut off the tip a little if it is too small. Check and adjust, as per your choice.
- In order to maintain the consistency of the pressure, keep scooting the rubber band down the cone length.
- Voila! Now you have amazing henna cones to last you throughout an event without unravelling, unrolling or developing large, sloppy tips.
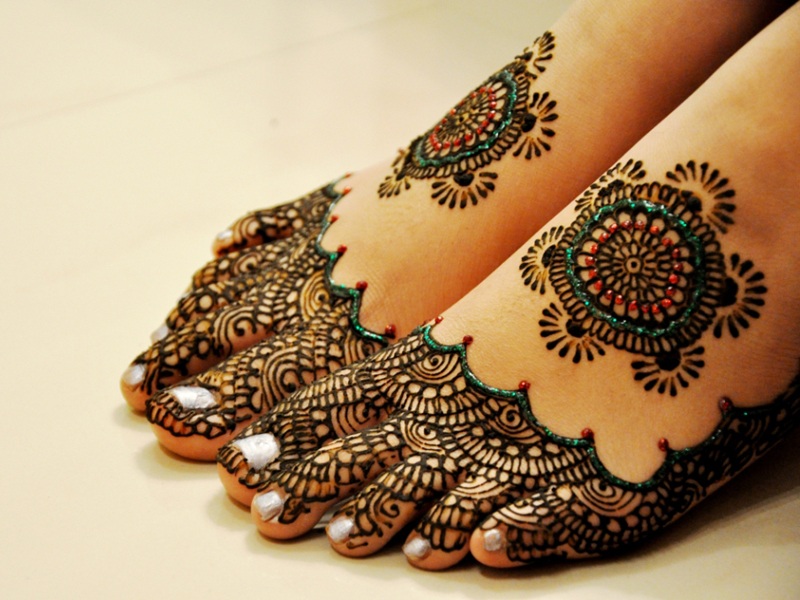
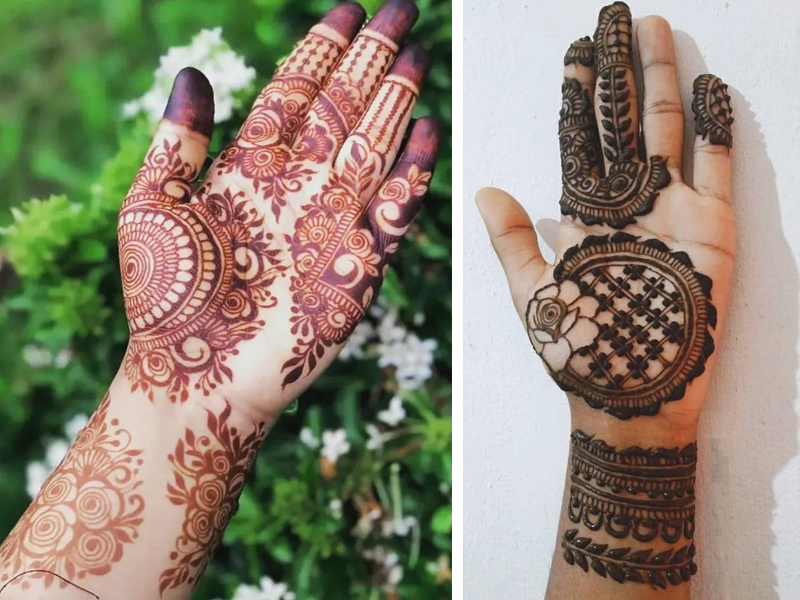
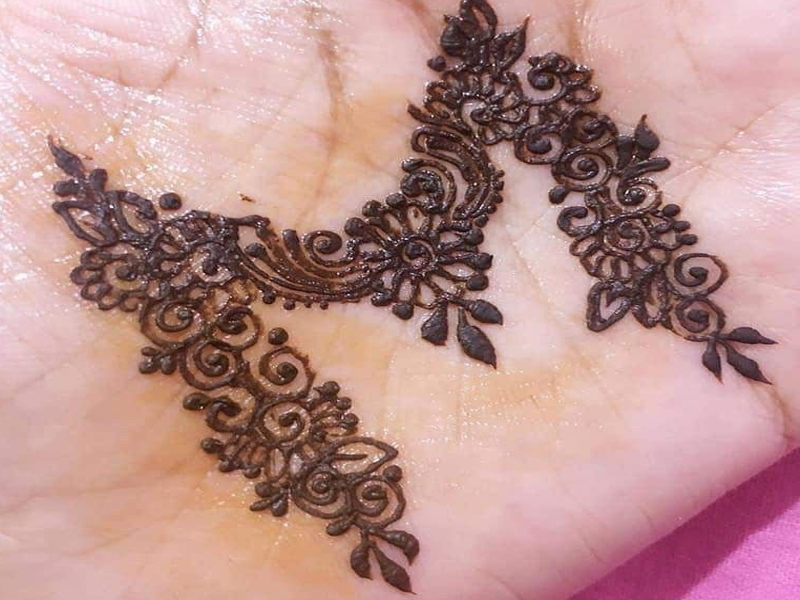
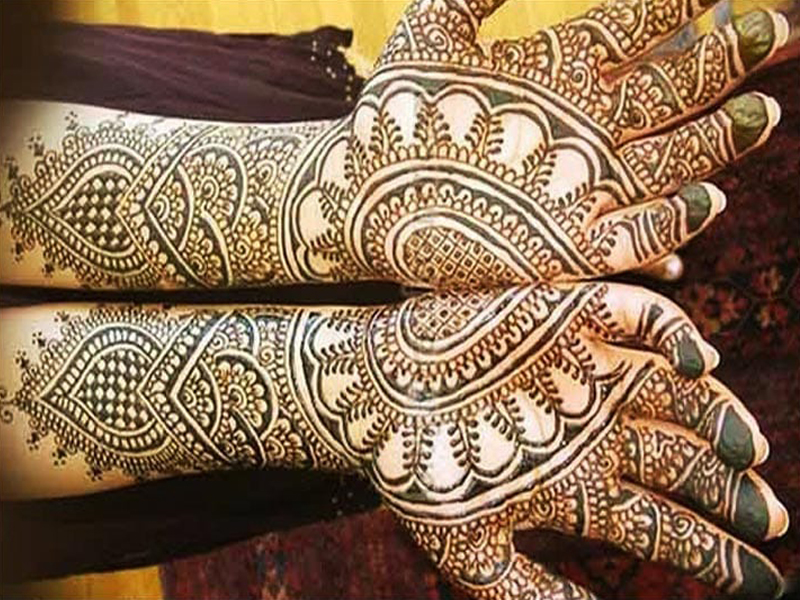
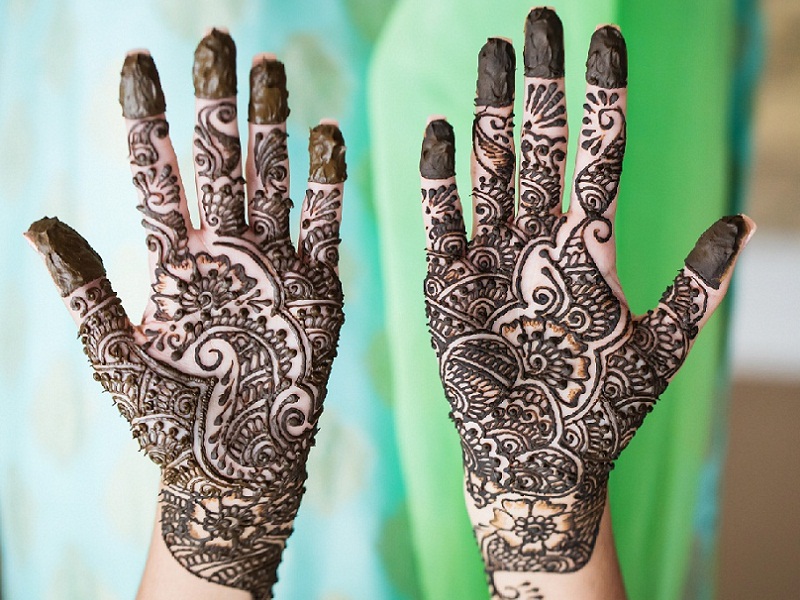
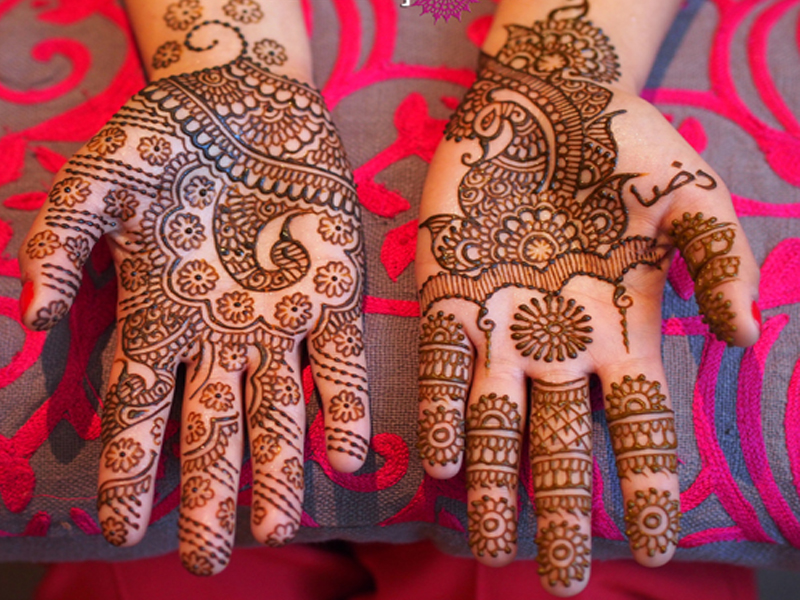
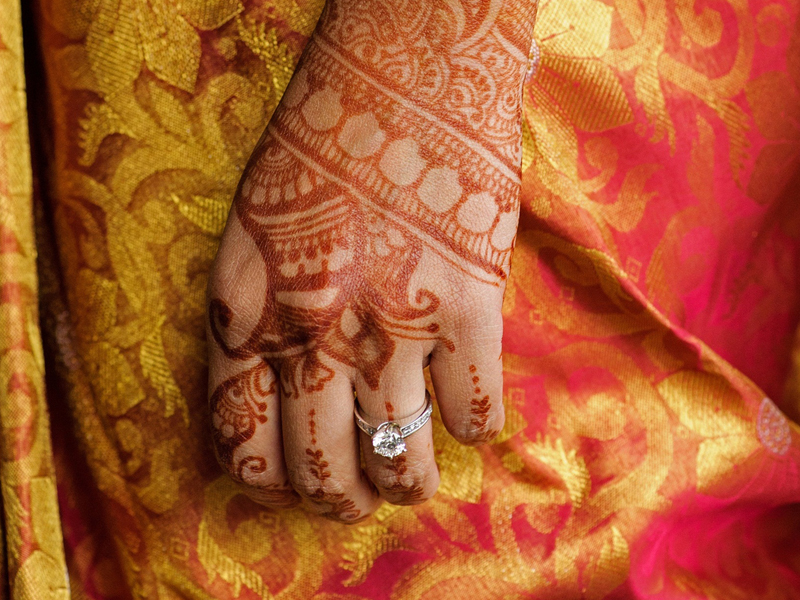
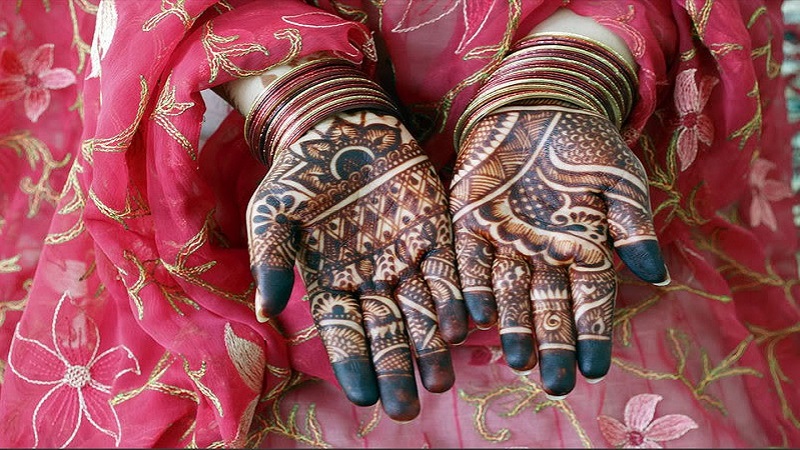
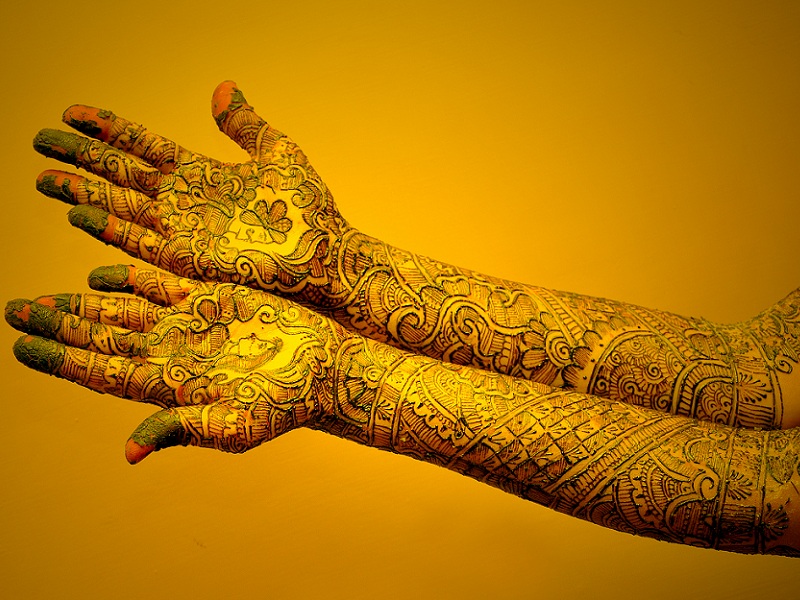
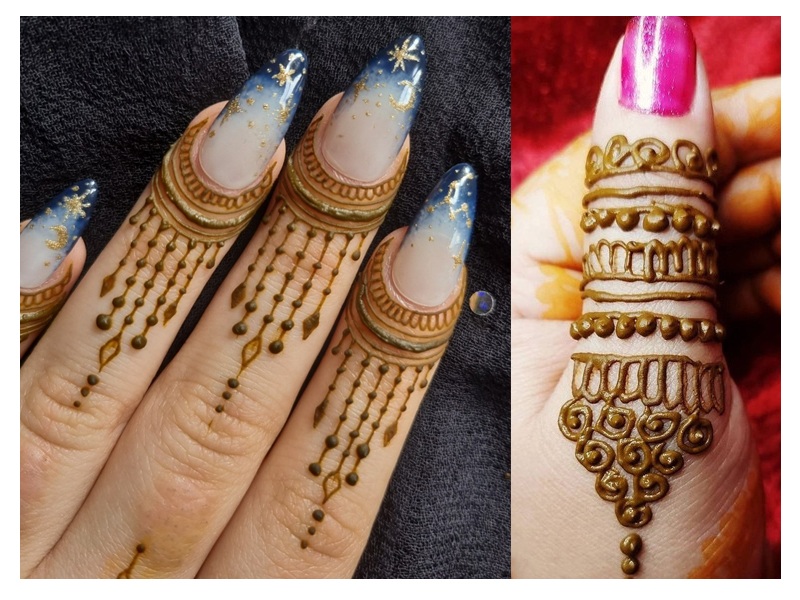
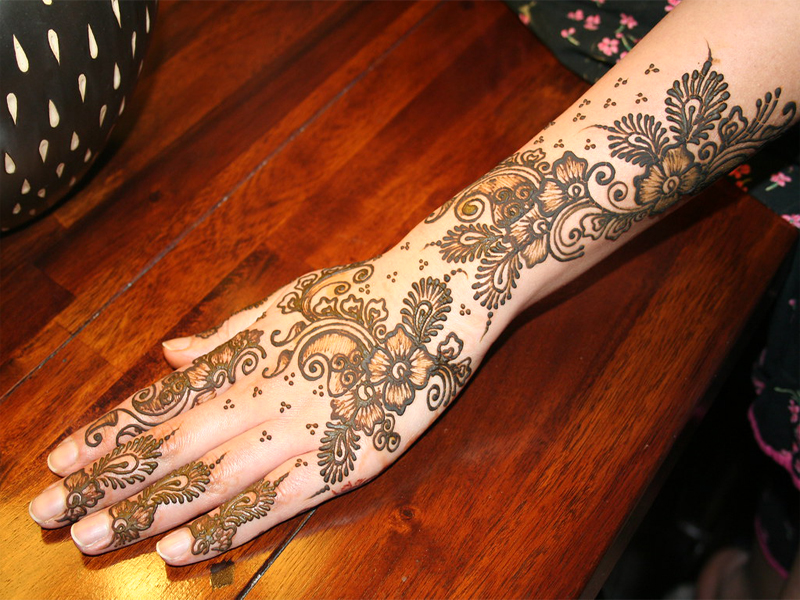
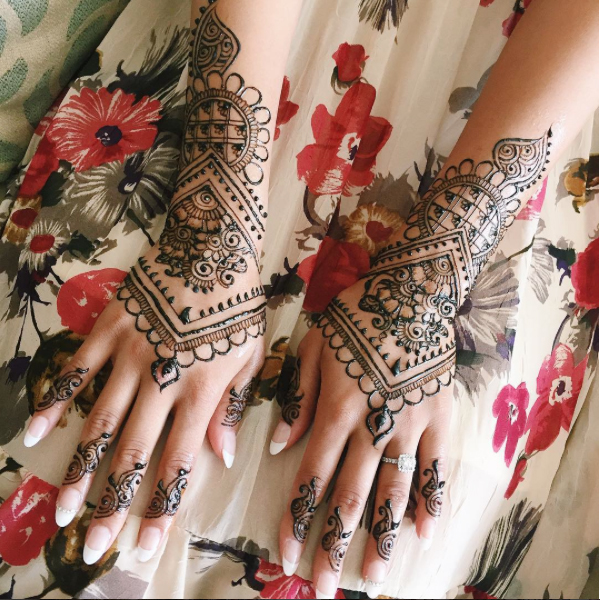
How to Make Mehendi Cone Darker
These simple tips can help you achieve darker color Mehendi that can instantly beautify your palms:
- Leaving Mehendi mixture to rest overnight can help in better color, as Mehendi needs at few hours to release the dye.
- Mix one part of lemon juice with three parts of sugar. Dab this mixture on the applied Mehendi using a cotton pad. This method ensures that the Mehendi doesn’t dry out and stays on the skin for longer time.
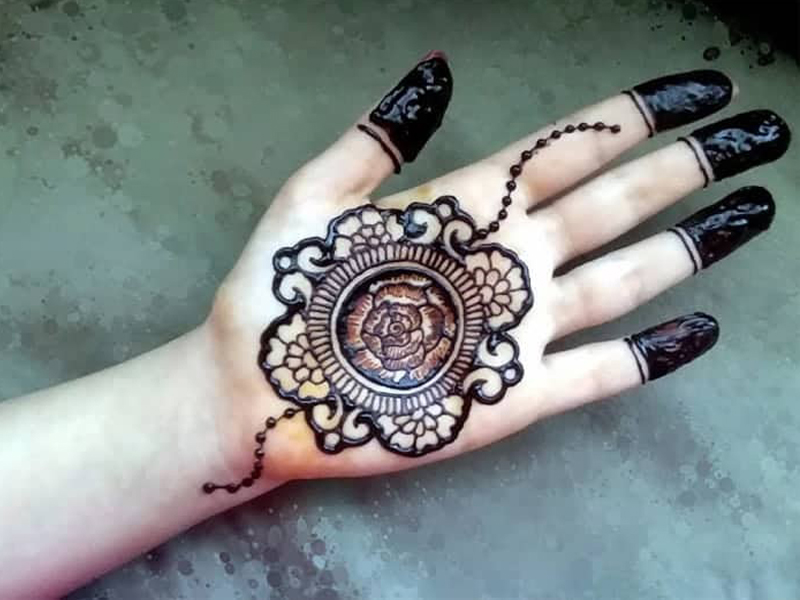
- Leaving Mehendi on the hands for at least 2-3 hours renders darker color
- Once you peel off the Mehendi, expose your hands to the smoke of some cloves heated on a pan. This also makes your Mehendi color dark.
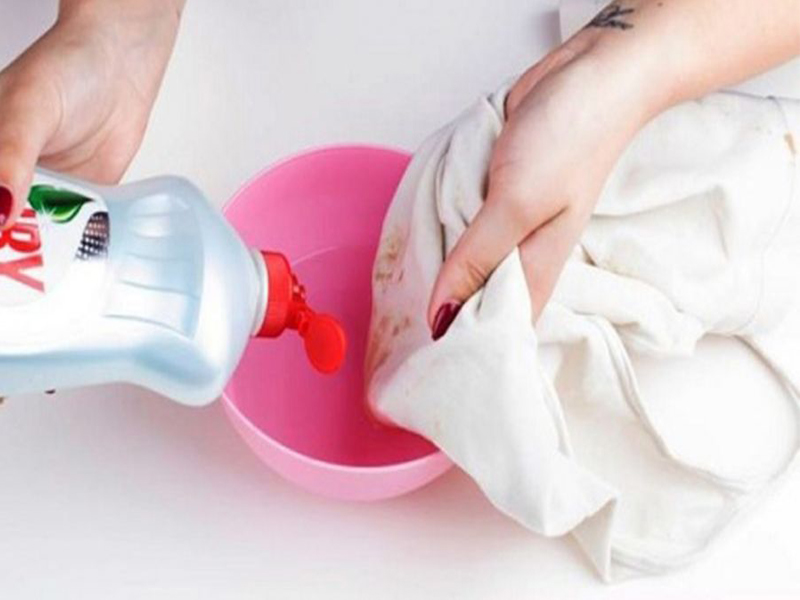
- Do not wash your Mehendi with water. Instead, use some coconut oil to clean the remains
See More: Party Mehndi Designs
Next time you are planning to attend a wedding or a traditional event, you can try out this easy process to make a Mehendi cone. A perfectly made Mehndi cone is the secret to a flawless design on your palms. As they say, “Practice Makes You Perfect”, don’t give up on a single attempt. Keep trying till you master the making of a perfect and sturdy Mehendi cone.


