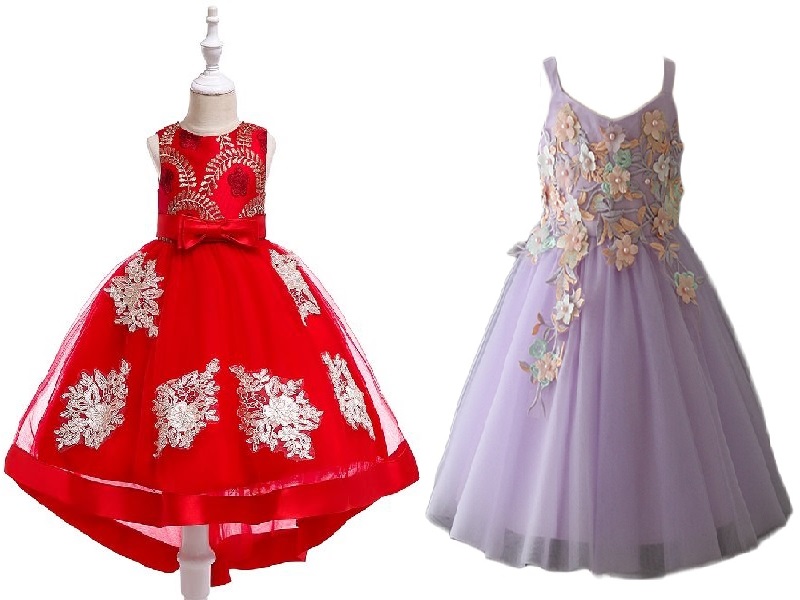
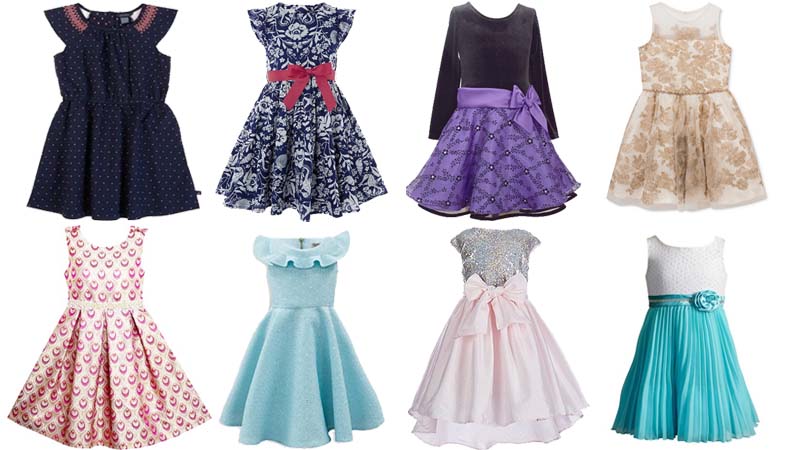
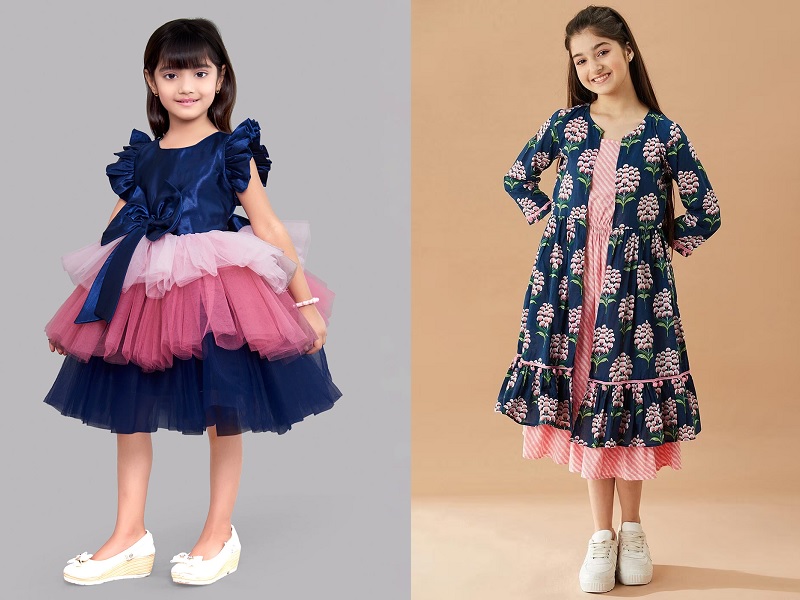
No matter whatever trend is ruling the market, frocks have always been in demand with various colours and different patterns. Whether it is summer, winter, or no matter whatever the occasion is, frocks have been the best way of providing your doll with the best look. No doubt, they look much stylish, they are still simple to make. Also, due to the increase in the price of frocks, women are now looking on how to stitch frock at the internet to gift their daughters the best frock made at home.
Are you also thinking about how to stitch baby frock? Here are some simple ways to do so,
Frock Stitching Step By Step:
Let’s see how to a stitch frock with step by step.
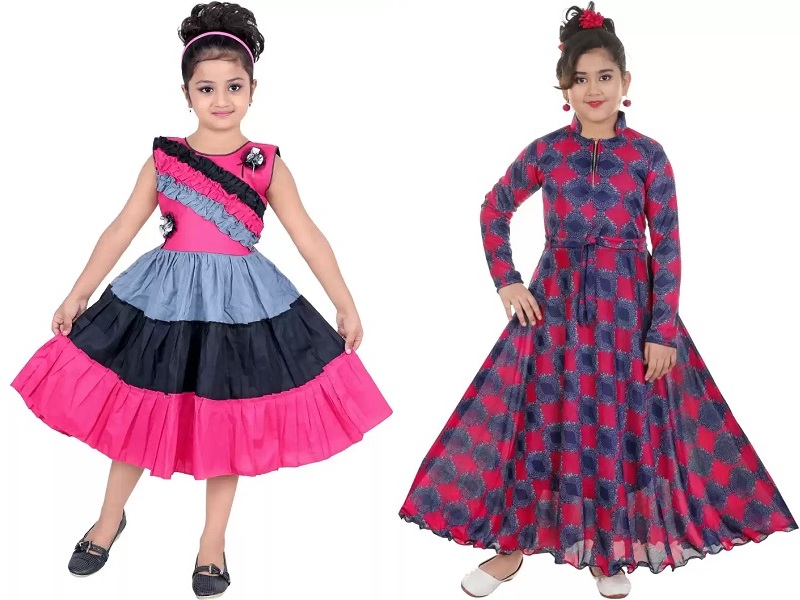
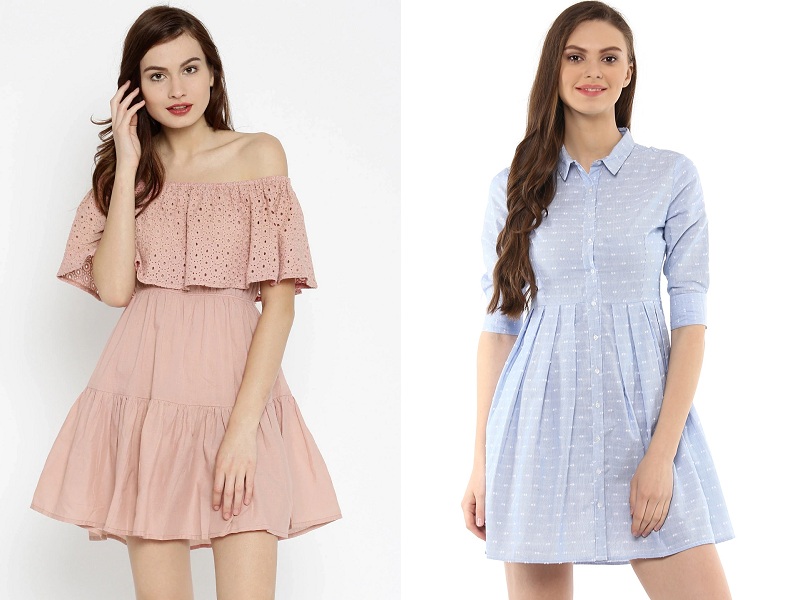
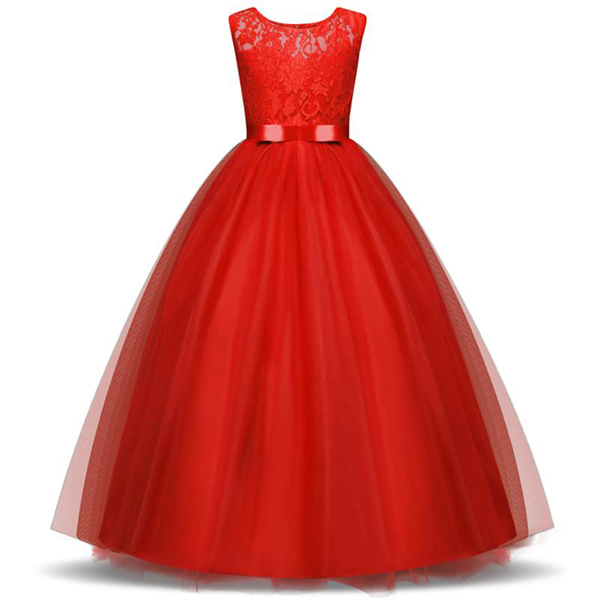
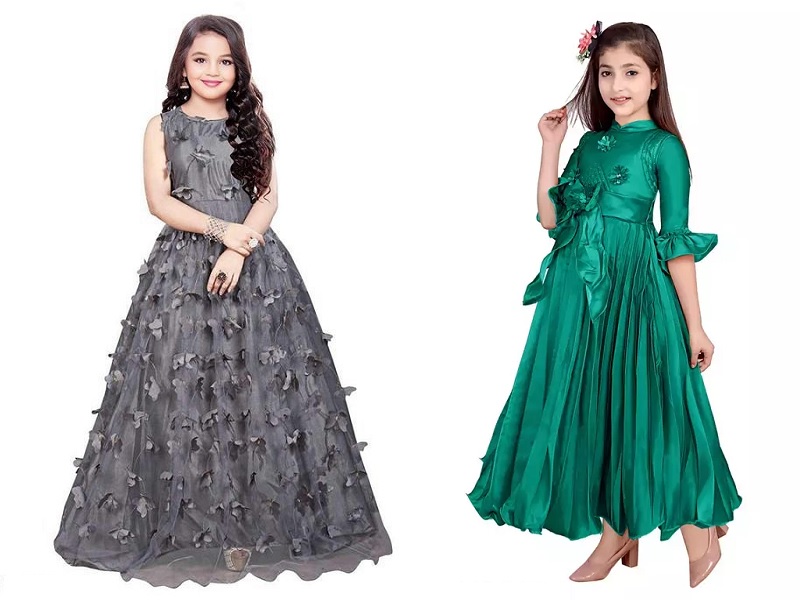
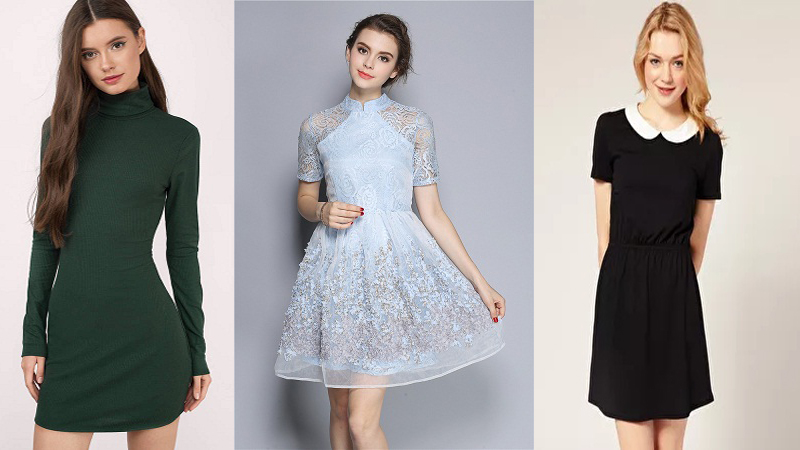
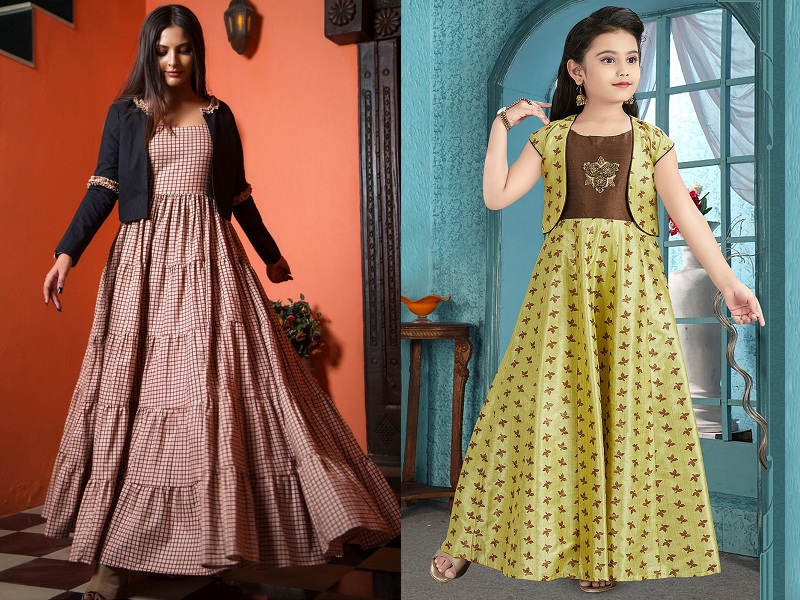
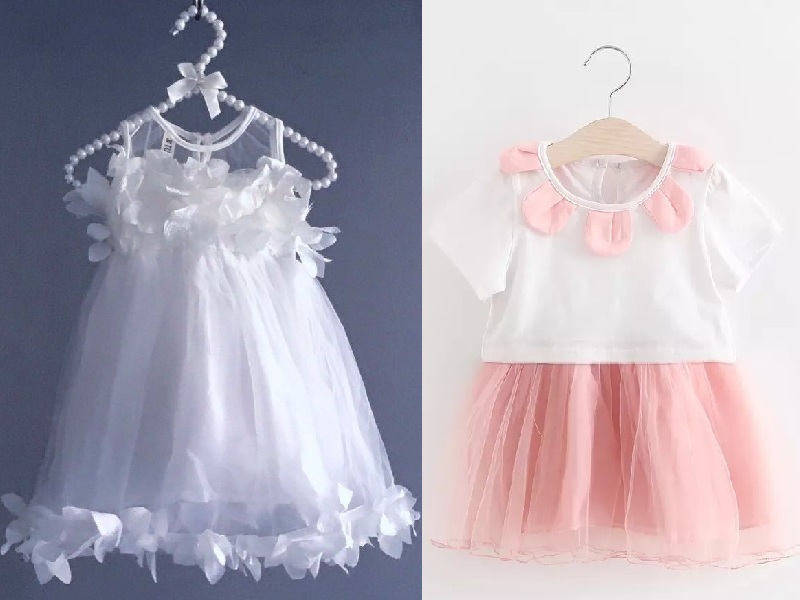
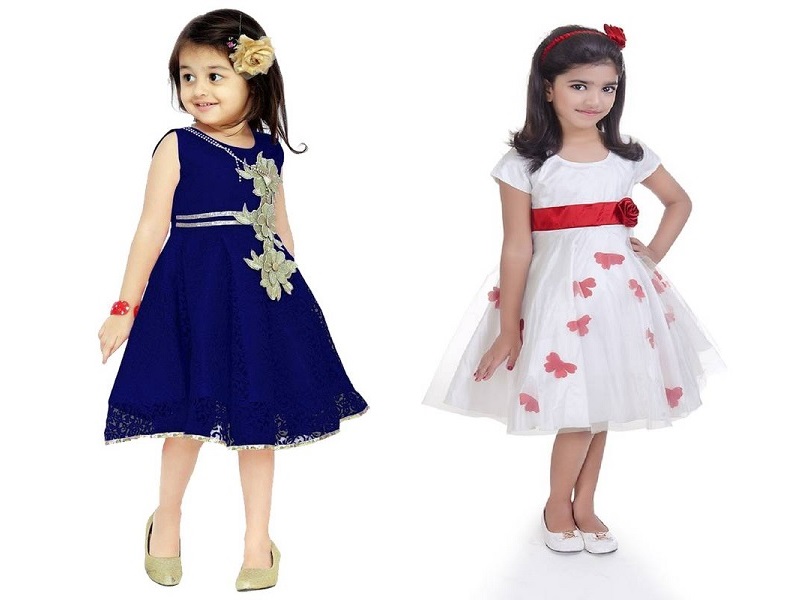
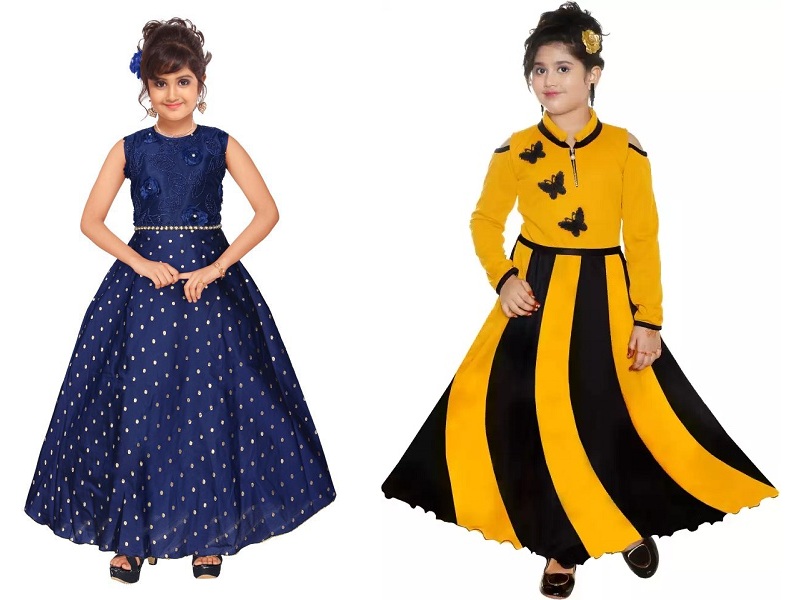
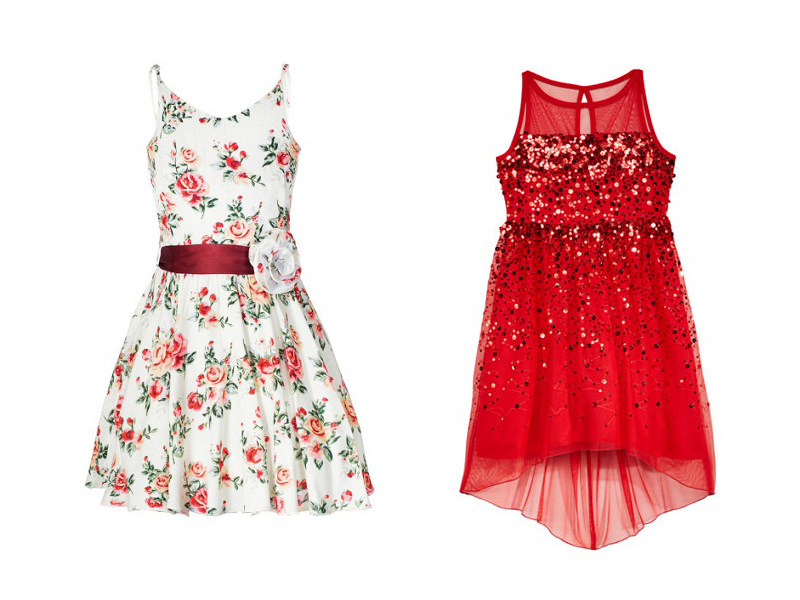
1. Making a Simple Frock:
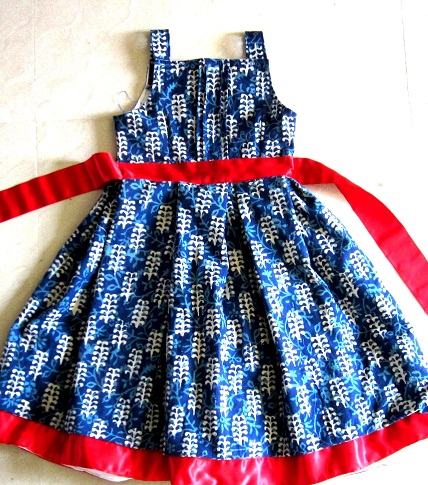
The process of frock stitching step by step would firstly require the selection of material. The simple frocks are generally made out of cotton material that can be worn in any season. Along with this, the material should include some ribbons from satin that would be helpful in decorating the frock.
After the selection of material is done, the next step for how to stitch a frock at home is to take the measurements of the child. With proper measurements, you now need to make the pattern on the cloth. You can fold the material into half and start marking the measurements you had taken. Draft markings for the armhole line, chest line, frock length, waistline, neckline, shoulder drop, back neckline, and the final draft. When your pattern is drawn completely, it is time for cutting now. Make sure you cut out all the panels with due care. When all the cardboard pieces are cut off, it is now time for fabric pattern cutting.
The next step for how to stitch frock by hand is cutting the front-facing. Cut the front neck pattern and give it an open fold. Next is the armhole binding, and the placket. When all these are ready then start sewing the frock by combining all the cut off parts of the frock with the help of the sewing machine. Make sure as you stitch you keep at least an inch of space inside to make changes in the frock if found tight.
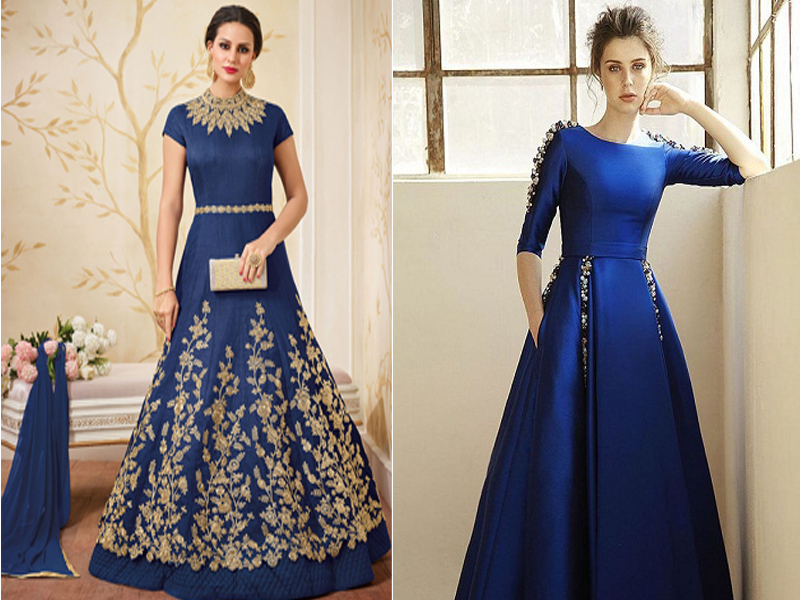
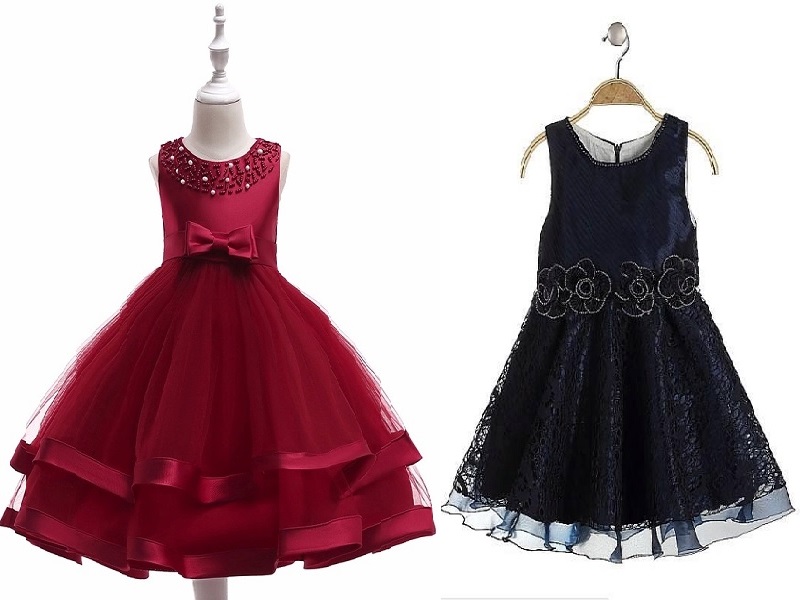
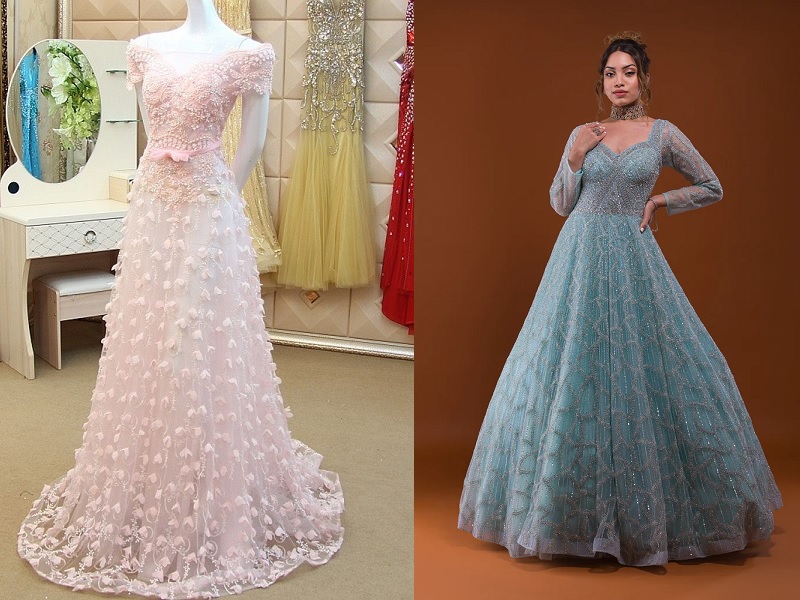
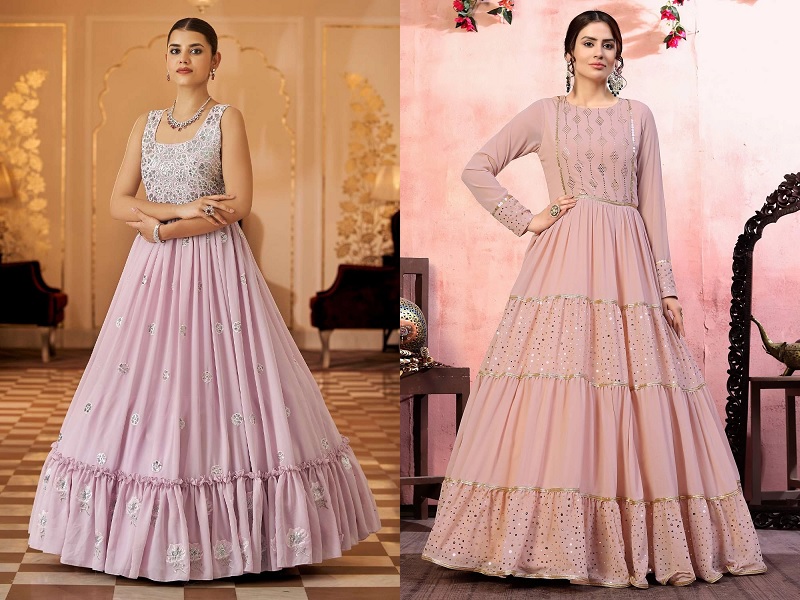
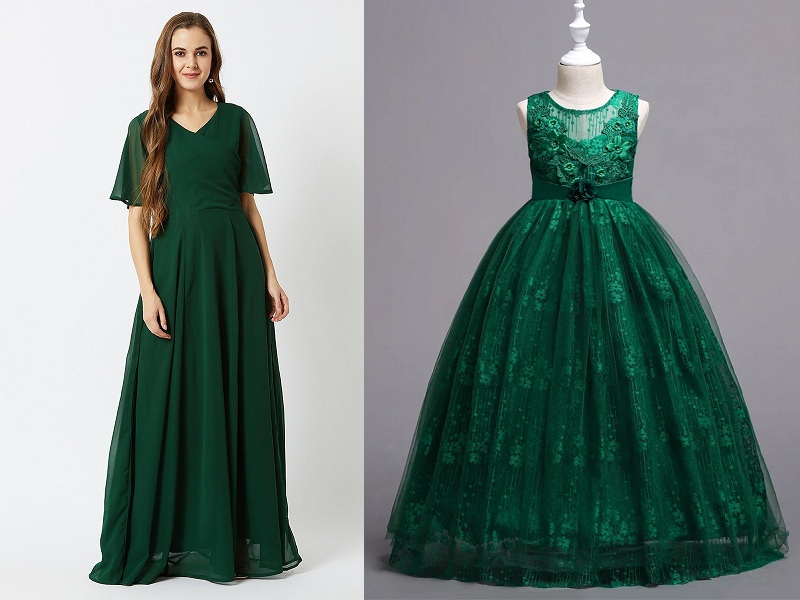
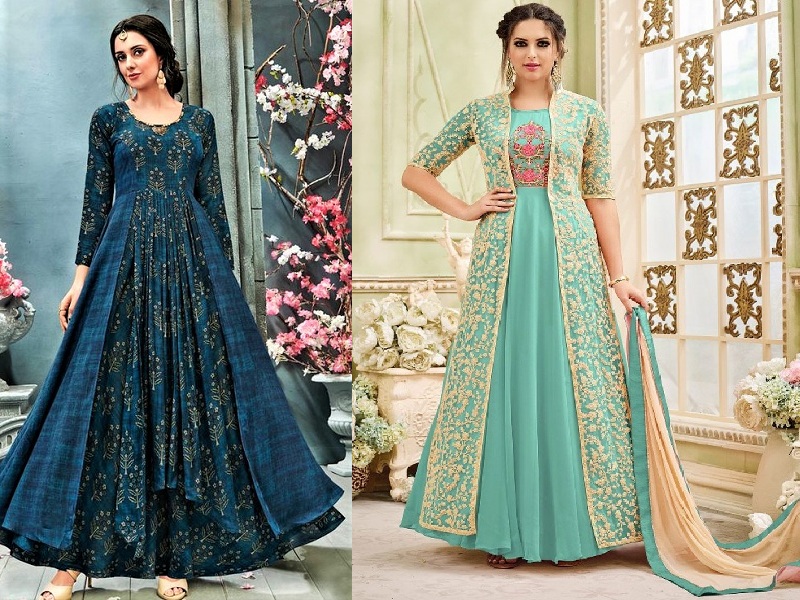
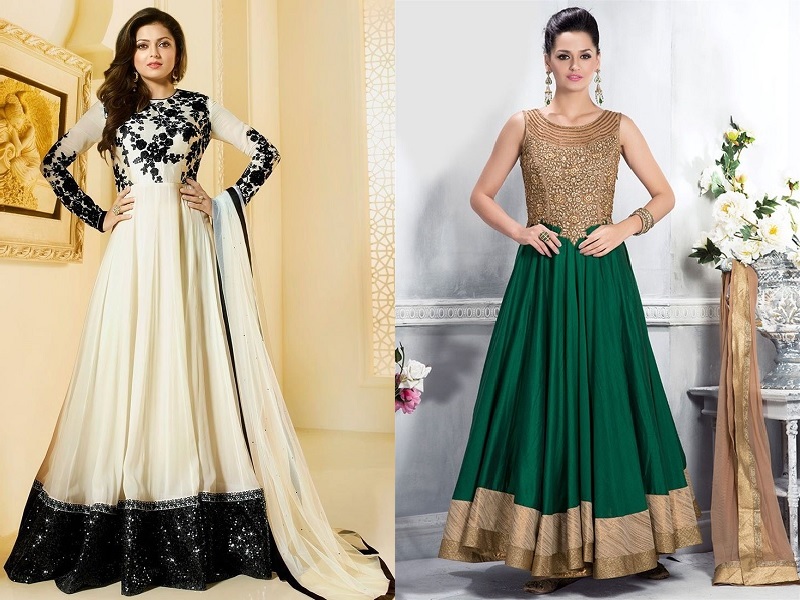
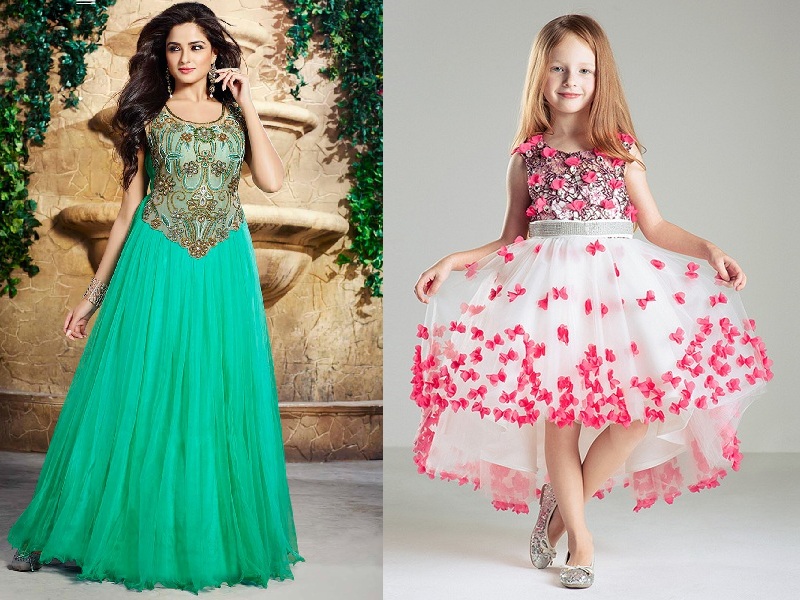
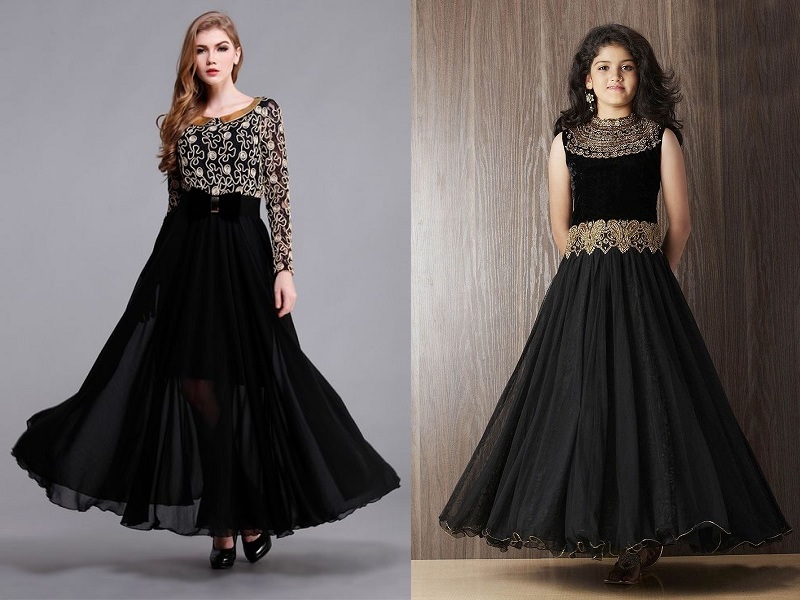
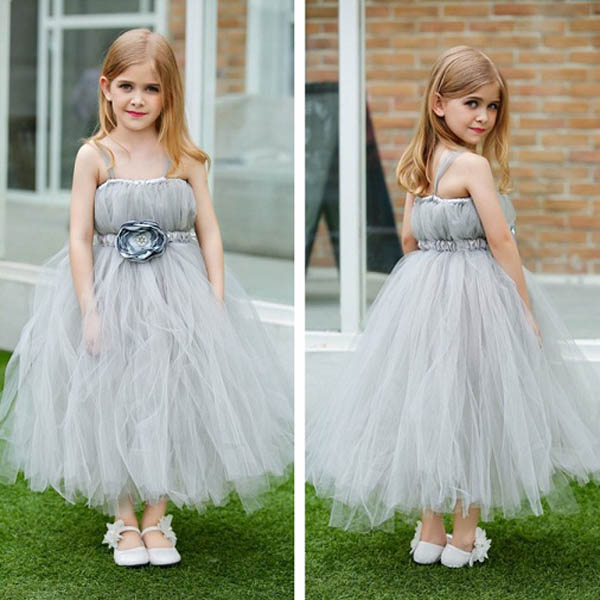
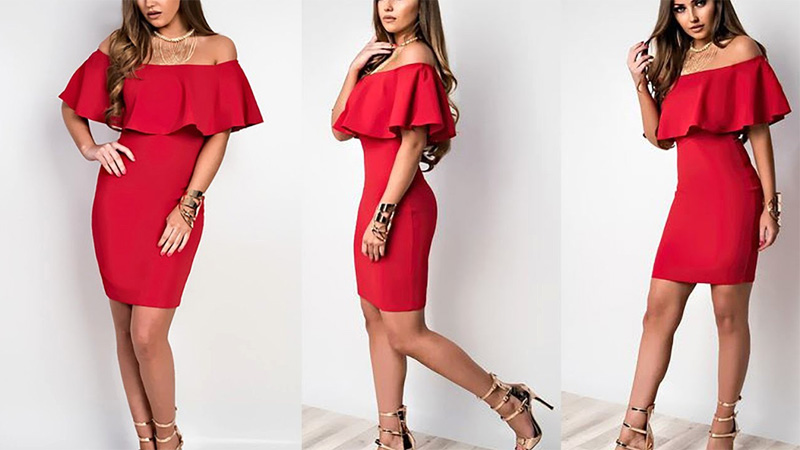
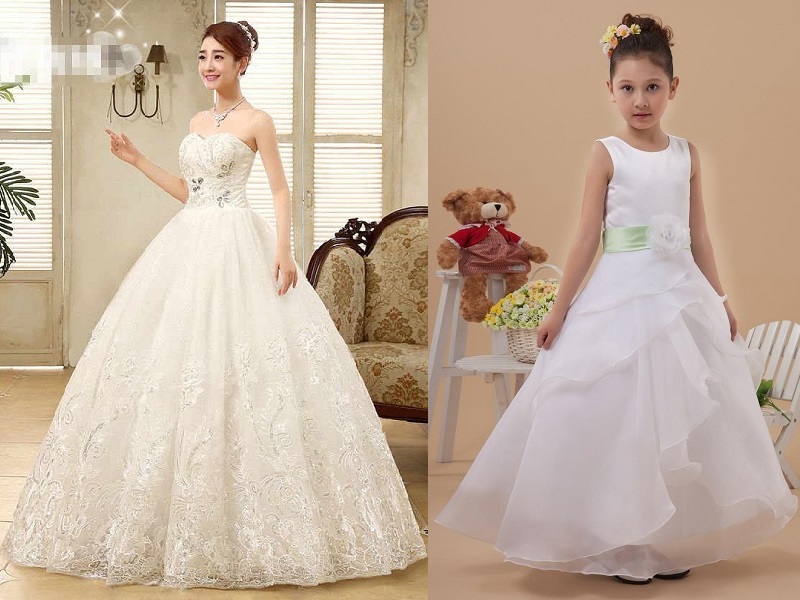
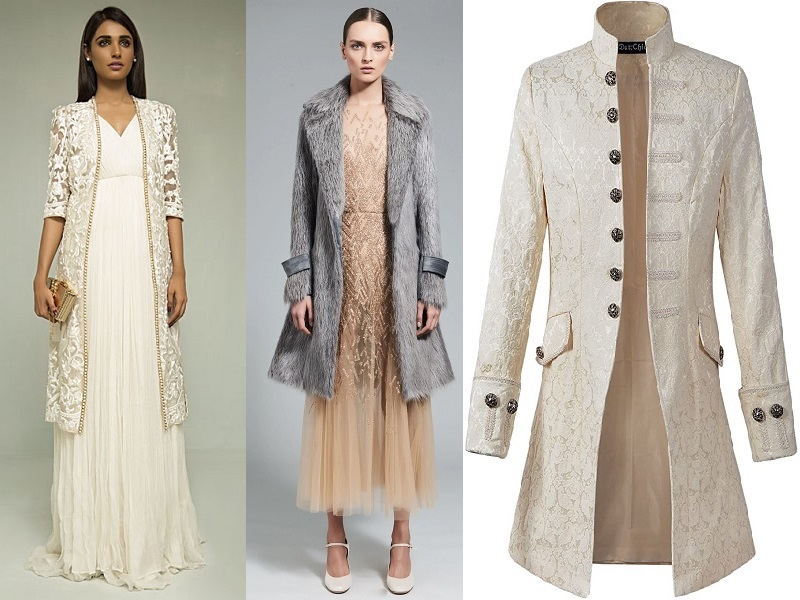
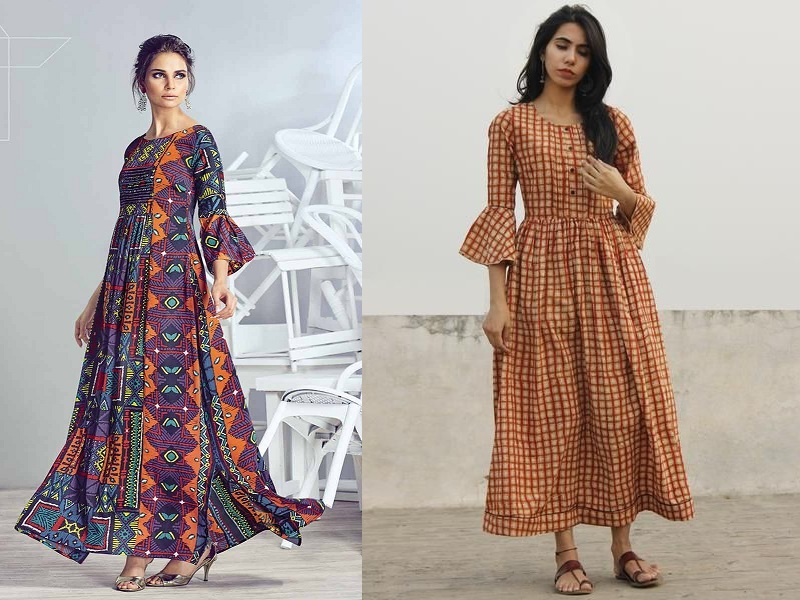
2. Stitching a Long Frock:
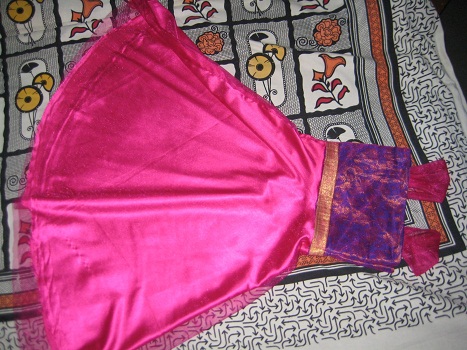
Long frocks have been the most worn design for parties and weddings. And you can now also stitch the same at home, simply by following this long frock stitching method. For this also, you first need to work on the material you want your frock in. For long frocks, people generally go with a net, satin, and various colourful laces.
Similar to the simple frock, you first need to take measurements and prepare yourself for cutting the pattern. Take the measurements on a cardboard and then fold it and place it on the net which needs to be in four-folds. When done, cut the top portion first and split the back and the front ends. Then simply take enough portion of the material cutting the back portion, and other equal parts too. Make sure you remove the sleeve part from the backside.
When all the parts are ready, the next step is how to stitch long frock. Start stitching with the top portion, heading towards the bottom and then the neck portion. Make sure you add some extra material that would help in getting that desired flaws, and also, stitch the frock gently so that the net doesn’t shed off while stitching. When finally, ready, you can add some charm to the long frock. You can also try out different neck designs for the long frock.
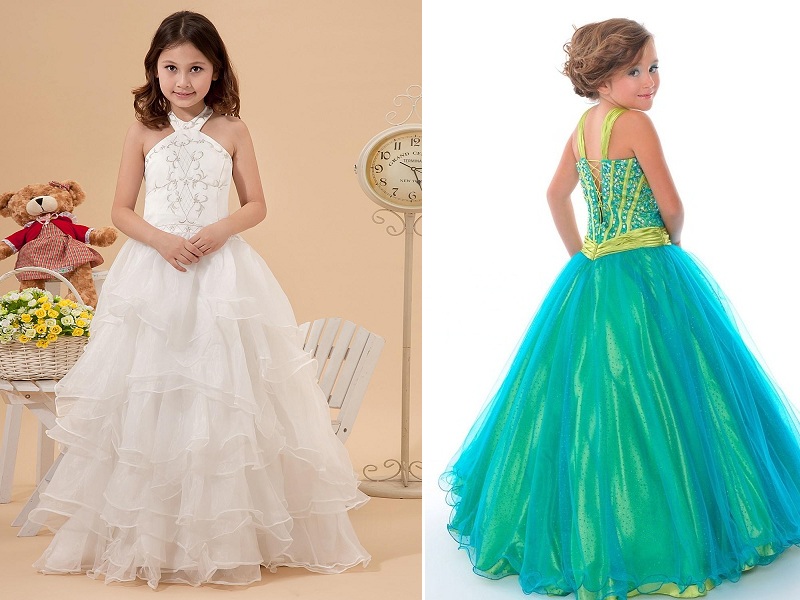
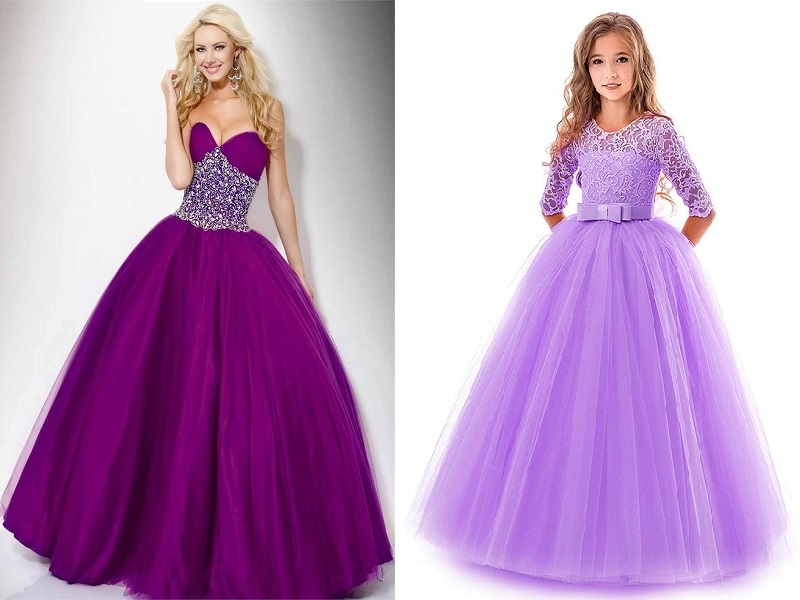
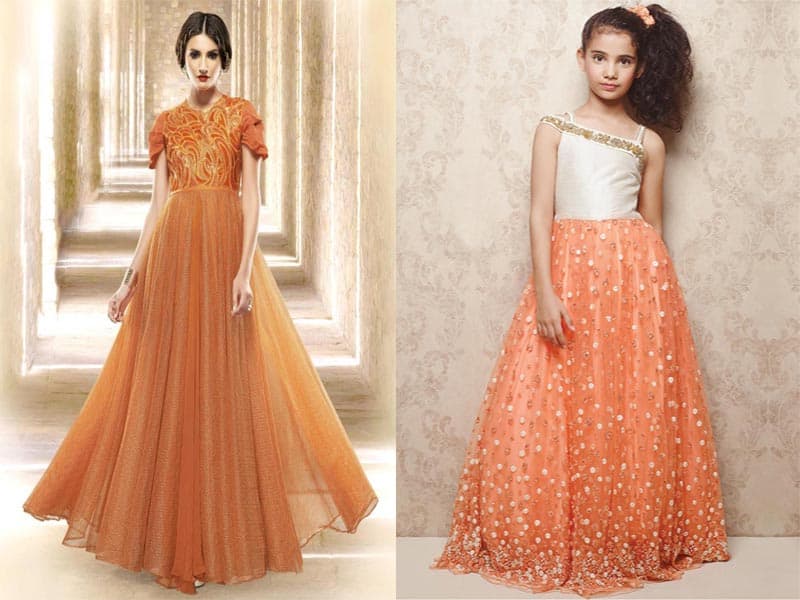
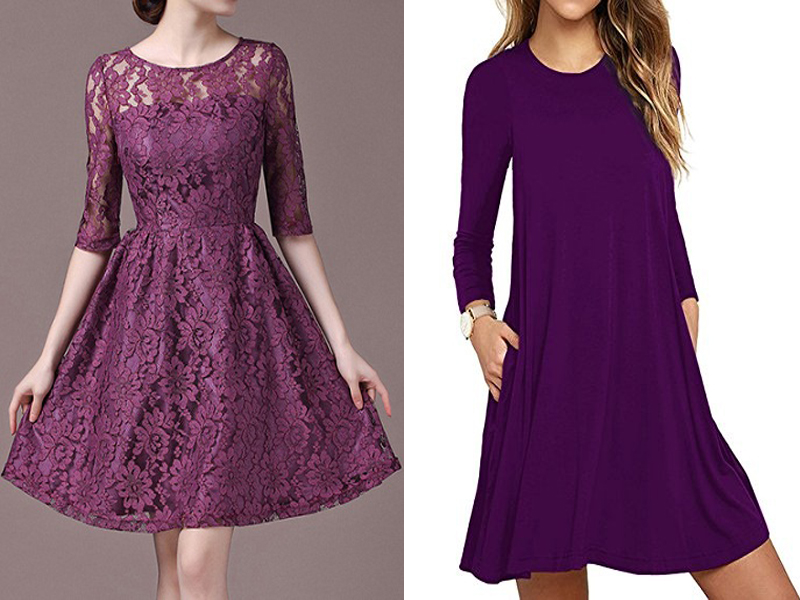
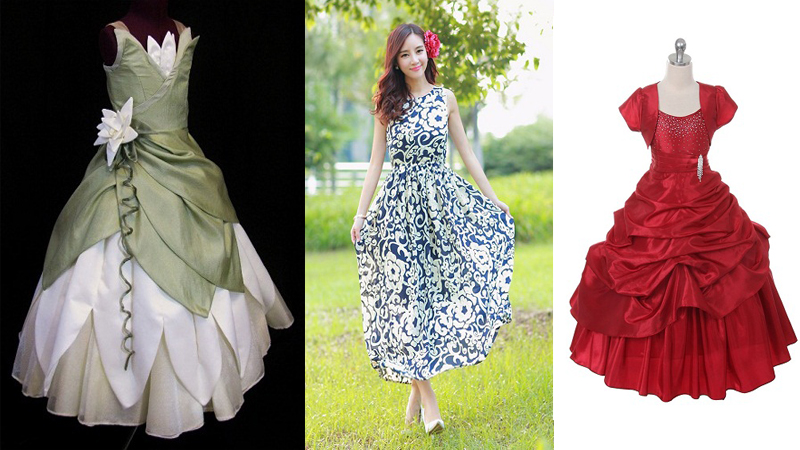
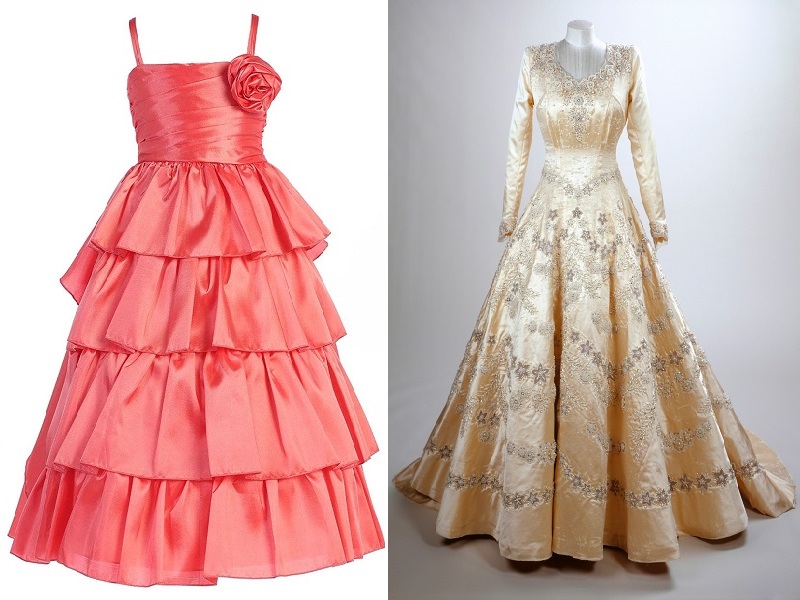
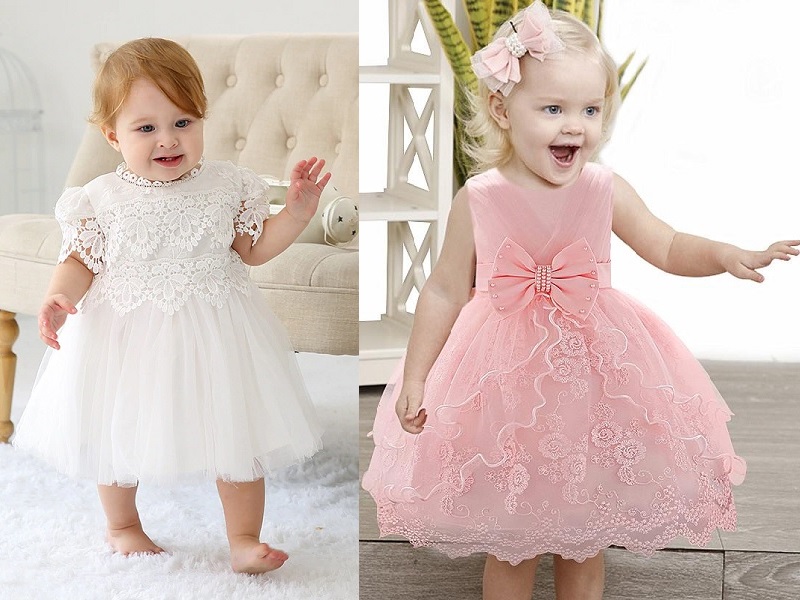
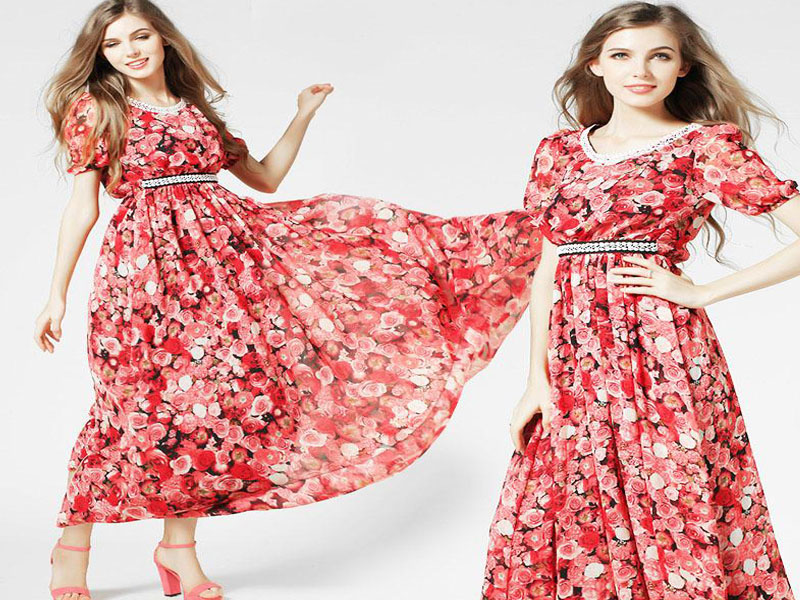
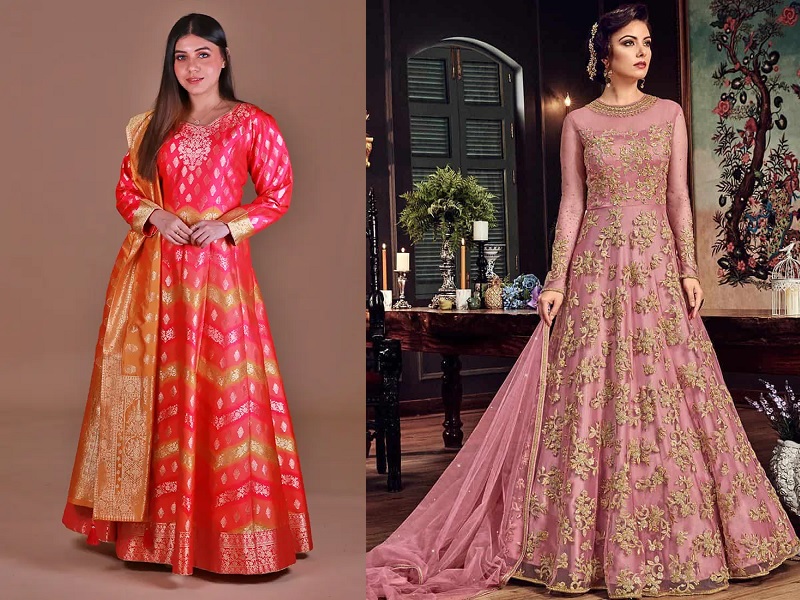
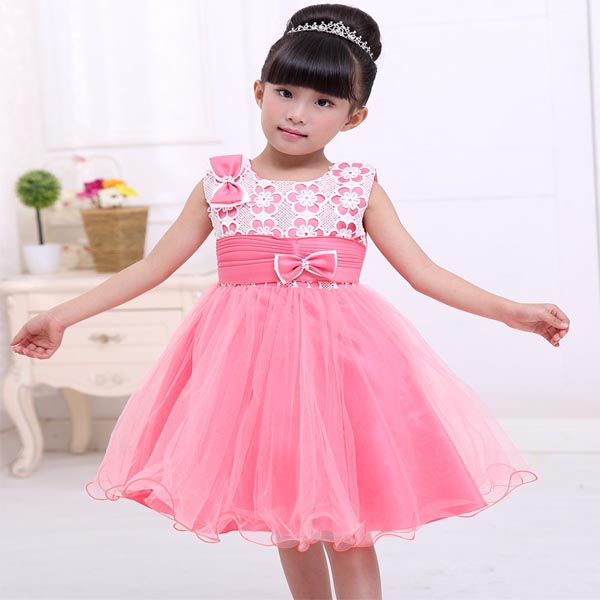
3. Stitching an Umbrella Frock:
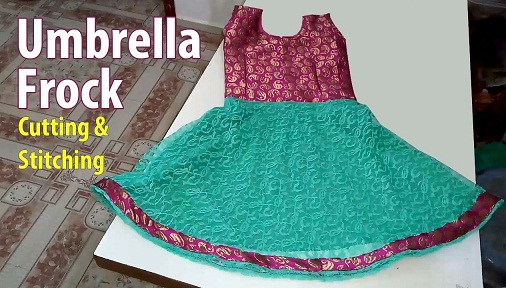
How to stitch umbrella frock is the most searched question on the internet. This frock can be made from any kind of material according to the occasion you are thinking to wear it in. While looking for umbrella frock, one thing you need to keep in mind is that the frock would require more material than normal frocks as the lower portion would be given a circular cut that would be flawless. Just get the best material you want and take the required measurements.
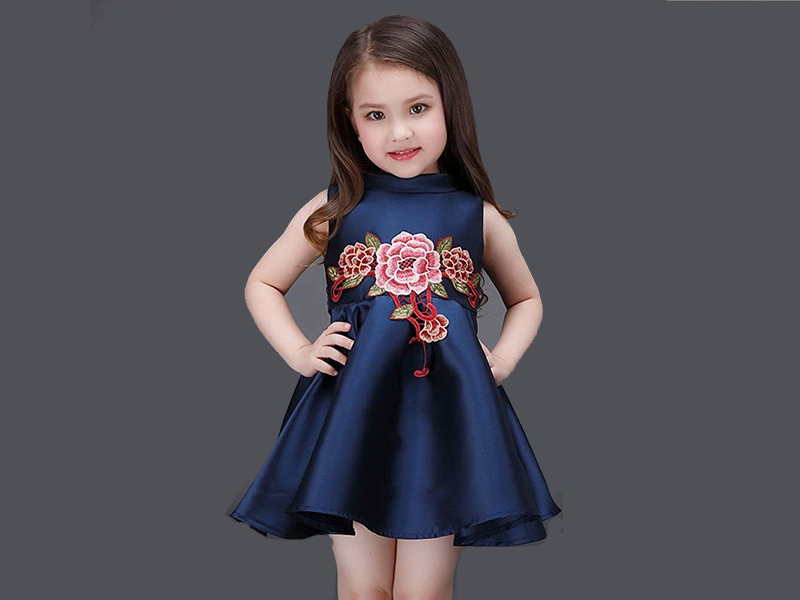
The prime step towards how to stitch umbrella cut frock is to draw the patterns on a paper. Make sure you use the stitch pattern for accurate measurements. Then fold the material both lengthwise and breadthwise for placing the body part stitching and mark the edge portion and cut them.
The next step on how to stitch baby frock at home is to join the neck portion with the help of cross pieces. After that, you need to stitch the side joints and the sides too. Make some cuts on the back side for fixing up the hooks after the stitch.
Finally, place the paper on the cloth and get it cut by folding it breadthwise and then lengthwise. Make sure you join the ends by cutting the edges like ‘a’ and ‘e’, and ‘a’ and ‘f’ which would form an umbrella shape curve. Now mark the edge portion and cut them off very carefully so that you end with a bottom in umbrella shape when you open the folds. Now join all the ends by stitching them and your frock is ready. You can similarly go for different neck patterns in this frock as other frocks. All you need is to keep some extra material which would give you a perfect circular umbrella shape.
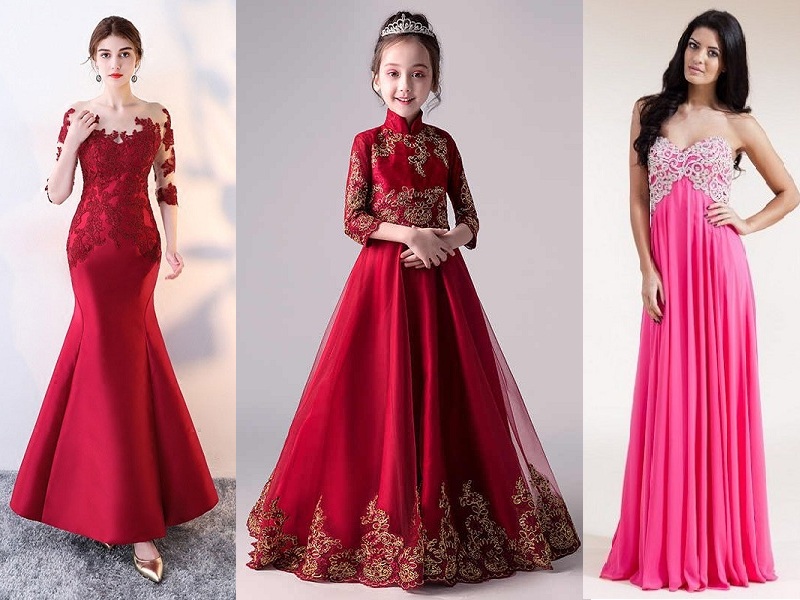
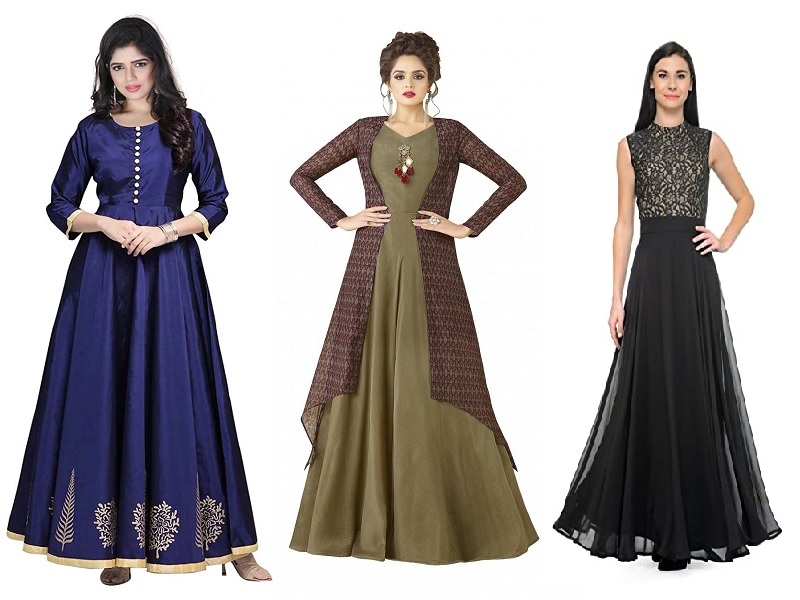
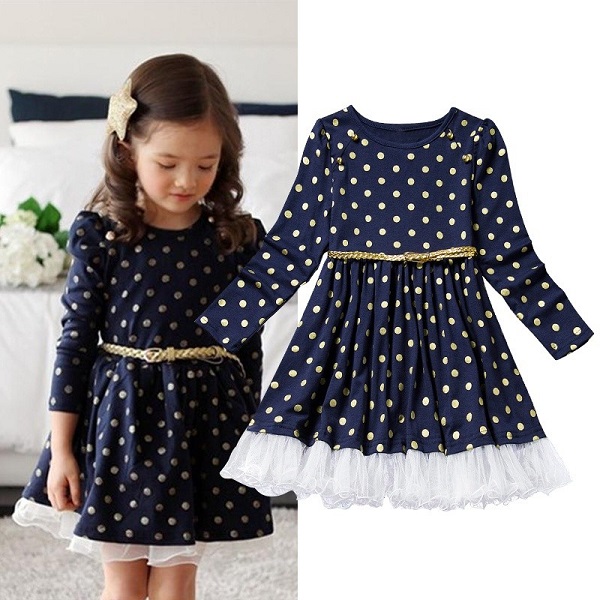
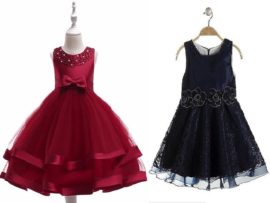
The answer to how to stitch a frock step by step depends on the pattern or type of the frock you have selected. Some may require cutting of the top, back, down, sides, sleeves, etc. different, while there are some straight cut frocks that are cutting off in a single piece. No matter whatever the pattern is, you can also add some charms or patterns to the frock which might need some extra material too. Among all, the long frock design is counted to be the easiest one.


