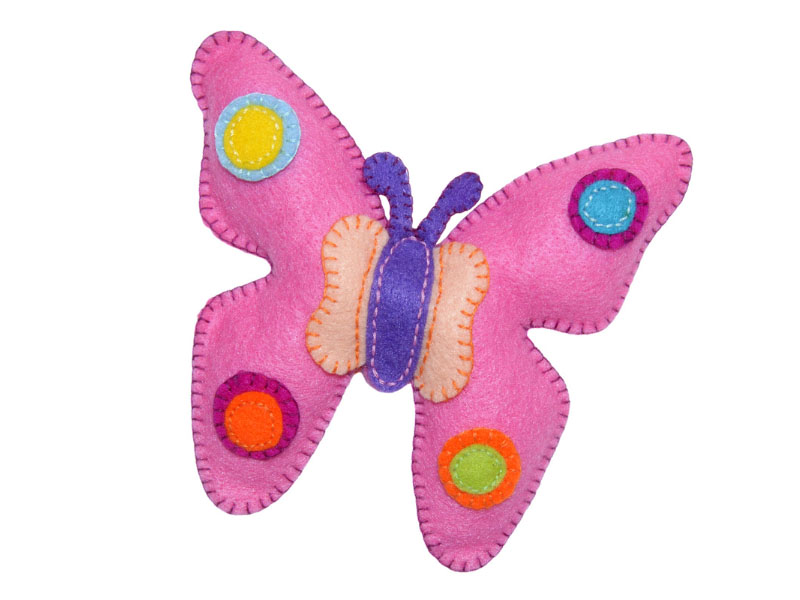
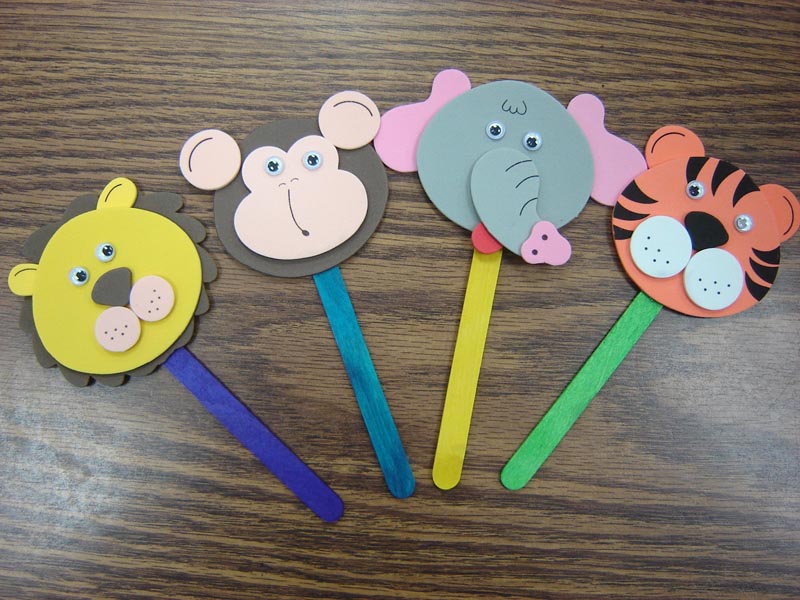
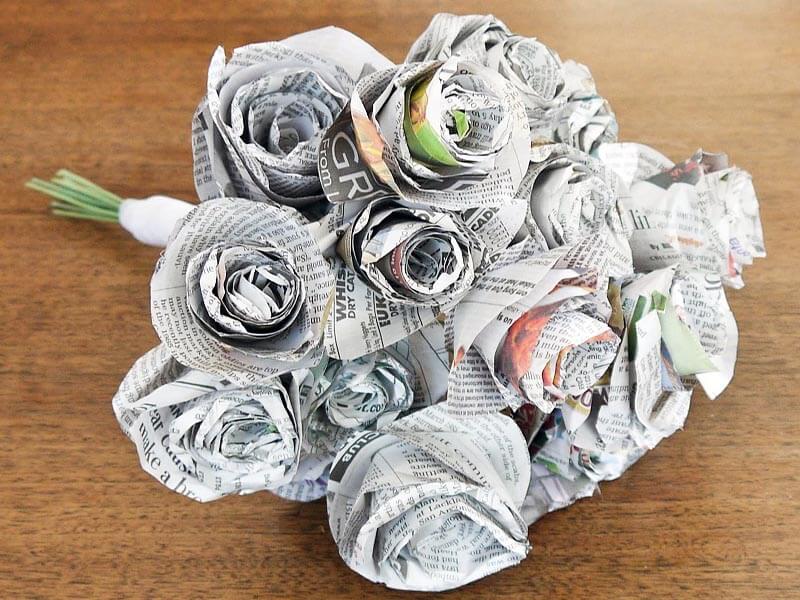
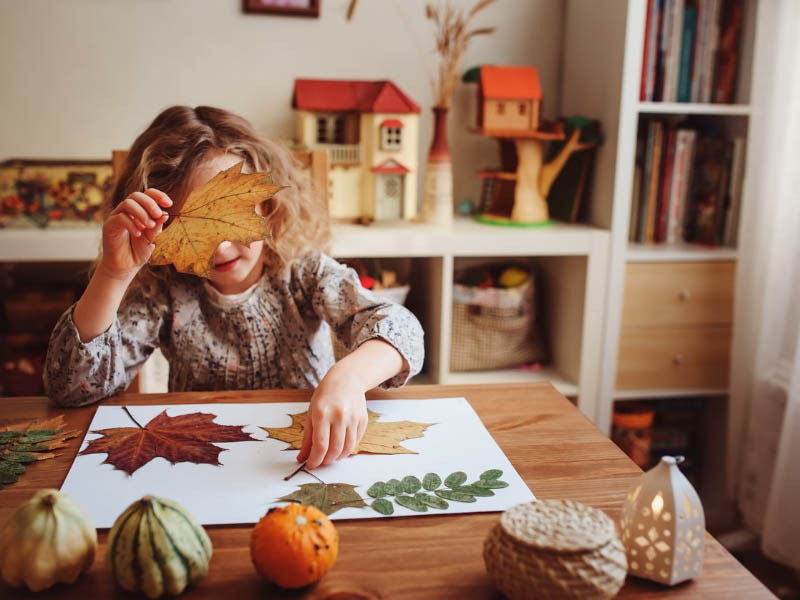
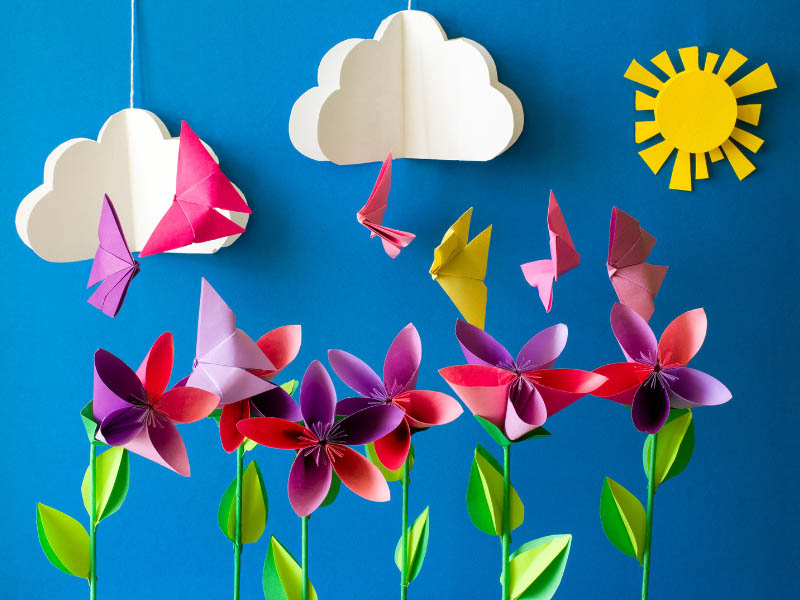
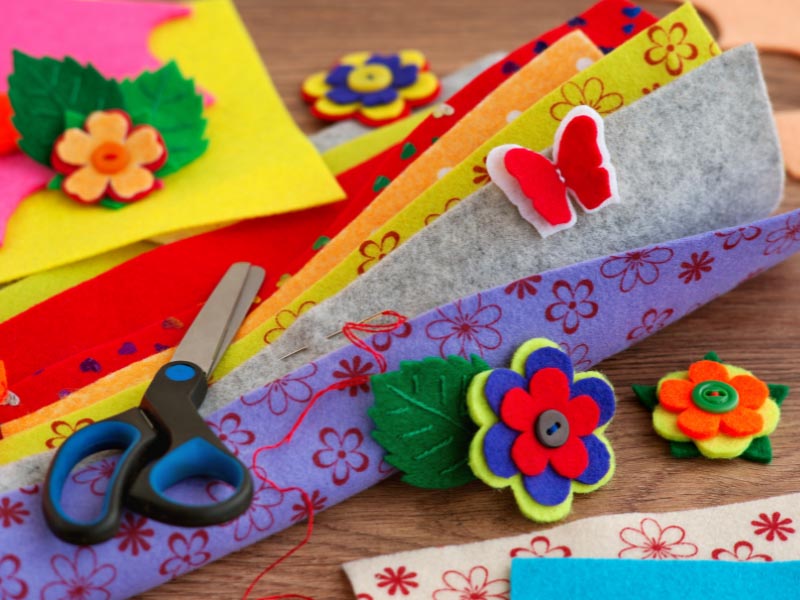
Butterflies have always fascinated us and are an indispensable part of any DIY craft. Butterfly craft ideas offer us endless options to experiment and create things of beauty through crafting. Creating beautiful things using butterfly designs helps alleviate stress and forget the outside world’s hustle and bustle. Scroll down to find umpteen practical crafting options using various materials that we can happily indulge in and bring joy to others!
20 Best Butterfly Crafts & Activities:
1. Paper Craft Butterfly:
This is a fun butterfly craft activity, especially for kids, and consists of only cutting paper and folding. Making these beautiful and colorful butterflies teaches the children more about the nature around them, and they also learn to appreciate their beauty.
Speciality: These beautiful butterflies are helpful as paper decorations for festivals and Christmas celebrations.
Materials:
- Color paper
- Scissors
- Thread
How to Do:
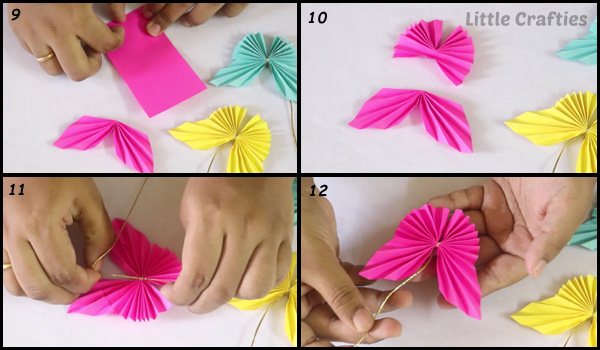
- Take a square sheet of paper, as shown in the picture.
- Fold the paper in half and cut.
- Fold the corners in one-half of the paper as triangles.
- The fold should be an accordion pleat.
- Now fold the paper from the middle.
- Repeat the same with the second half sheet of paper
- Use the thread to tie both pieces together.
- When you spread the pleats like a peacock’s feather, you will get a beautiful butterfly.
2. 3D Butterfly Craft:
Making a 3D papercraft butterfly is a lovely craft that is easy to make and is based on origami folds but involves glue. It is a great craft to introduce to youngsters to start with.
Speciality: These gorgeous butterflies make an excellent addition and decoration to your child’s room
Materials:
- Two pieces of square paper
- Black paper
- Glue
- Scissors
How to Do:
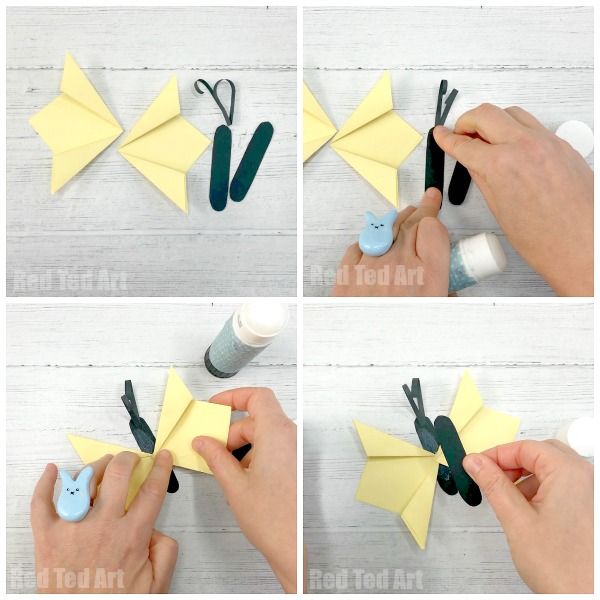
- Fold a new square of paper diagonally to form a triangle.
- Turn the triangle, as shown in the picture.
- Fold the right-hand side tip towards the top point, and create a perpendicular in the centre.
- Repeat the same with the left side
- The square will be smaller, more like a diamond shape.
- Bring the top right side folded point down and align it with the edge of the diamond.
- Ensure that the crease is stiff
- Repeat the same for the left side
- Do this twice for two wings
- Take the black paper and cut out two pieces approximately one centimetre in width and around six centimetres long.
- Then a thin black strip of paper for the paper butterfly’s antennae.
- Stick the antennae of the butterfly to the base with glue.
3. Tissue Paper Butterfly Craft:
This is an easy butterfly handcraft for pre-schoolers. This is an easy craft made with inexpensive items like tissue paper which is a versatile material that keeps youngsters engaged during their holidays.
Speciality: Butterflies are always an instant favorite with children, and they will love showing off their skills with their beautiful colorful butterflies.
Materials:
- Tissue paper (different colors)
- Pipe cleaners
- Scissors
- Glue
How to Do:
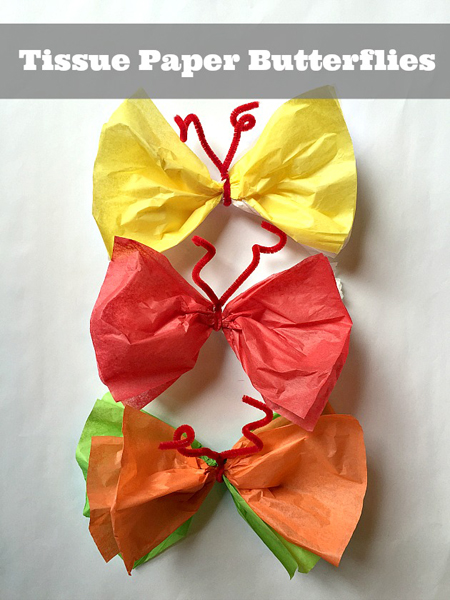
- Cut out rectangles of the sheets of any size.
- Keep the paper double the same color.
- Next, take four sheets, of which two of each are of the same color.
- Keep them on top of each other.
- Now, take the pipe cleaner and wrap and twist it in the middle one or two times, going over the butterfly.
- You can leave the antenna straight or curl it up a bit.
- These butterflies can be hung as decoration in your child’s bedroom or taped to the mirror.
4. DIY Butterfly Crafts:
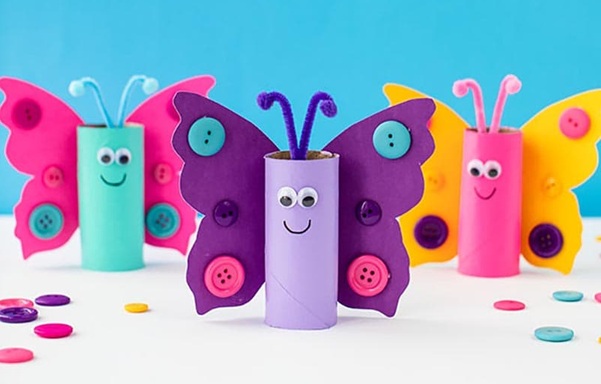
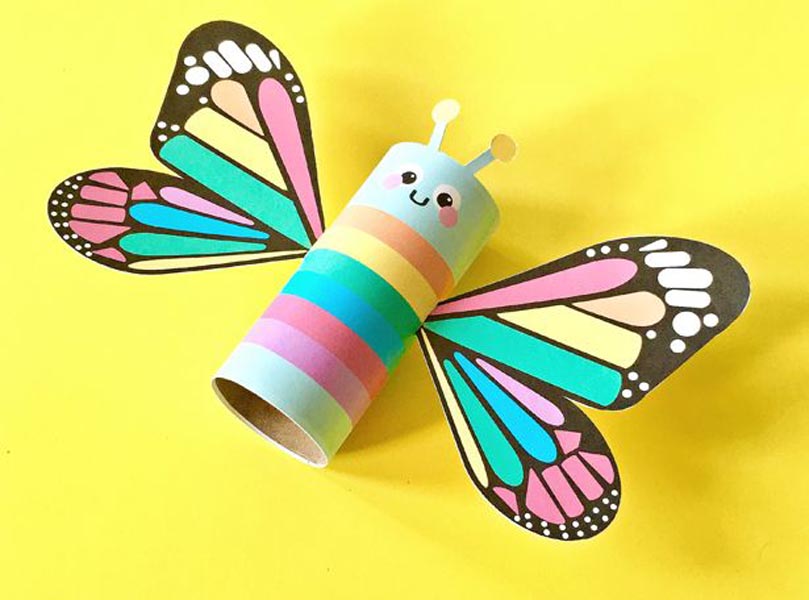
These butterfly crafts for kids help us create super cute butterflies using paper rolls and rainbow colors and look adorable. They do not require much effort, and the children can decorate the butterflies as they wish.
Speciality: This craft is not only easy but fun too, and perfect for kids.
Materials:
- Toilet paper roll
- Small googly eyes
- Buttons of different colors
- Cardstock in different colors
- Acrylic paint
- Pipe Cleaner
- Pompoms
- Black marker pen
How to Do:
- Paint the toilet paper roll with a color of your choice and allow it to dry
- To make the wings fold a piece of cardstock in half.
- Trace the outline of a butterfly, or you can draw it yourself.
- Cut out the wings carefully and stick colored buttons with glue.
- You can decorate it with colored stones.
- Bend a pipe cleaner to make the antennae and stick two small pom-poms to the tips with glue
- Now, attach the antennae to the inside of the paper roll.
- Stick the googly eyes and draw a mouth with a black marker pen.
- Finally, stick the wings to the roll.
Read: Creative Dinosaur Crafts Ideas
5. Hanging Butterfly Craft:
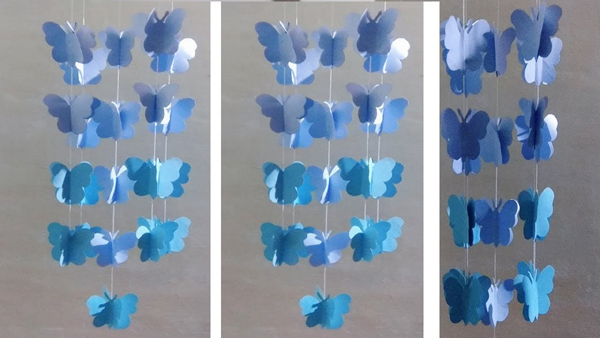
This DIY butterfly craft is a wall-hanging decoration that will look incredibly beautiful and suit the décor of almost any room in your home. It is easy to make with readily available materials.
Speciality: Use this DIY wall hanging decoration not only to beautify your home, but it can also be used as decoration for celebrations.
Materials:
- Cardstock paper (blue)
- Scissors
- Pencil
- Thread
- Shiny plastic beads
- Stick
- Silver tape
How to Do:
- Use a template to draw butterflies on cardstock paper.
- Cut out the butterfly outlines carefully.
- Thread in plastic beads and glue one paper butterfly to the thread
- Next, stick another butterfly on the other side with the thread in between
- Now you can thread in some more beads between the butterflies.
- Once the butterflies are ready on strings, take a stick and glue the silver tape all around it.
- Hang the butterflies from the stick with strings.
6. Cardboard Butterfly Craft:
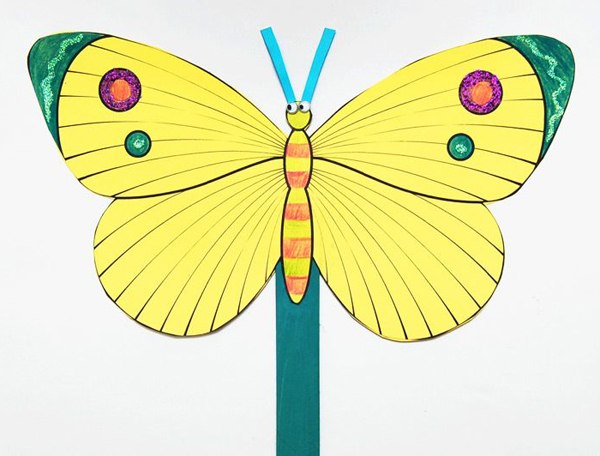
This Popsicle stick butterfly craft can make use of printable templates on cardboard to create these beautiful butterflies. Cardboard, being lightweight, is easy to handle.
Speciality: You can make a stylish butterfly fan with easy-to-follow steps.
Materials:
- Cardstock
- Cardboard
- Popsicle stick
- Markers
- Glue stick
- Scissors
- Poster paint (optional)
- Glitter glue.
- Googly eyes
How to Do:
- Print out two copies of the butterflies
- Color them with bright paints as shown in the picture
- Decorate them using glitter
- Use this template to trace on cardboard
- Now stick the painted butterflies on either side of the cardboard
- Paint the Popsicle stick in contrasting colors
- Place the stick in the middle
- Cut two strips of paper to form the antennae for the butterfly
- Decorate the eyes with glitter, googly eyes, and sequins
- Allow it to dry well
- Your butterfly fan is ready!
7. Butterfly Magnets Craft:
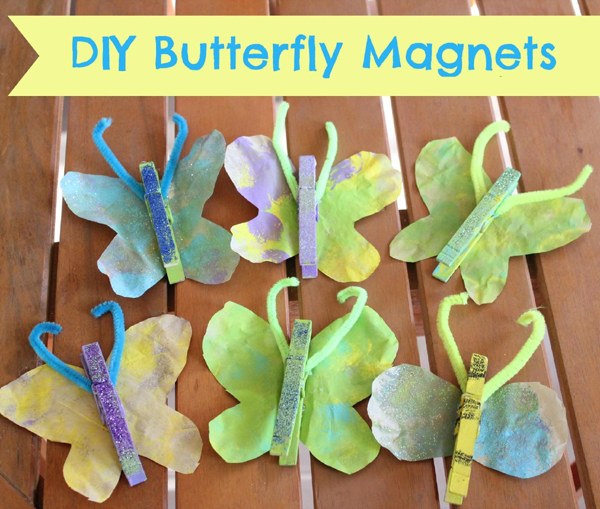
These cute butterfly magnets are fun to create and make easy and cool butterfly art projects for kids. They are made with items found lying around any household without much hassle.
Speciality: These magnets are super easy to make and are colorful. They help with better organization and help to stick those precious photos and drawings on your fridge.
Materials:
- Fevicryl
- Acrylic paint colors (bright colors)
- Clothespins
- Pipe cleaners
- Glitter
- Magnets
- Glue gun
- Coffee filters
How to Do:
- Begin by painting all the clothespins, which the kids can safely do, and allow them to dry
- After it dries, you can apply fevicryl on them and sprinkle glitter on top of it.
- When this is dry, big wing patterns can be drawn on coffee filters and stuck using a glue gun on the clothespin.
- Attach the pipe cleaners as antennae with glue, as shown in the picture
- Magnets can now be attached to the clothespins, and your fridge magnets are ready!
8. 5 Minute Butterfly Crafts:
Enjoy this hanging butterfly craft to decorate your child’s bedroom with easy-to-follow step-by-step instructions. This paper garland can be used to decorate your home during celebrations.
Speciality: Hang these beautiful garlands made of colored paper embellished with glitter.
Materials:
- Few sheets of colored paper
- Pencil
- Plain white paper (template)
- Scissors
- Glue stick
- Thread
- Glitter and Colors
How to Do:
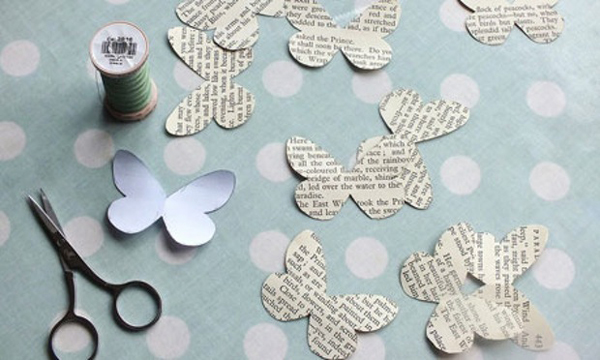
- Choose an appropriate image of a butterfly and trace the outline on paper to make a template.
- Place your template on colored paper and draw around it carefully.
- A template will help you make many butterflies quickly, as you need several to make a garland.
- Make a loop with thread for each butterfly and place the thread on the reverse side of the butterfly.
- Attach the remaining butterflies, ensuring that they are evenly spaced
- Your finished garland can be hung across the ceiling to decorate with glitter and colors.
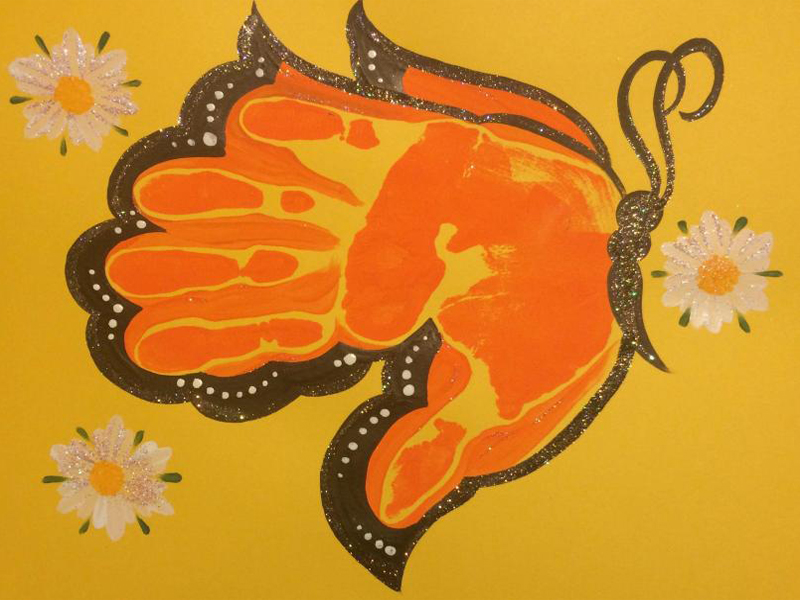
9. Butterfly Hand Craft:
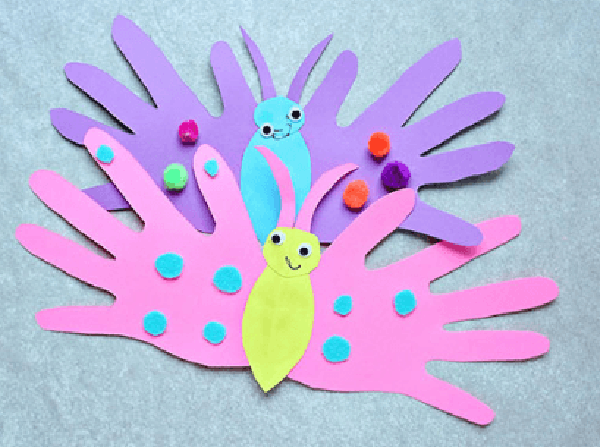
You can make many butterflies as you wish with this simple craft children love to trace their handprints many times on color paper.
Speciality: What makes this butterfly mother’s day craft very special is that you get a keepsake of your child’s handprint.
Materials:
- Cardstock in different colors
- Googly eyes and pompoms
- Marker pen
- Glue
- Scissors
How to Do:
- Begin by folding the cardstock into two
- Trace your child’s handprint on it
- Draw antennae next to the thumb
- Cut out the imprint with scissors very carefully.
- Use a different color for the head and body and add on googly eyes.
10. Popsicle Stick Butterfly Craft:
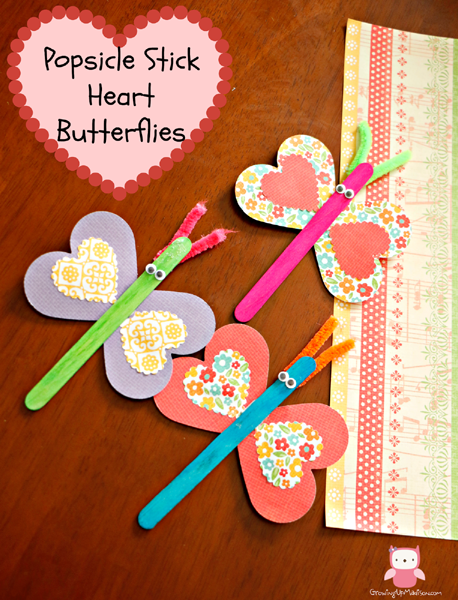
Use butterfly craft-making to create colorful butterflies with equally colorful popsicle sticks, and kids will enjoy embellishing these butterflies.
Speciality: This is a great way to spend time with your little one.
Materials:
- Popsicle sticks
- Printed or colored cardstock
- Pipe cleaners
- Googly eyes
- Glue
- Scissors
How to Do:
- First, draw hearts of two sizes on colored paper and cut them out and stick the smaller heart onto the bigger one.
- Apply some glue to the stick and attach the heart to the stick, as shown in the picture
- Cut your pipe cleaners and cut them to form a V shape.
- Stick googly eyes to the stick.
11. Seashell Butterfly Crafts:
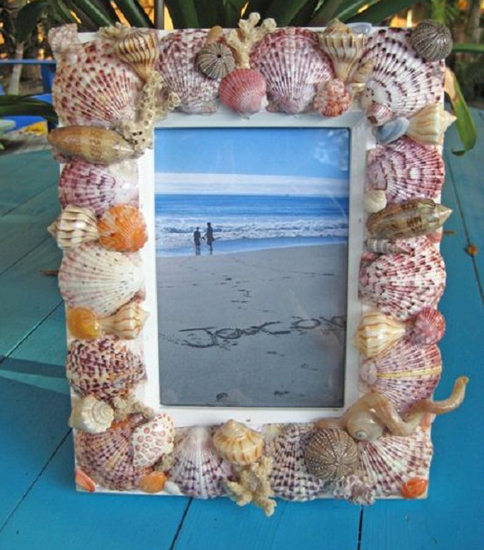
Among butterfly craft ideas for adults, this photo frame is a must-do craft that will bring back your memories of your seaside vacation. All the shells collected during your long walks can now help you embellish this photo frame.
Speciality: Insert a memorable picture in this perfect and ornamental picture frame.
Materials:
- Shells
- Glue
- Picture
How to Do:
- Clean all the collected seashells
- Take a flat frame
- Place all the shells around the frame and decide how you are going to place them
- Start sticking them all around the frame by adjusting the shells according to their size
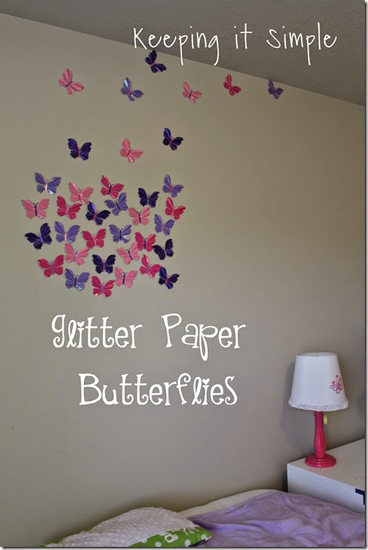
12. Glitter Butterfly Craft:
Butterfly art and craft help us make glitter butterflies, just the thing you need to decorate your daughter’s room. These glittery butterflies can make even a plain, and simple room look beautiful.
Speciality: These self-adhesive butterflies can be made with easy to follow instructions
Materials:
- Thick cardstock
- Glitter foam sheets in different colors
- Scissors
How to Do:
- Make a template for the butterfly.
- Place this on the foam sheet and trace out the outline.
- Cut out the antennae carefully.
- Your glittery butterflies are ready to beautify your walls.
Read: Spring Crafts For Kids
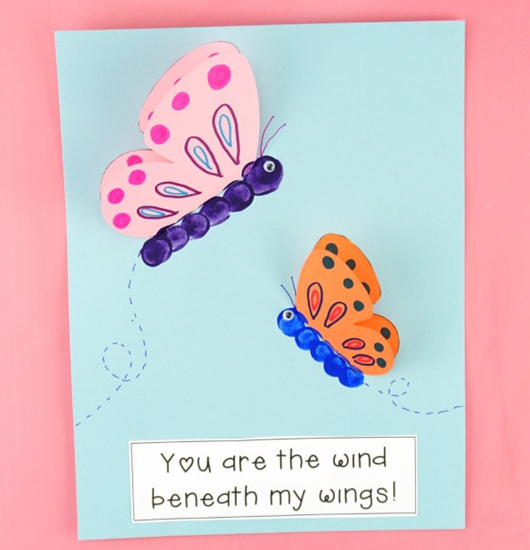
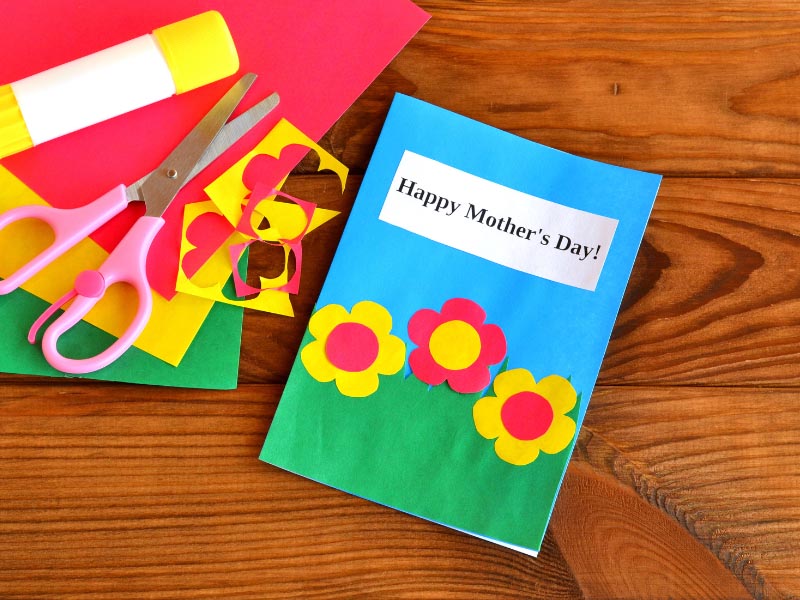
13. Butterfly Mother’s Day Craft:
Choosing a gift for Mother’s Day requires a lot of effort, and nothing can be more memorable and unforgettable than making something for your mother that has your personal touch in it. This butterfly craft activity helps you do just that.
Speciality: A handmade card for your mother is something that is far more precious than a store-bought gift.
Materials:
- Cardstock paper
- Marker pens
- Acrylic paint
- Paper plate
- Googly eyes
- Scissors
- Glue
How to Do:
- Download and print out the template of a butterfly on colored cardstock paper
- Now cut out the butterfly template to use on the card and craft activities.
- Cut out the butterfly outline.
- The butterflies wings can be decorated and colored with acrylic paint.
- Stick the googly eyes
- Now stick the butterfly to the card with a message to your mother.
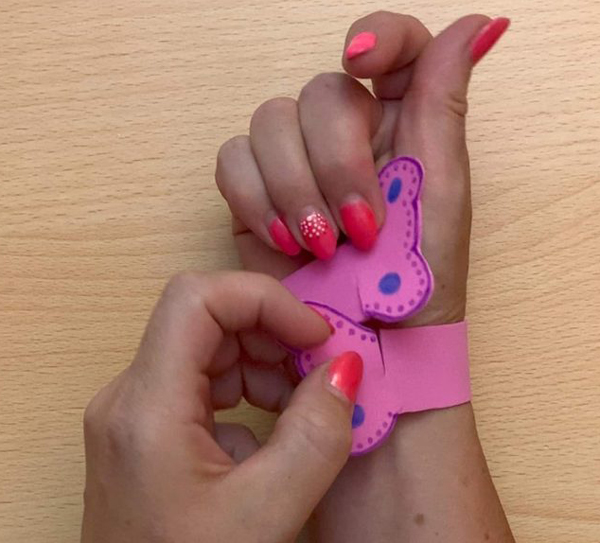
14. Butterfly Bracelet Craft:
This is a gorgeous bracelet for kids that can be made quickly with this glitter butterfly craft. These craft projects have step-by-step instructions that are simple and easy to follow and will instantly hit any birthday party.
Speciality: Teach your kids exciting ways to make their \ jewellery.
Materials:
- White paper
- Pink yarn
- Sketch pens (purple and blue)
- Foam paper
How to Do:
- Measure the wrist with yarn and cut it
- Place the cut yarn on white paper and mark both ends.
- Make identical marks below, and you will have four marks now in the shape of a rectangle.
- Join the marks across in the shape of a wristband
- Draw wing shapes on either end
- Cut out the bracelet from the paper carefully with scissors.
- Keep this on the foam sheet and cut out the outline.
- Cut slits in the foam sheet so that they fasten the bracelet, as shown in the picture.
- The wings can be decorated as you wish with colors.
15. Recycled Butterfly Crafts:
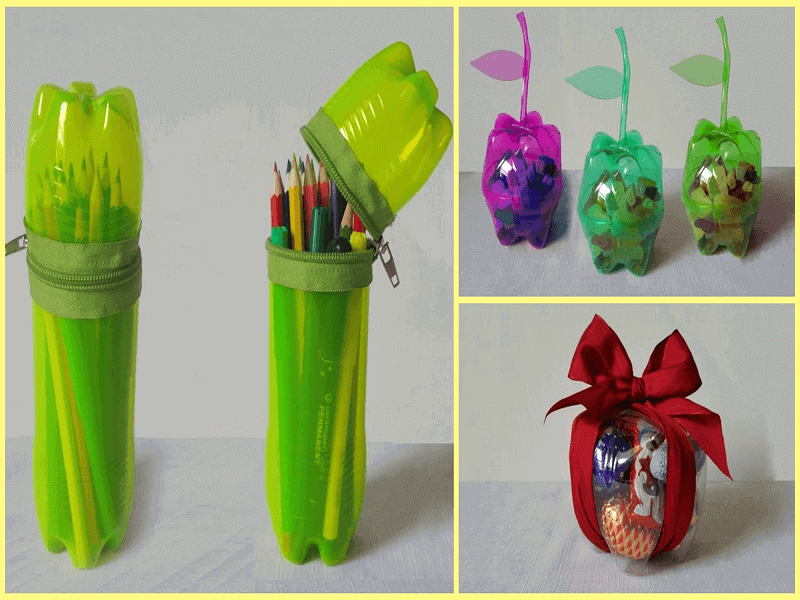
Make these cute recycled water bottle butterflies decorate your home with simple and easy-to-follow steps.
Speciality: This plastic bottle butterfly craft adds beauty to your home and protects the environment around you with these beautiful butterflies.
Materials:
- A water bottle that is round in shape
- Knife and scissors
- Sand Paper (100 grit)
- Poster paint
- Glitter
- Plastic Beads
- Thread
- Glue gun
How to Do:
- Cut the rounded top of the water bottle.
- Next, cut that into half so that you get two pieces.
- Cut each of those pieces in half, and now you will have four pieces. Fold each part into half and cut a v shape.
- Shape the butterfly wings as you wish and gently use sandpaper on each butterfly.
- By doing this, the paint will stick well on the plastic.
- For the body, apply hot glue to the beads and then apply them to the plastic.
- Then attach the twine in a v shape for the antennas.
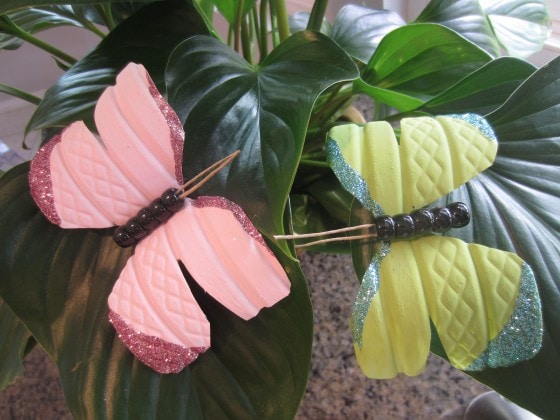
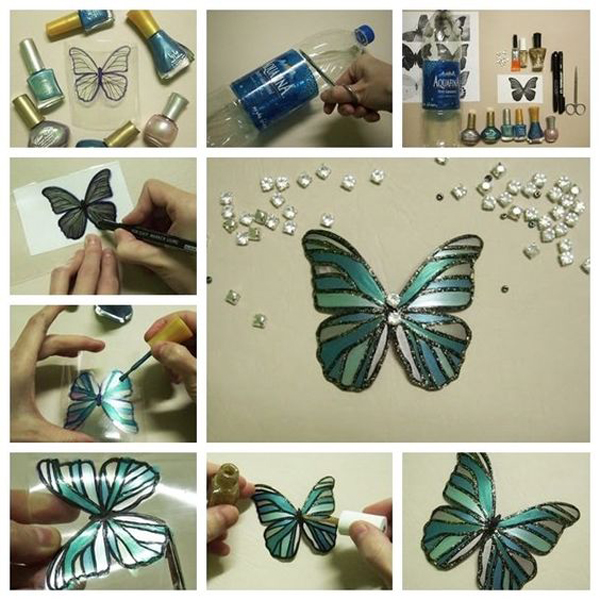
16. Plastic Bottle Butterfly Craft:
Butterflies are perfect for all types of decorations with their colorful wings. Here we see ways through crafting to recycle used plastic bottles and create something beautiful with it.
Speciality: This recycled butterfly craft helps us create sparkling butterflies with delicate wings in a wide range of colors to add beauty to the décor,
Materials:
- Plastic bottles
- Acrylic paint/Nail polish
- Marker pens
- Nylon thread
- Beads
- Glue
- Scissors
- Sequins, beads, etc.
How to Do:
- Cut the top and bottom parts of a plastic bottle.
- Draw a butterfly in the middle portion of the bottle using a marker pen
- Next, cut out the butterfly outline.
- Paint the butterfly with acrylic paints/nail polish. Thread beads to form the butterfly’s body and stick it to the middle of the plastic butterfly
- You can embellish it further using sequins.
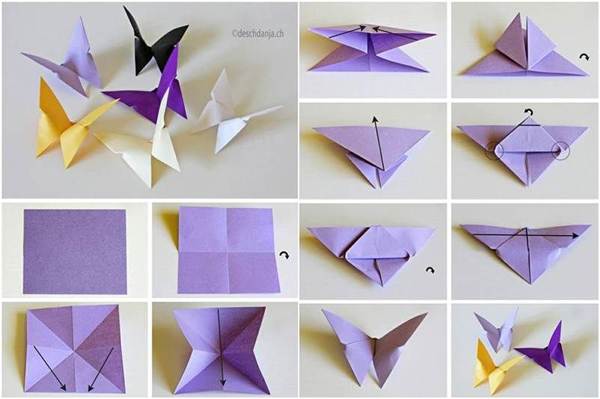
17. Butterfly Origami Craft:
Origami is not only challenging but is also fast gaining popularity; learn how to make an exquisite butterfly using this butterfly handcraft with easy-to-follow instructions given below.
Speciality: Easy instructions with pictures to help create a beautiful butterfly that gets better with practice.
Materials:
- Origami paper
- Your hands and patience
How to Do:
- Fold the paper to create a mountain fold.
- Open it out and fold it in half again in the opposite direction.
- Open out and fold it along both diagonals to create two mountain folds.
- Fold the centrefolds in such a way, making them collapse to make a triangle.
- At both corners, fold the top layer so that they meet in the center.
- Flip and lift the bottom corner and flatten the center, but not the crease’s edges.
- Now, fold the tip of the triangle over and crease.
- Now fold to shape the butterfly as in the picture.
- Your butterfly is now ready to be proudly displayed!
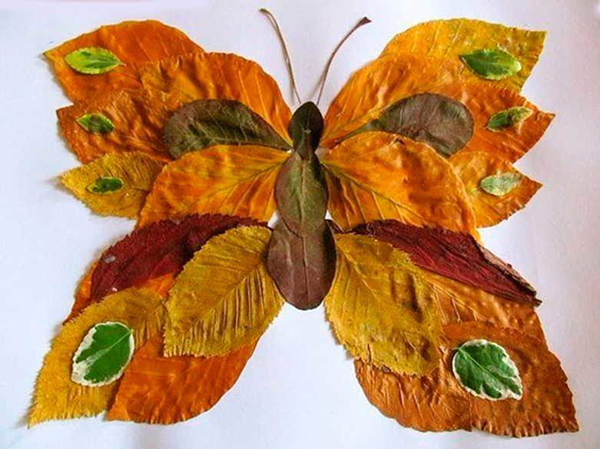
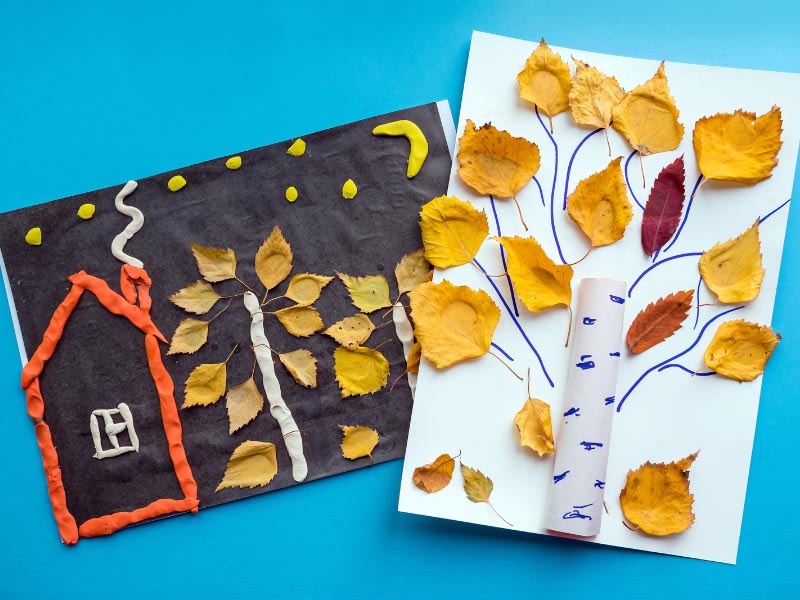
18. Butterfly Leaf Craft:
You can create beautiful pictures with something as simple as dried leaves, which makes ideal gifting options.
Speciality: This butterfly craft idea helps make personalized gifts or interesting school projects using leaves to create a butterfly.
Materials:
- Paper
- Leaves
- Glue
How to Do:
- Choose the type of dry leaves you need according to shape.
- Next, cut out a piece of the desired size.
- This can be painted in the color of your choice to give it a nice smooth appearance.
- Now use water-based glue to stick the leaves to look like a butterfly.
- Allow sufficient time for it to dry.
- Your unique butterfly made of leaves is ready!
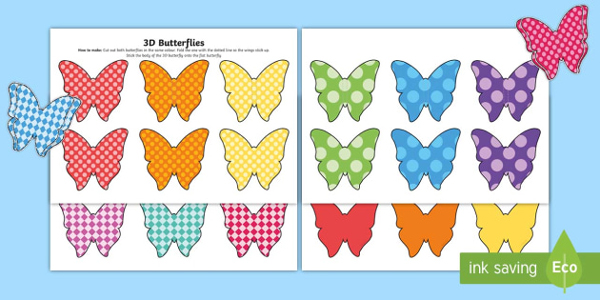
19. Butterfly Craft Printable:
A wide choice of a collection of butterfly printables is available online for adults and children to be used as a template for crafting. They are useful in butterfly crafts for kids when we need to make several shapes of the same type and help save time.
Speciality: They are helpful for children who can use them for coloring and improving their fine motor skills and dexterity.
Materials:
- Printables
- Printer
How to Do:
- One can download and printable and get it printed either on a plain piece of paper.
- They can also be printed on colored cardstock for crafting purposes.
Read: Fun Crafts To Do At Home
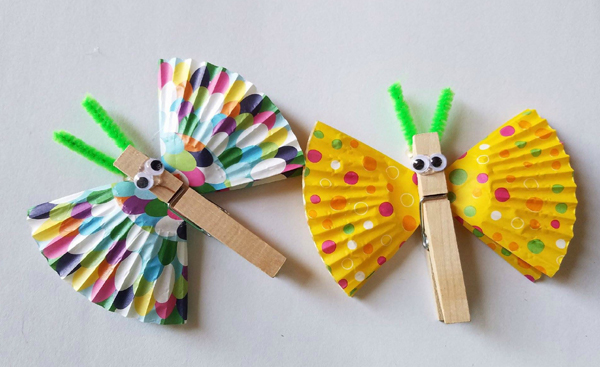
20. Butterfly Craft Clothespin:
Here is a step-by-step 5-minute crafts butterfly that teaches you to make your butterfly with tissue paper and clothespins in your choice colors.
Speciality: Make customized clothespins that are ideal for baby showers!
Materials:
- Wooden clothespin
- Crepe or tissue paper
- Googly eyes
- Marker pens
- Black pipe cleaner
How to Do:
- First, begin by painting the clothespin in black and allow it to dry.
- Fold a sheet of tissue paper and cut it in half.
- Take one half and fold it again two times to make a square.
- Draw a quarter-section wing shape on the two open-edge sides
- Cut and unfold your butterfly shape.
- Do this again with a smaller butterfly shape to get a layered look.
- Decorate the butterfly with colored marker pens
- Open and clasp the If using hinged clothespins, open and clasp the paper
- Fold the black pipe cleaner and twist it around the top of the clothespin
- Stick googly eyes to the clothespin, as shown in the picture.
When there is much uncertainty with what is happening around us, having to keep our young ones engaged and safe at home can be quite challenging. We hope this article with a detailed butterfly art project shows you ways to do just that and help you bond with your little ones at home. Please do let us know which crafting techniques impressed you the most.
Frequently Asked Questions and Answers:
1. What are the different types of glue used in craftwork?
Ans: Apart from the glue and fevicryl we are all aware of, there are several other kinds of glue available, such as white craft glue, yellow wood glue, super glue, hot glue, fabric adhesives, spray adhesives, etc. Choose the right kind of glue according to your craft project.
2. What is the difference between cardstock and construction paper?
Ans: This is mostly used for making cards and crafting purposes. They are the best for papercrafts. Construction paper, on the other hand, is brightly colored and soft. They are not as stiff as cardstock.
3. What is glitter glue?
Ans: Glitter glue that comes in bottles is much easier to use, embellish your craft products, and is available in different colors. They are not as messy as using glue with glitter, which is difficult to control.
Disclaimer: The crafting ideas discussed in the article are for informational purposes only. The crafts and the material used are for educational use, and one must ensure to follow safety rules and keep the work area safe when young children are involved. We aim to create a general awareness of different crafting options, resources, and techniques.
Image Source: 1, 2, 3, 4, 5, 6, 7, 8, 9, 10, 11, 12, 13, 14, 15, 16, 17, 18, 19, 20.


