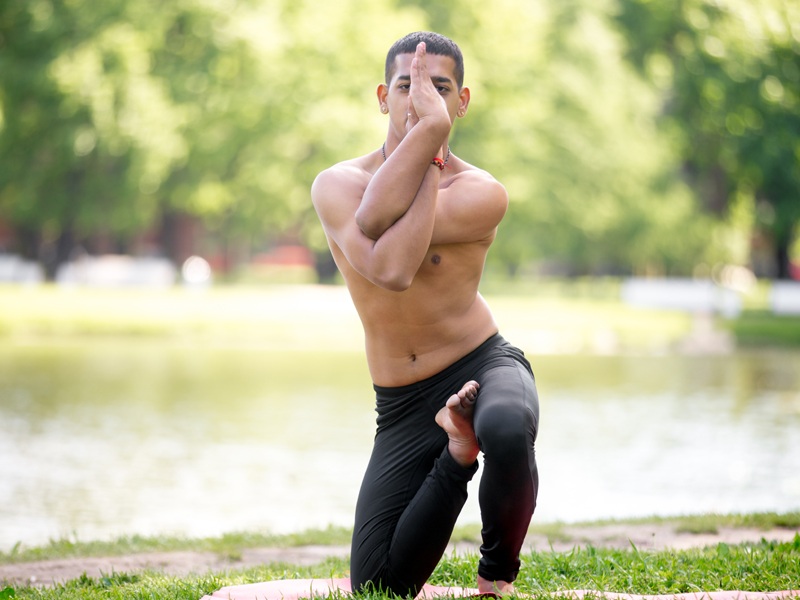
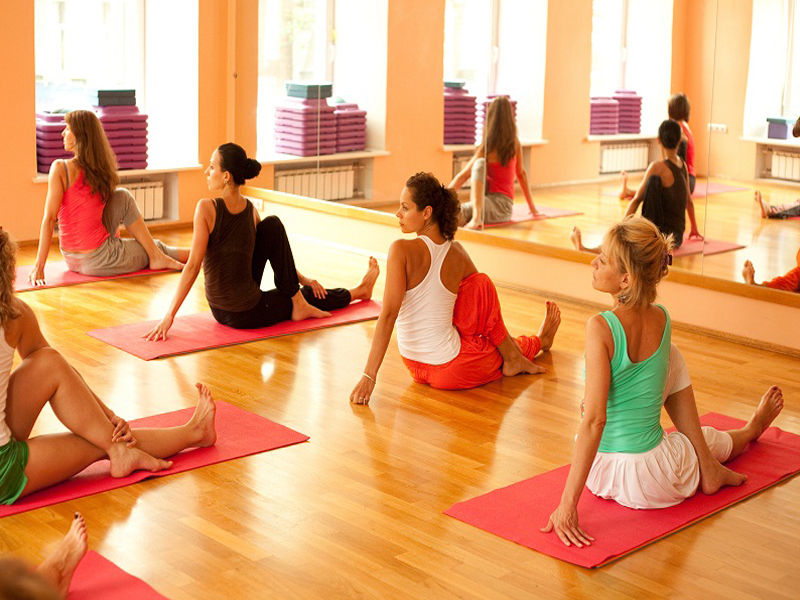
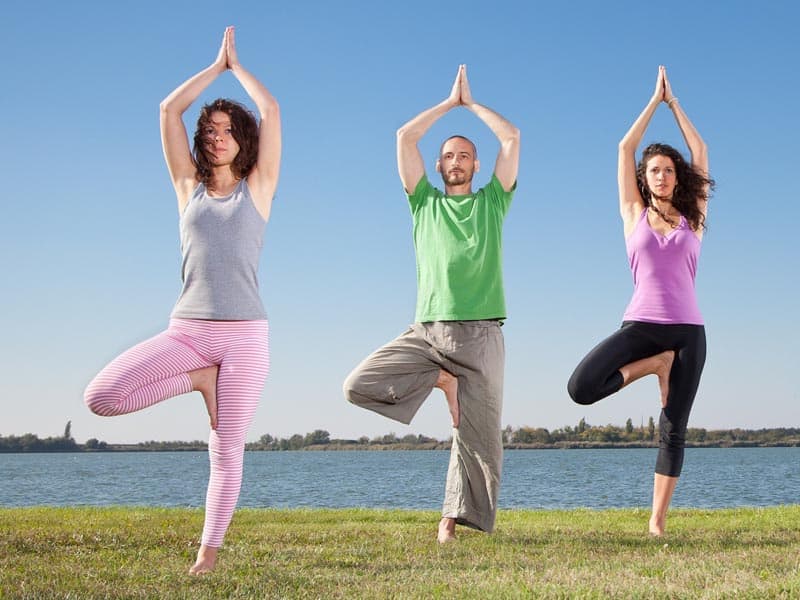
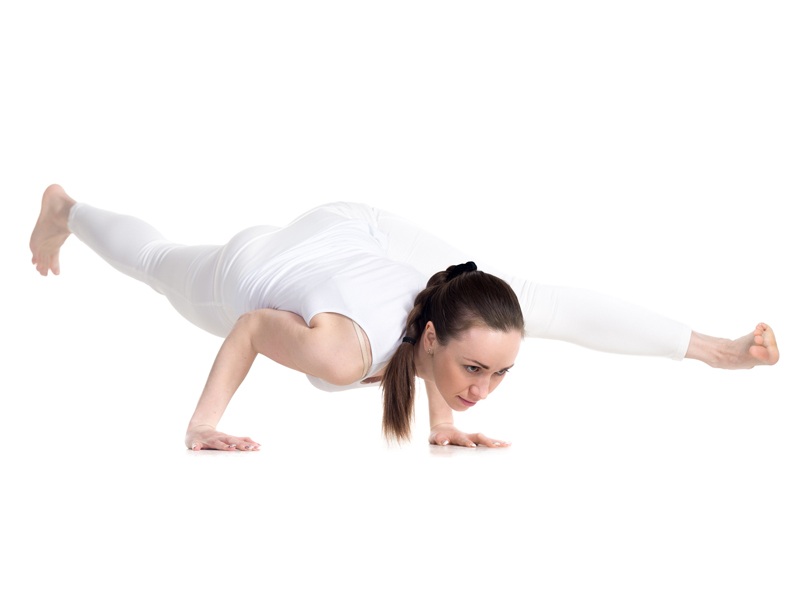
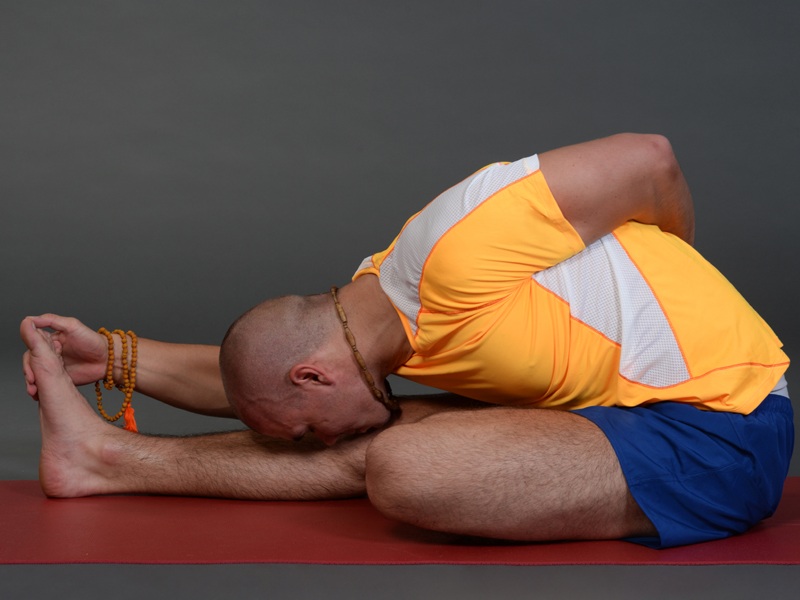
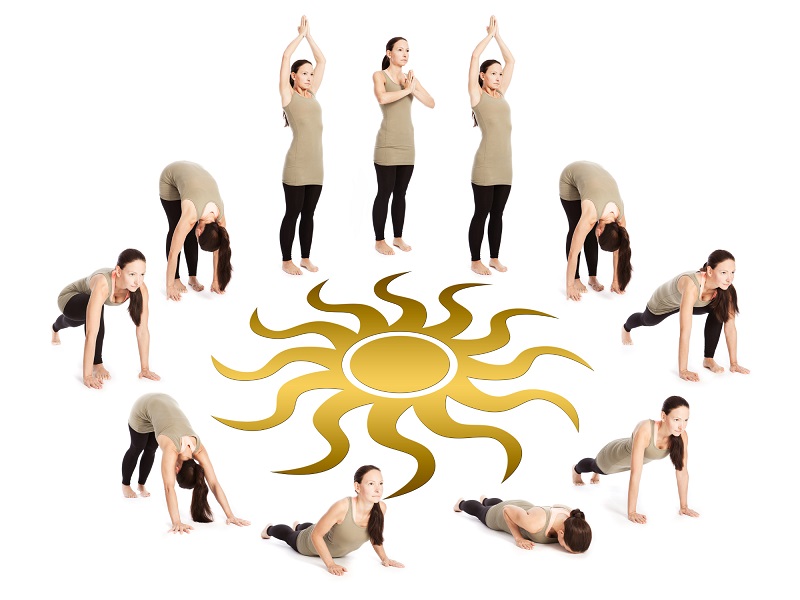
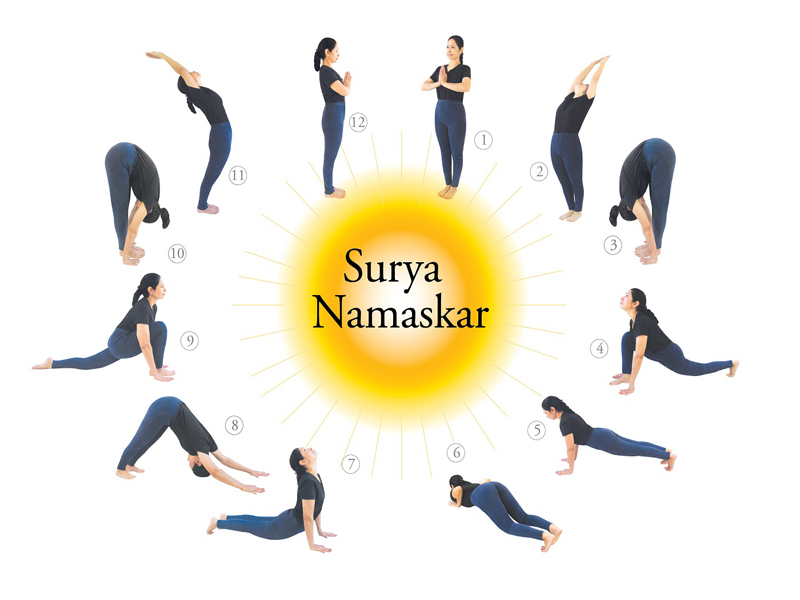
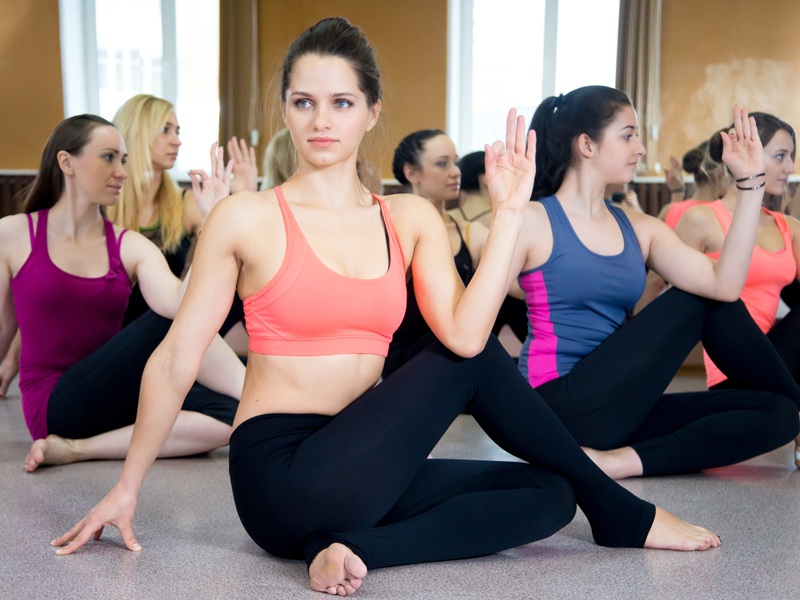
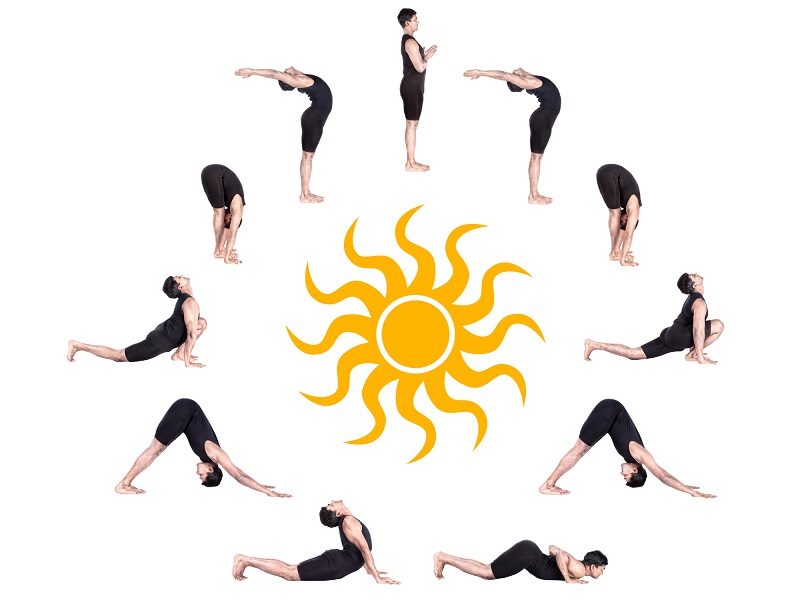
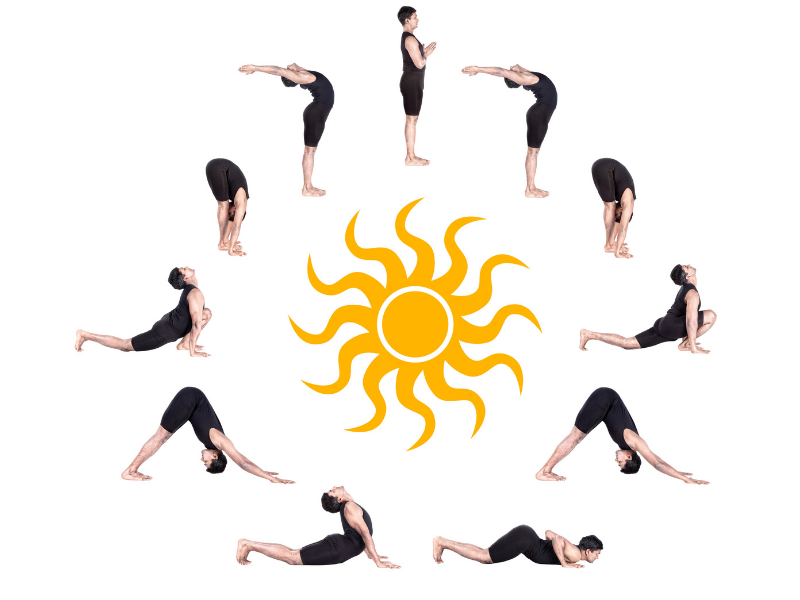
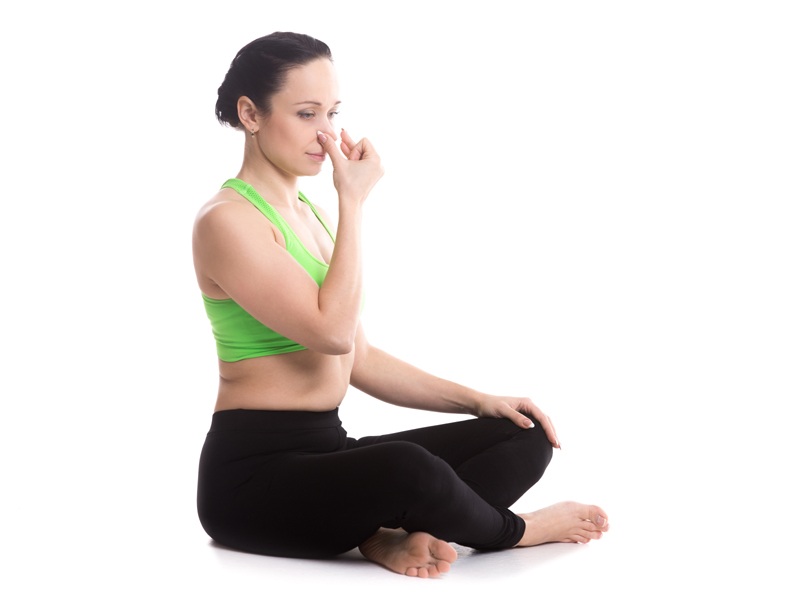
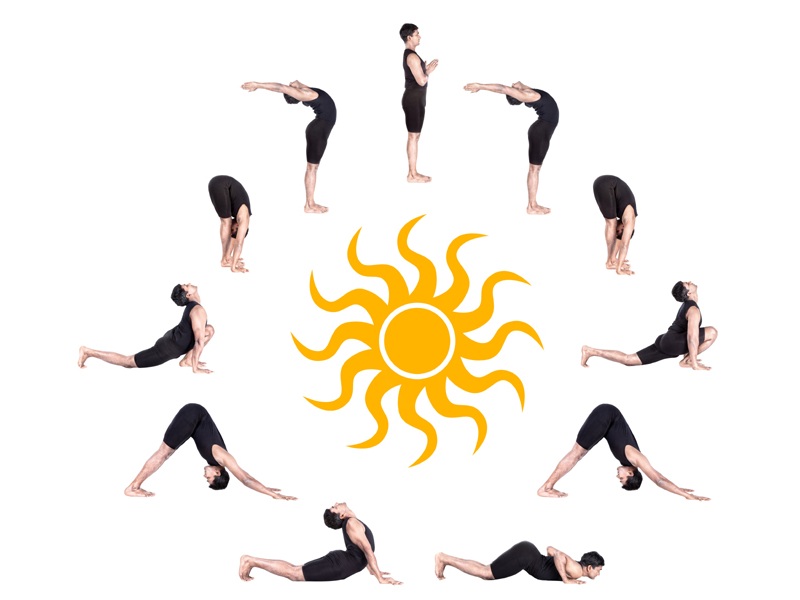
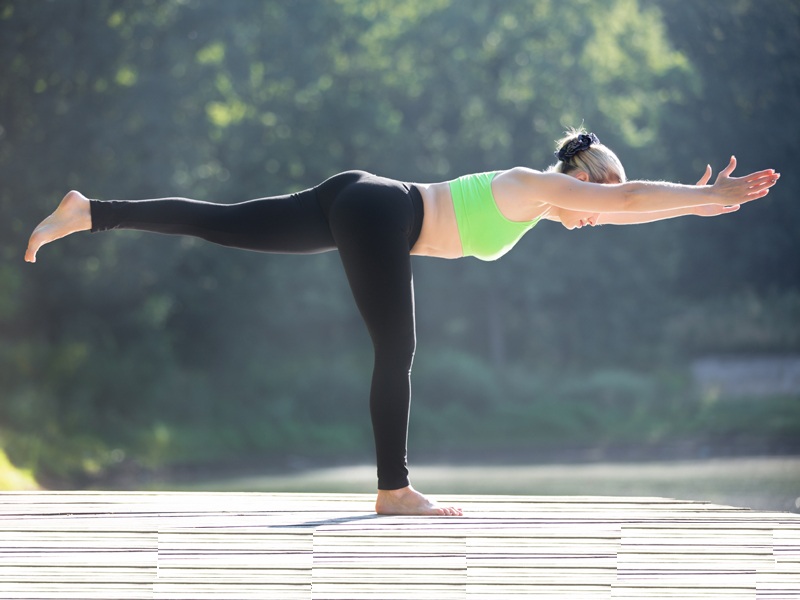
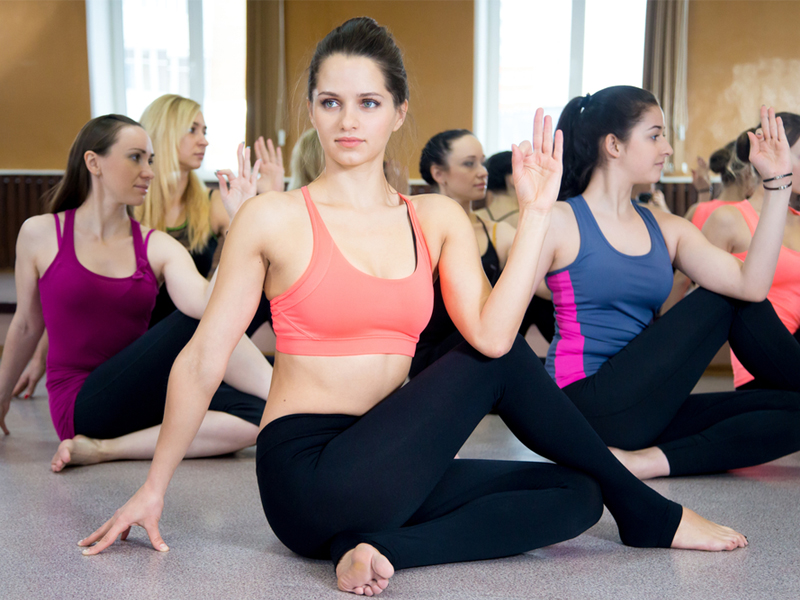
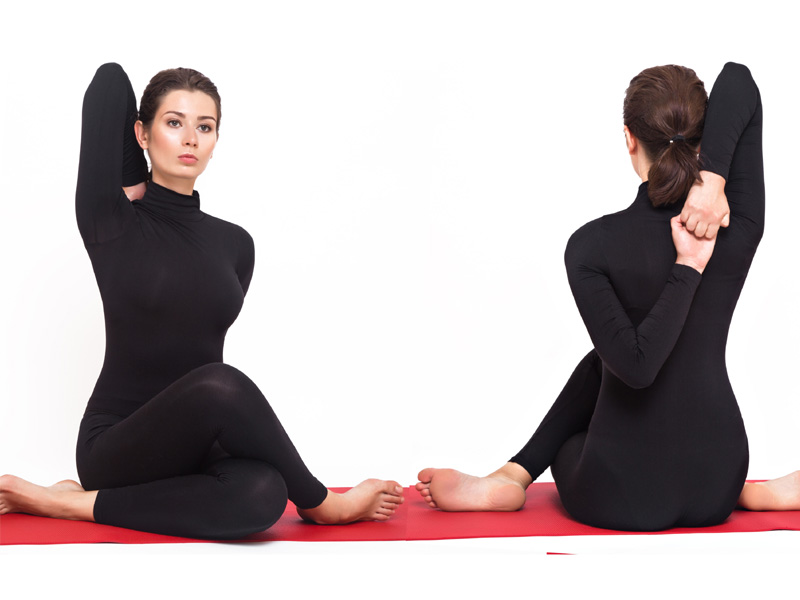
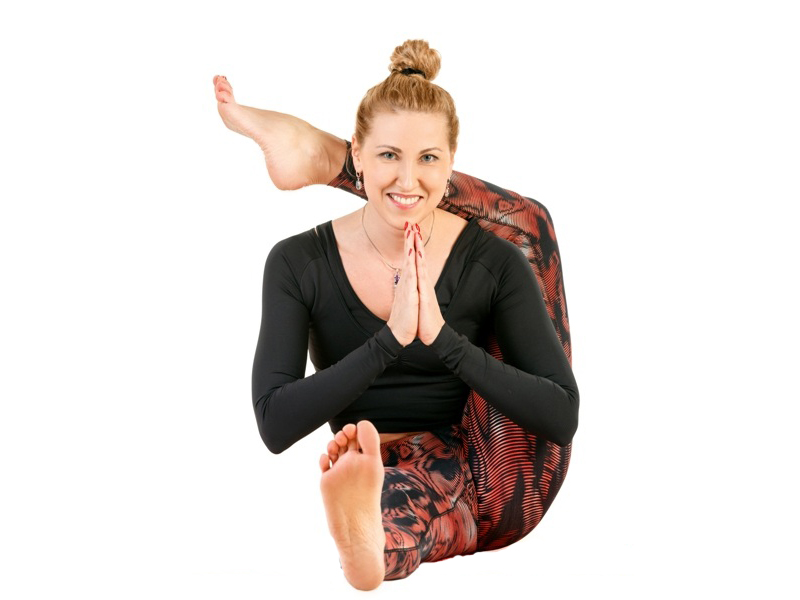
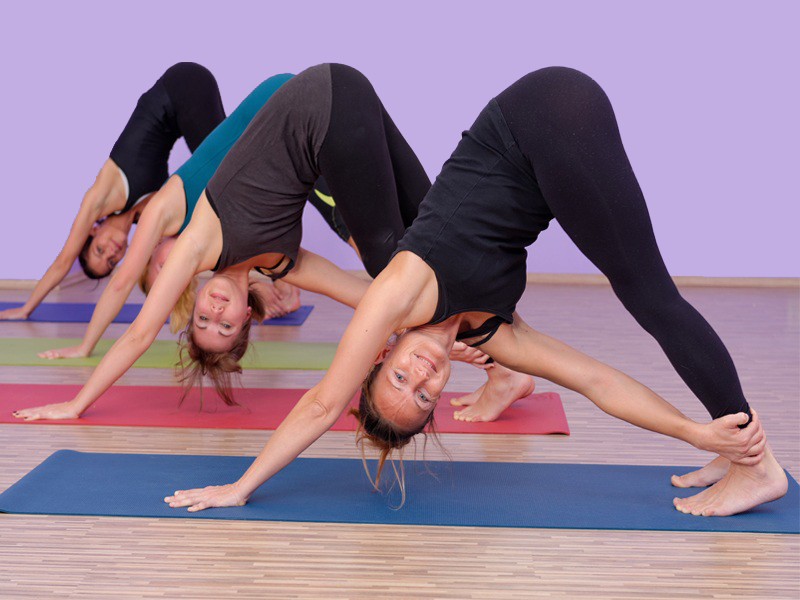
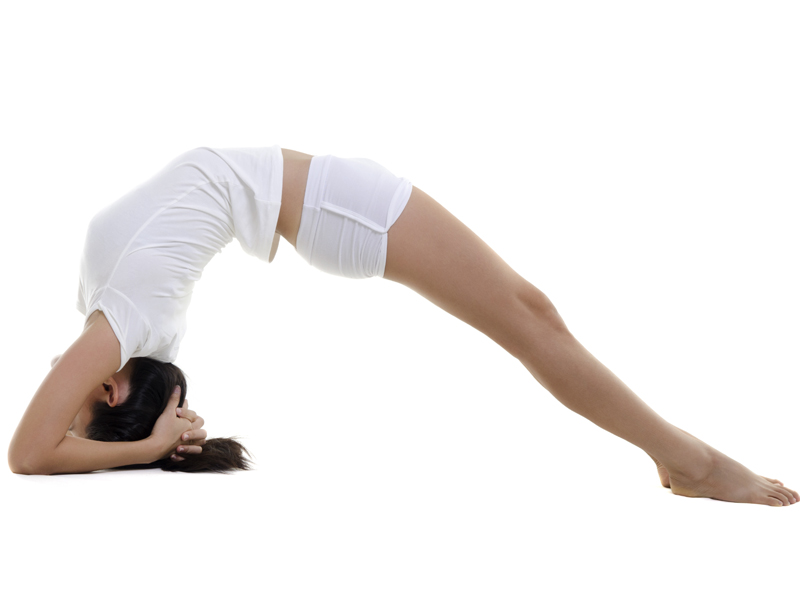
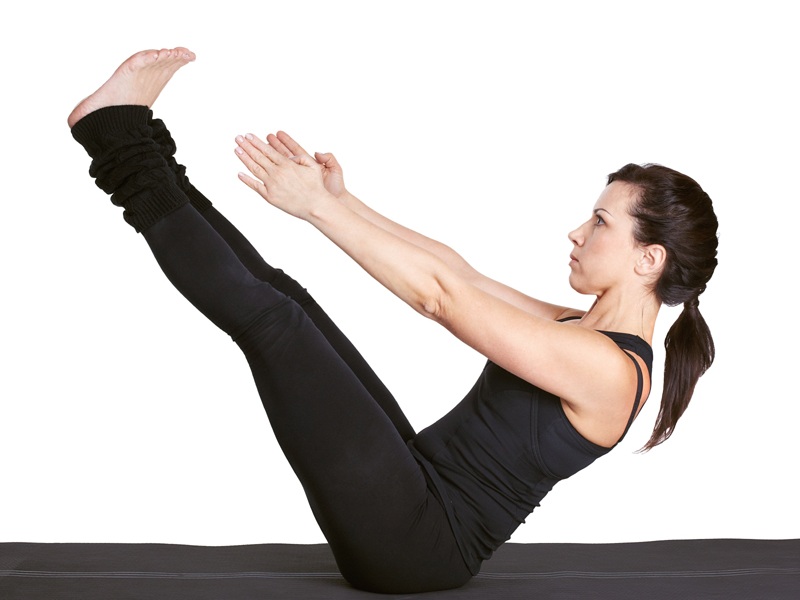
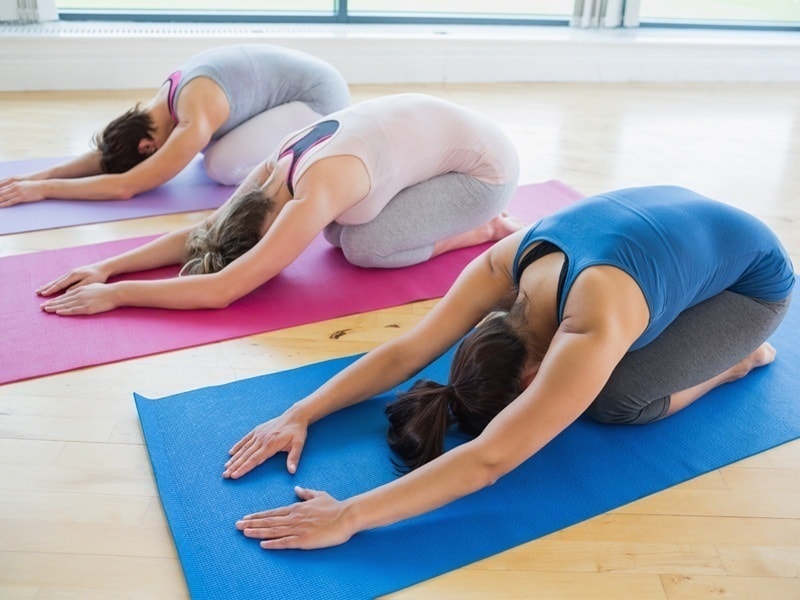
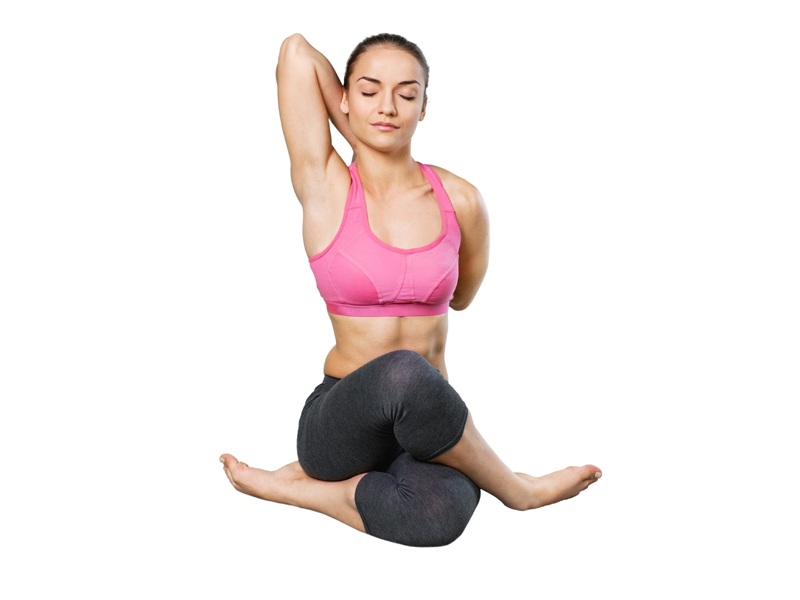
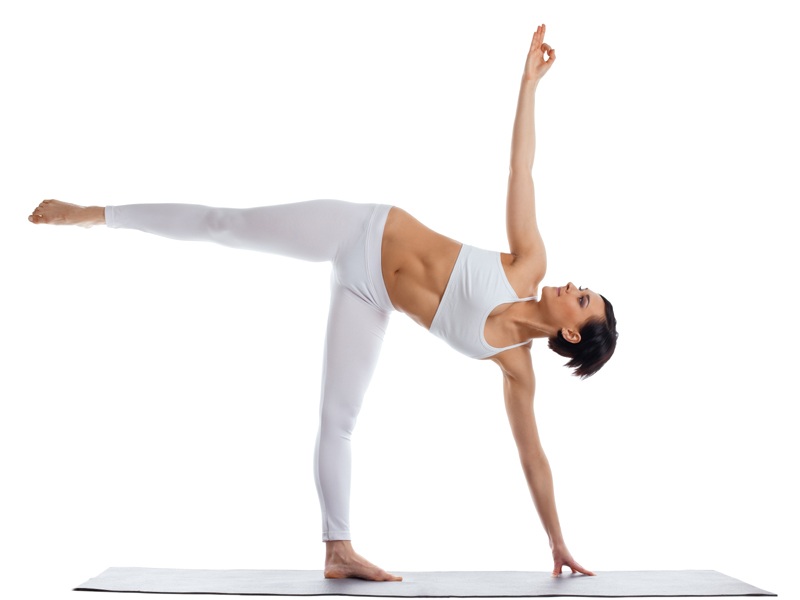
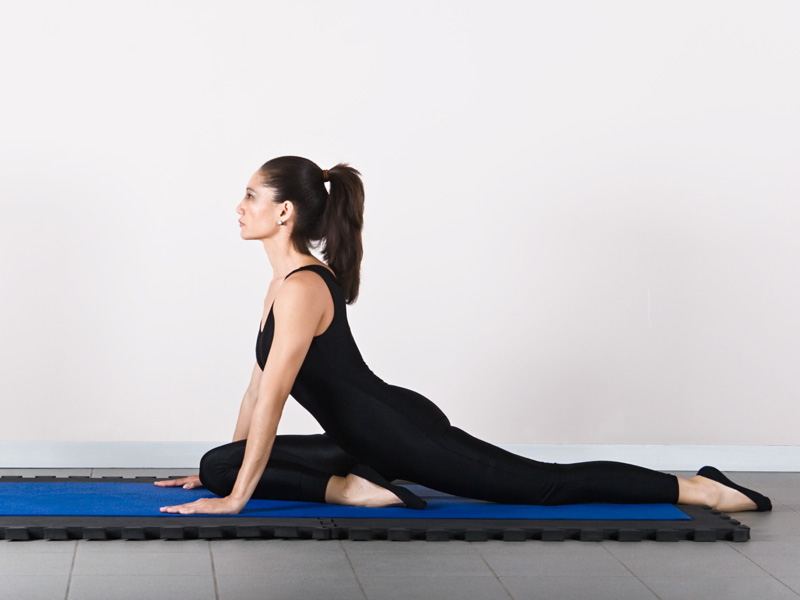
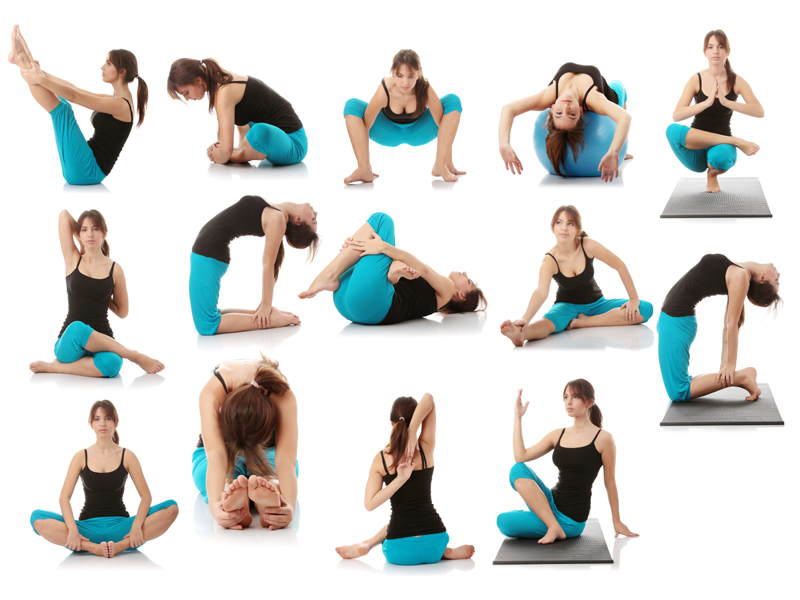
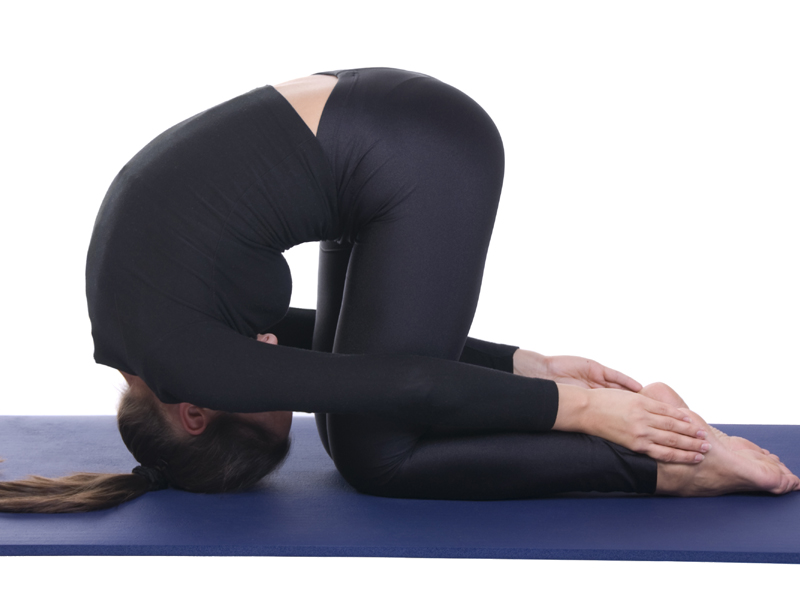
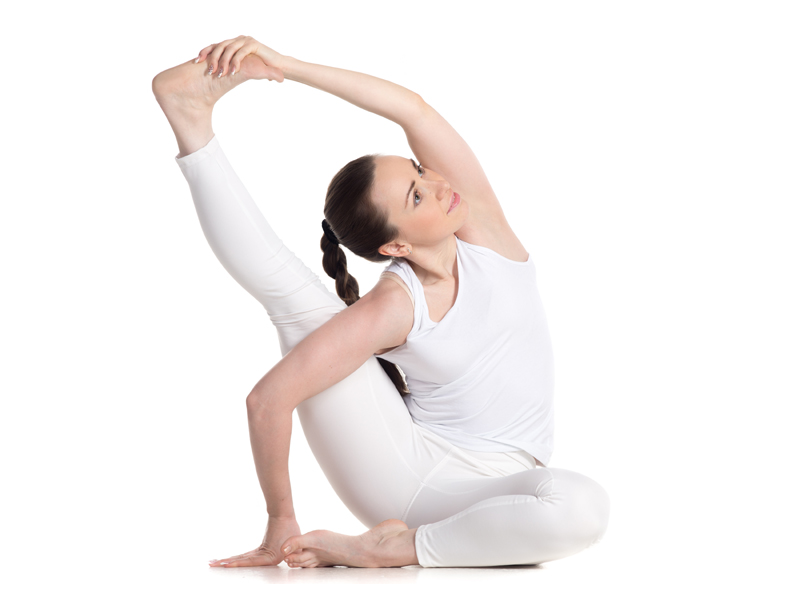
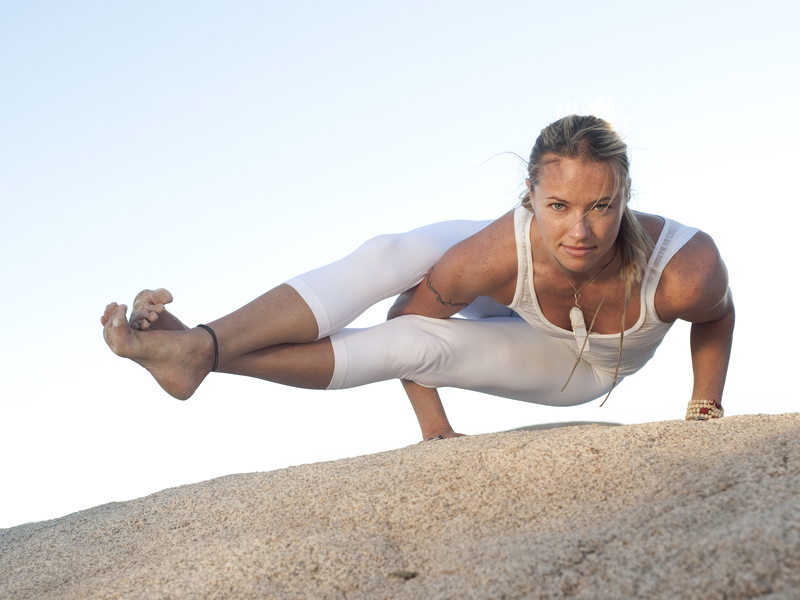
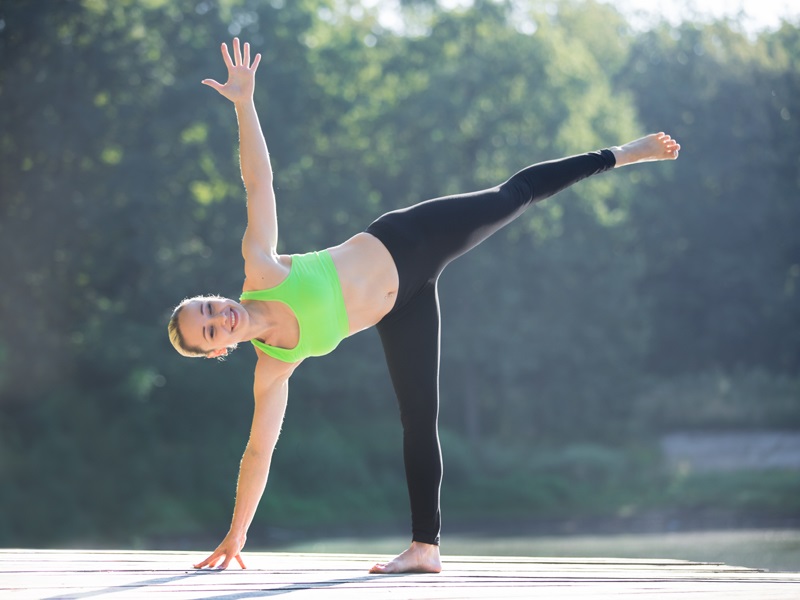
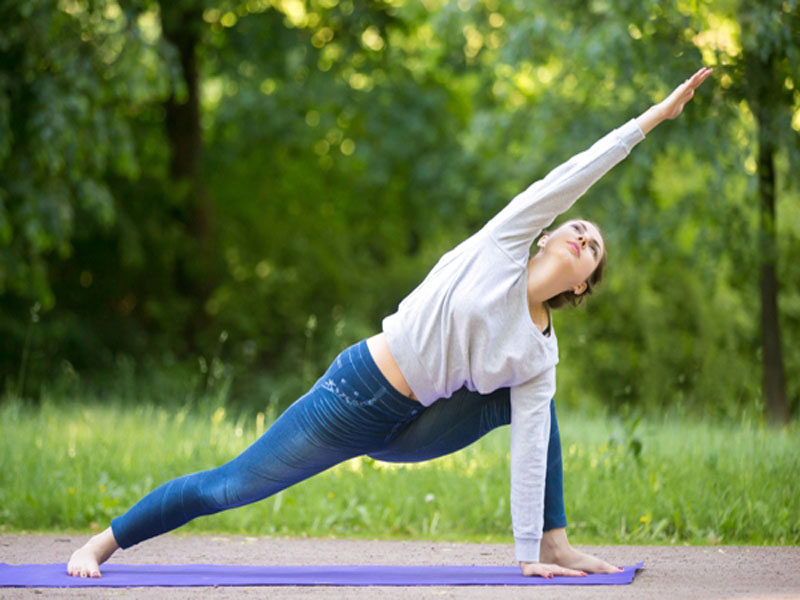
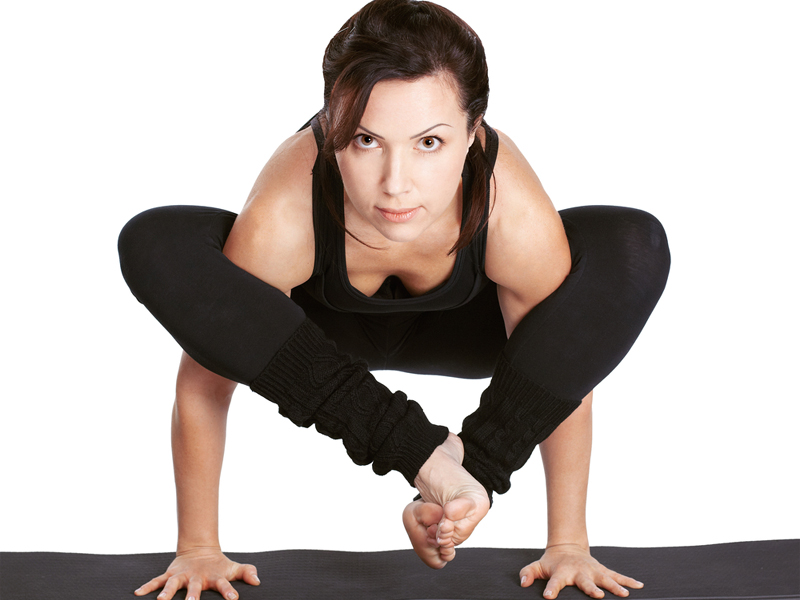
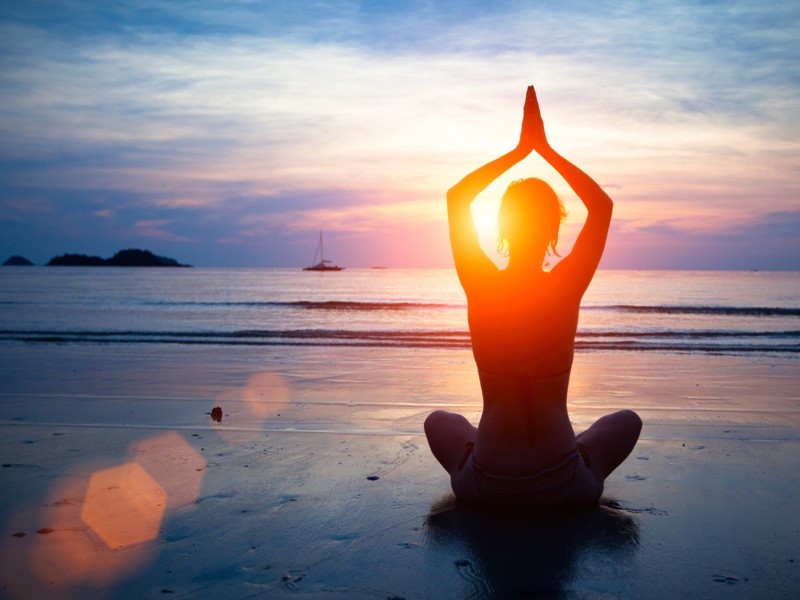
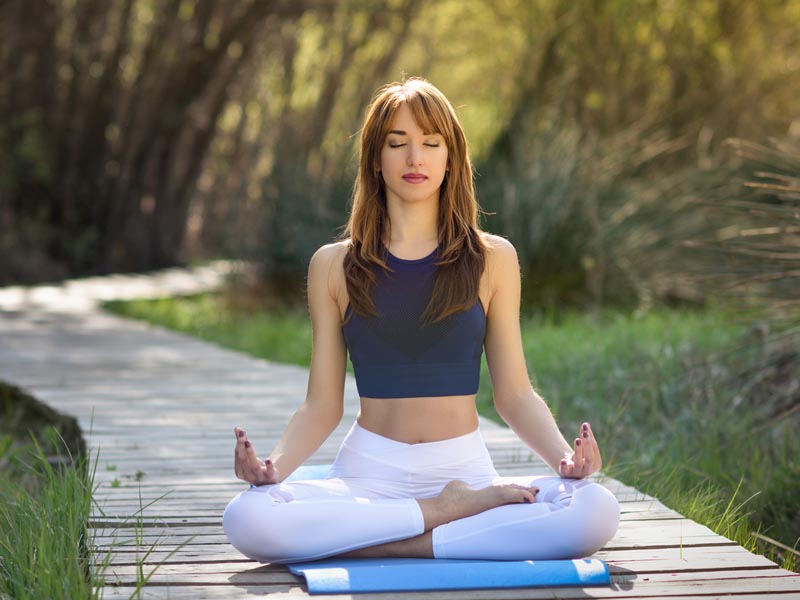
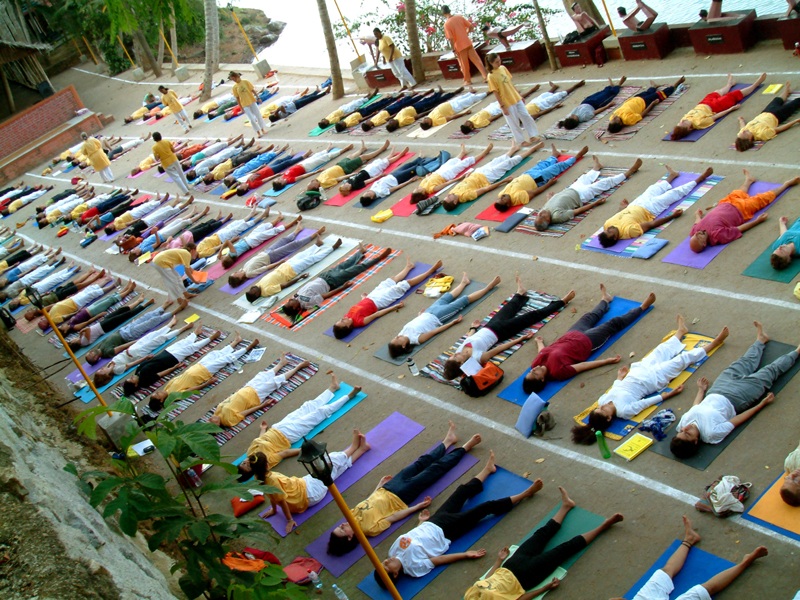
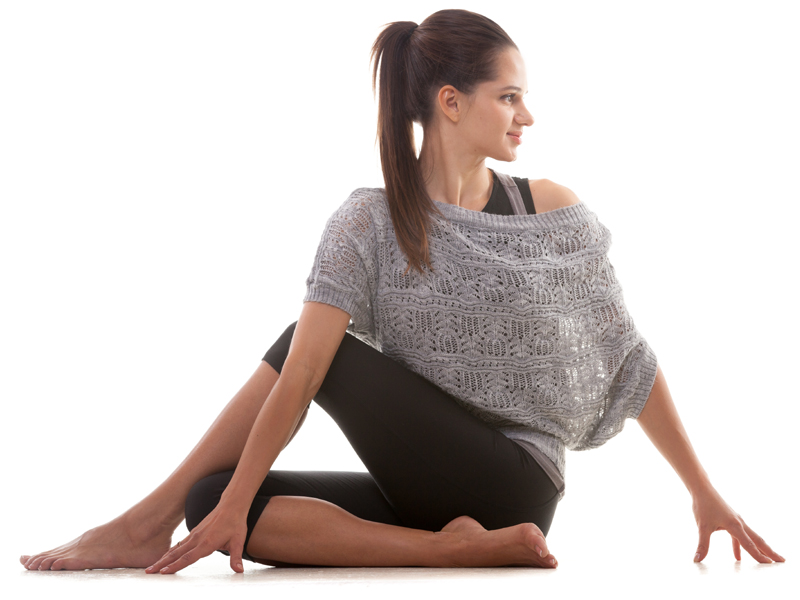
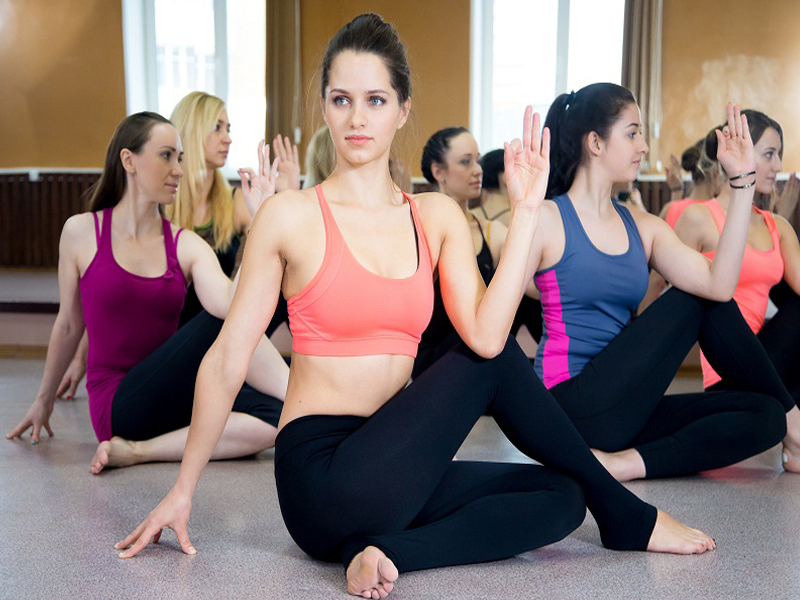
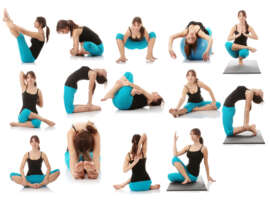
Sun Salutation, also called Surya Namaskar, is a famous yoga asanas sequence performed in a rhythmic and flowing manner. With this dynamic practice, you can combine movement, breath, and mindfulness to energize and invigorate the mind and body. Furthermore, you can also discover the transformative power of Surya Namaskar A, B, and C variations, where each variation comes with its sequences and benefits.
This article provides detailed information about each variation’s specific poses and transitions. Whether you are a beginner or an experienced practitioner, you can learn how to incorporate Surya Namaskar A, B, and C into your daily routine and harness the rejuvenating energy of the sun. Read on!
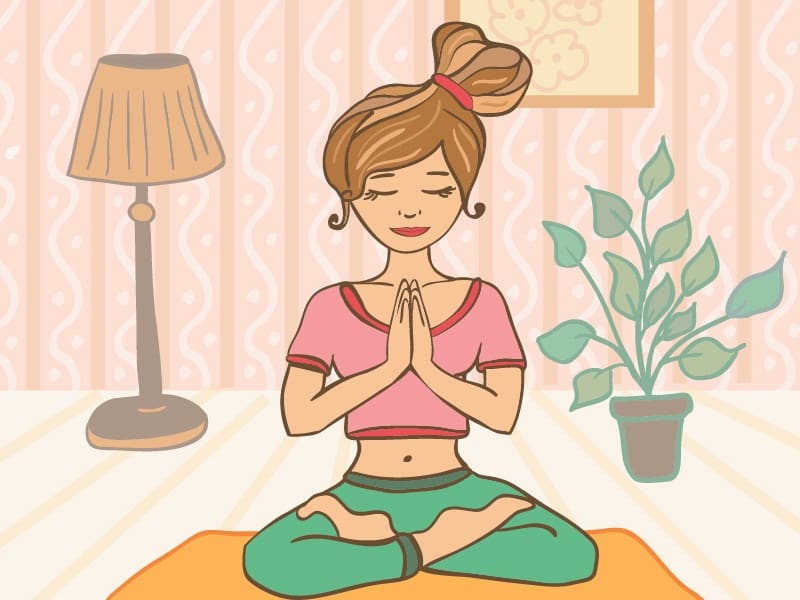
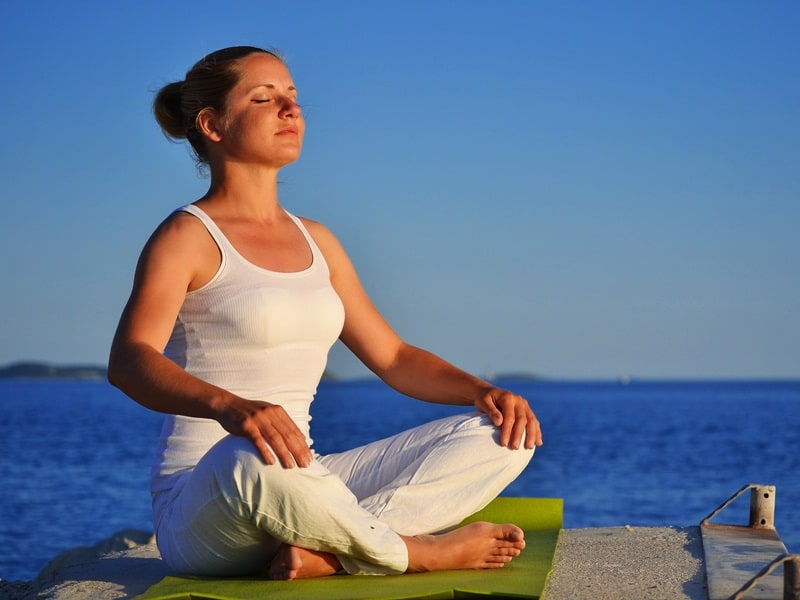
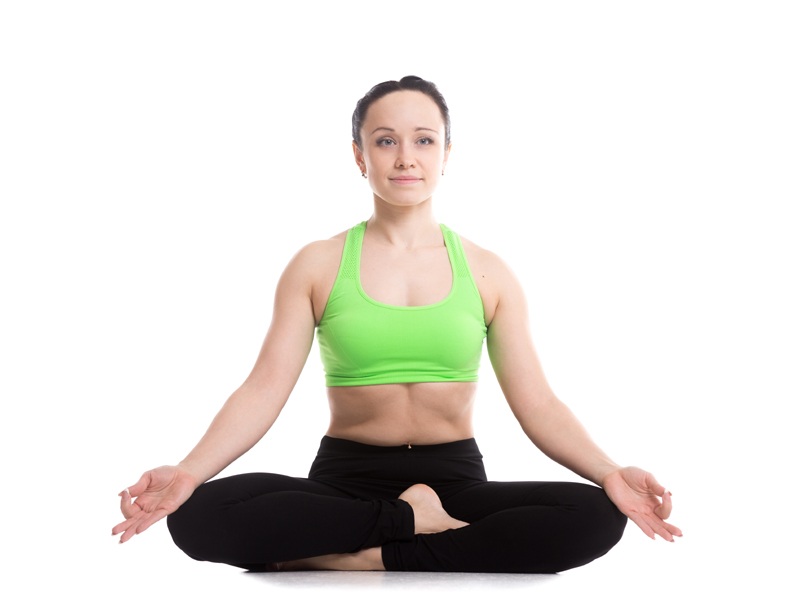
What are Sun Salutations:
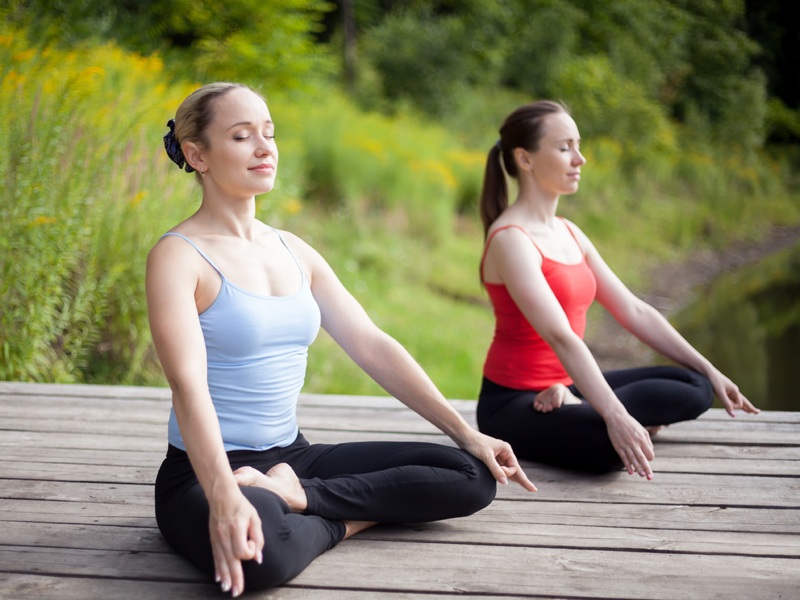
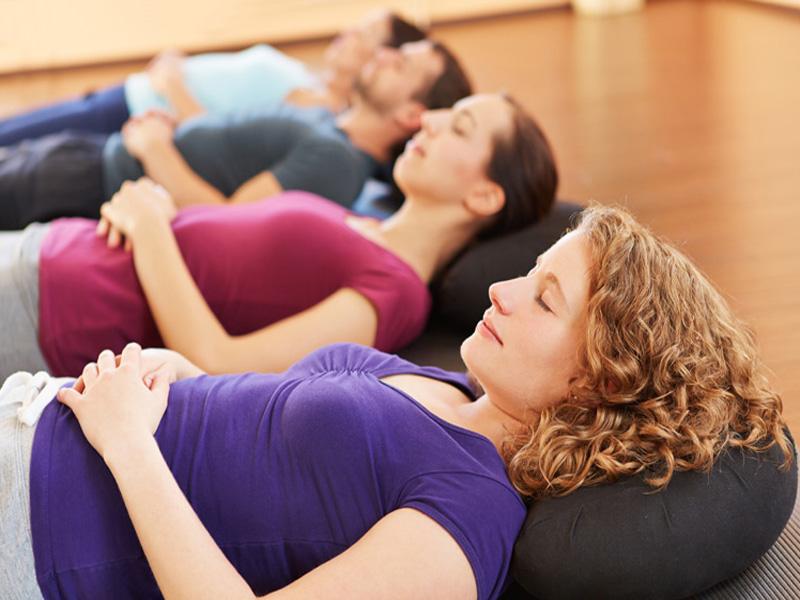
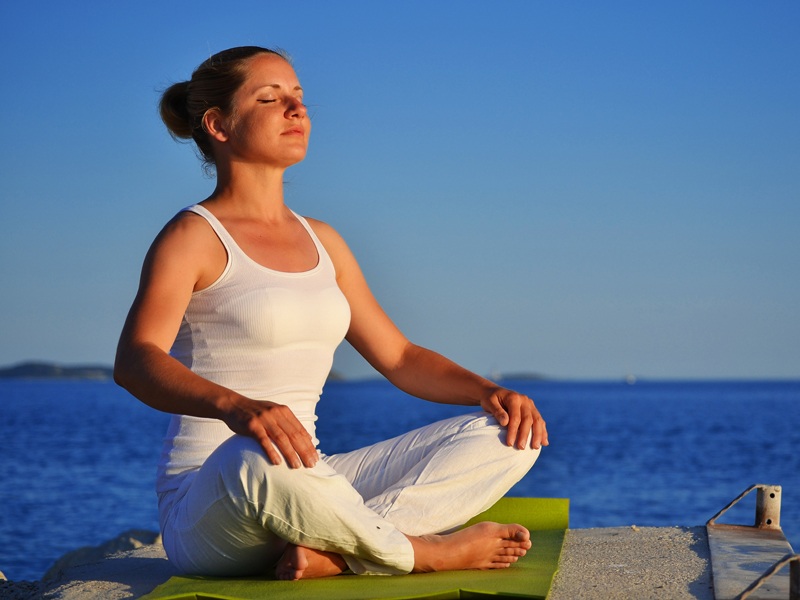
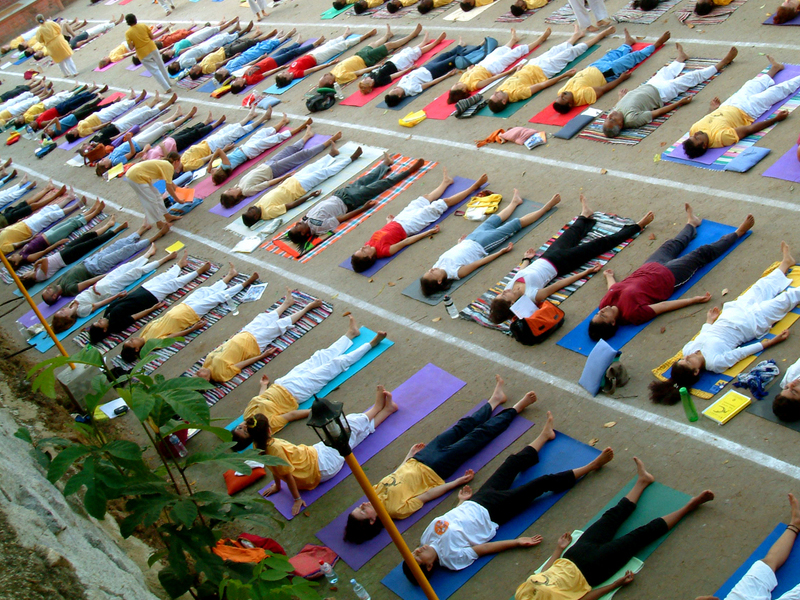
Sun salutations awaken the sun’s energy within the body as these poses are practiced traditionally in the morning. The deep breathing synchronized with a combination of standing, stretching, and forward-bending poses in Sun Salutations can cultivate mindfulness, build strength and increase flexibility in the body.
Sun salutations are prayer-based, ritualistic, and dynamic sequences that move your body in several directions and improve one’s ability to warm up the body quickly. This series of yoga sequences where every breath has a movement attached, which means it is traditionally breath-based.
Surya Namaskar A Poses:
Here is the list of Surya Namaskar sequence A, which can help you in the well-being of your body. The poses include:
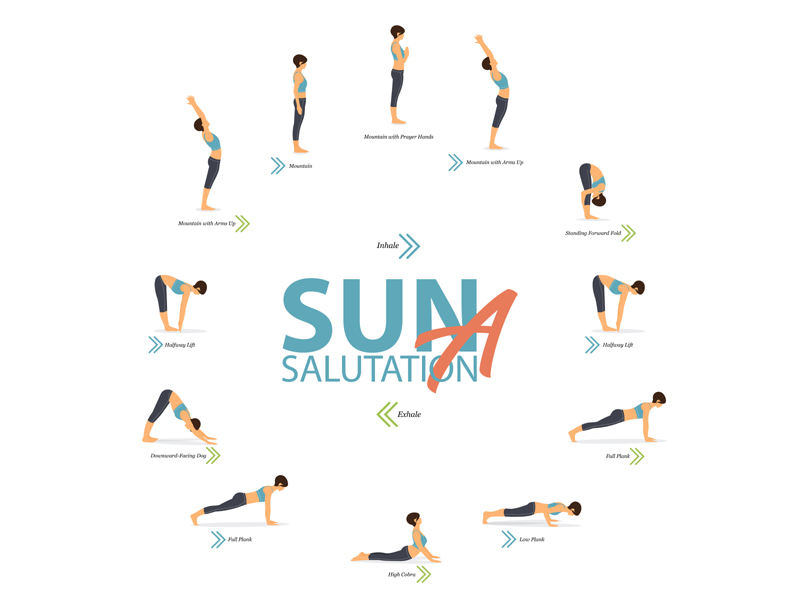
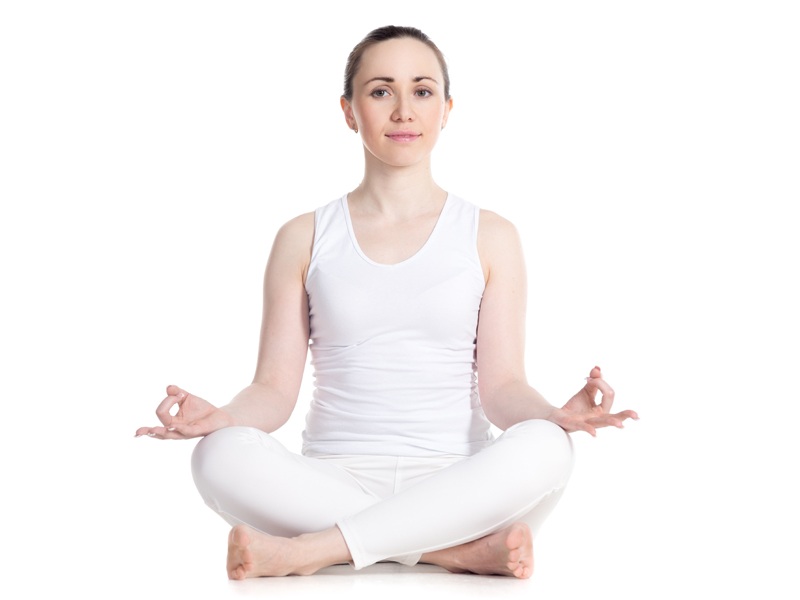
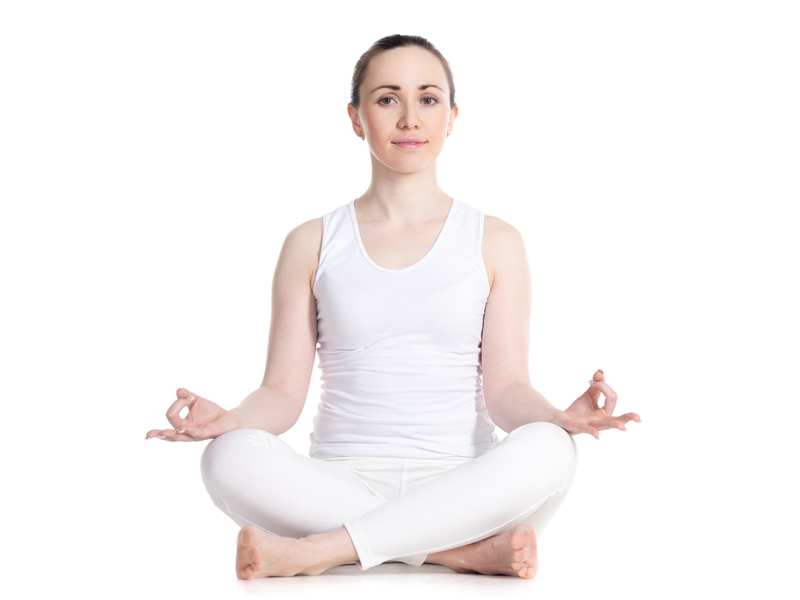
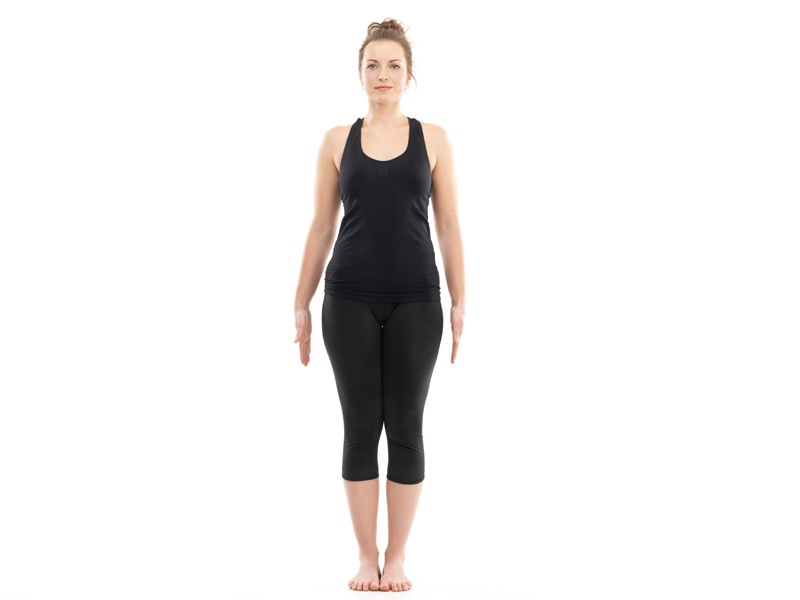
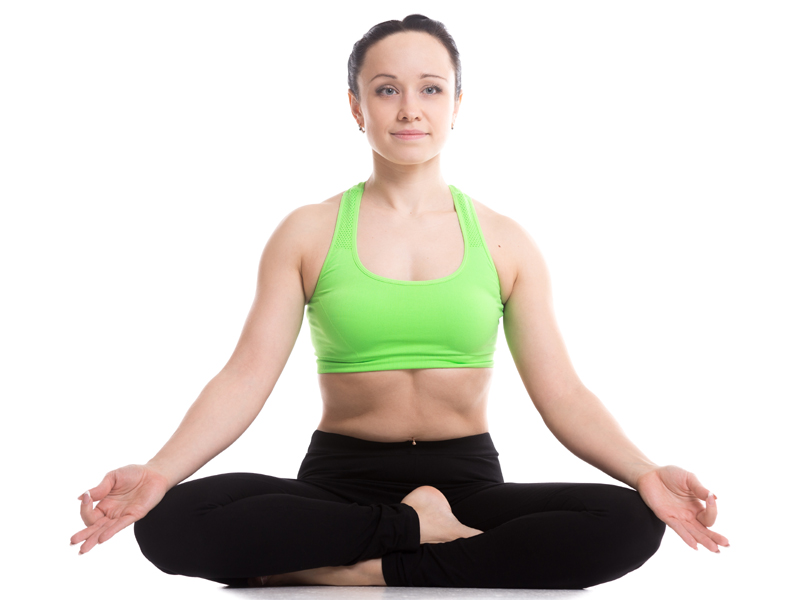
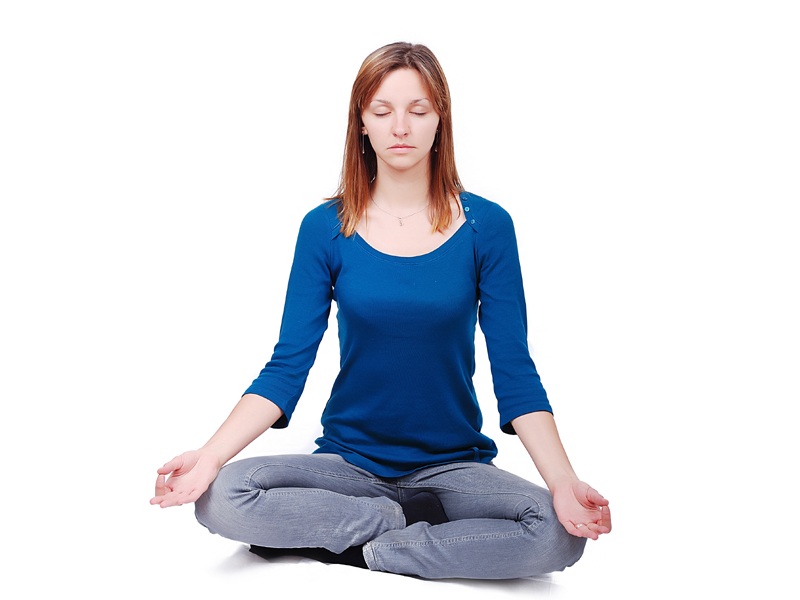
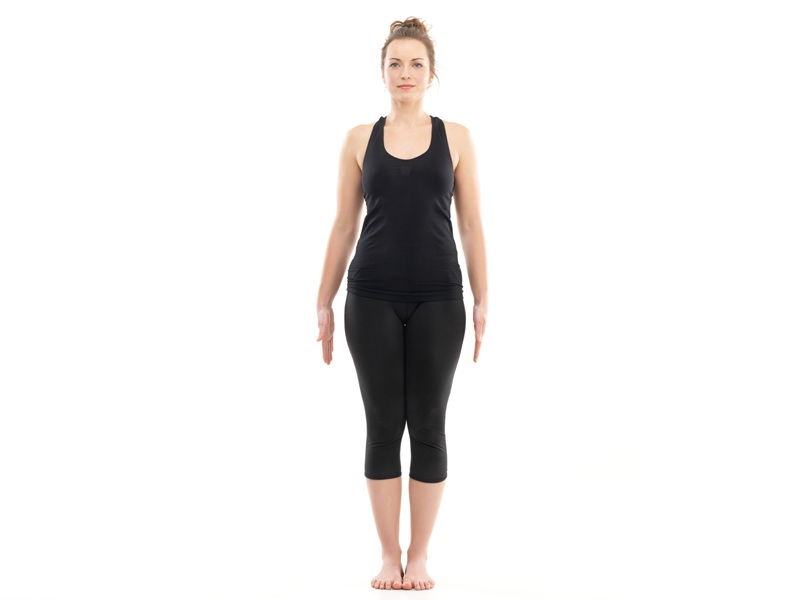
1. Tadasana:
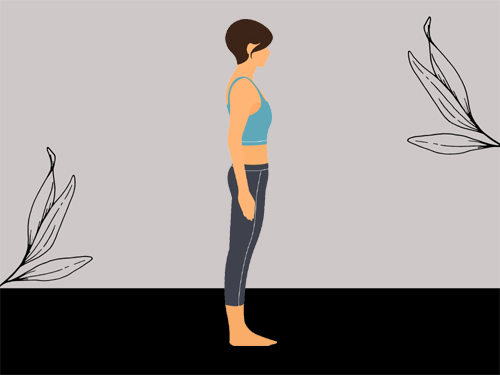
- Stand tall and roll back your shoulders, rooting your feet’s all four corners to the ground.
- Bring your hands into a prayer pose as you become aware of your breath.
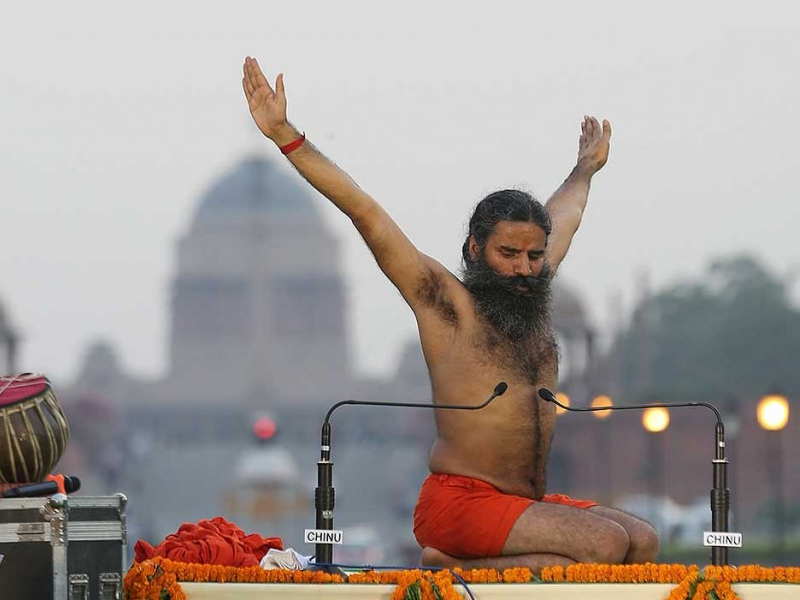
2. Urdhva Hastasana:
- Bring your hands together above your head.
- Then use your pinky fingers to form an upward salute while you inhale.
- Hold your breath for two to three seconds.
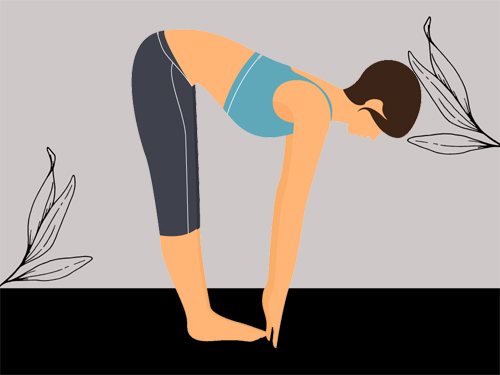
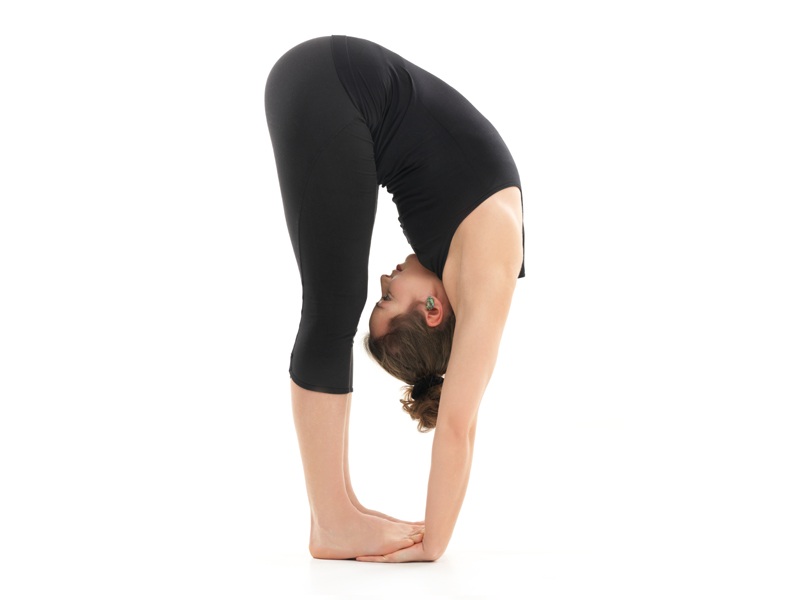
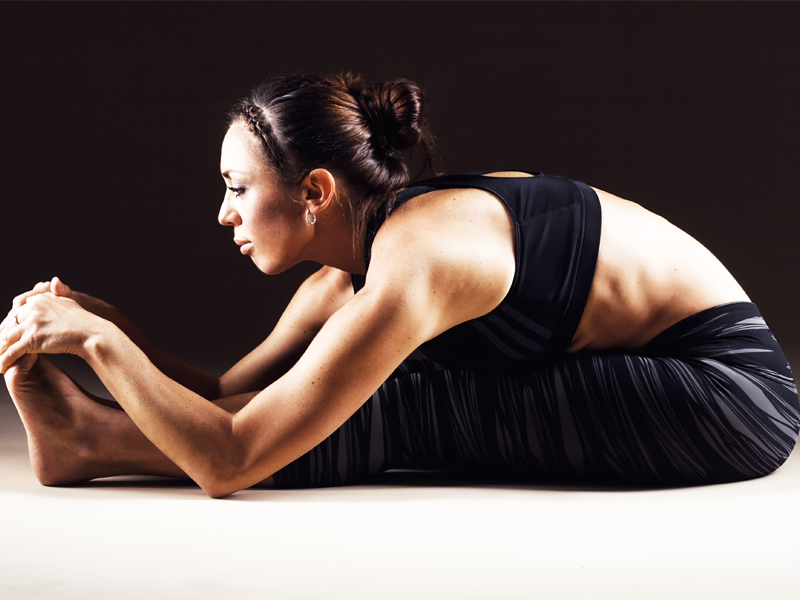
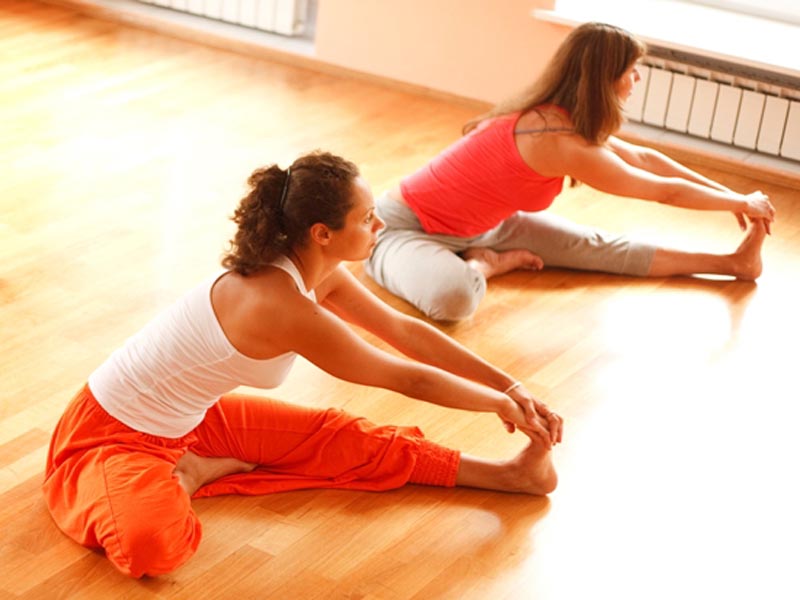
3. Uttanasana:
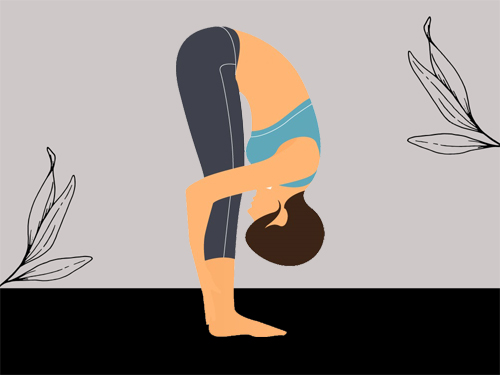
- Bring your hands through the heart center, arms extended.
- Now, slowly bend forward and use your hands to cup the backside of your ankles.
- Make sure your knees are straight.
- You can slightly bend your knees initially.
4. Ardha Uttanasana:
- Slowly lift your body halfway up, bringing the fingertips to the floor while looking down.
- Keep your core engaged while keeping your spine flat during this procedure.
- Keep your fingertips in front of yourself or your shins, whichever is comfortable.
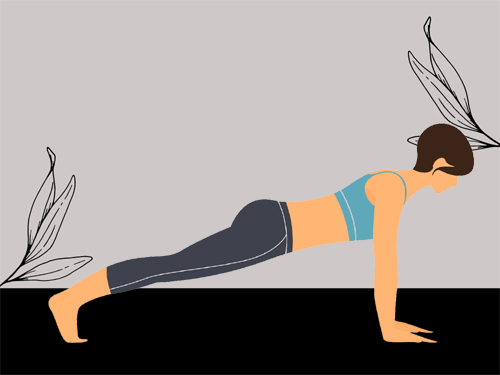
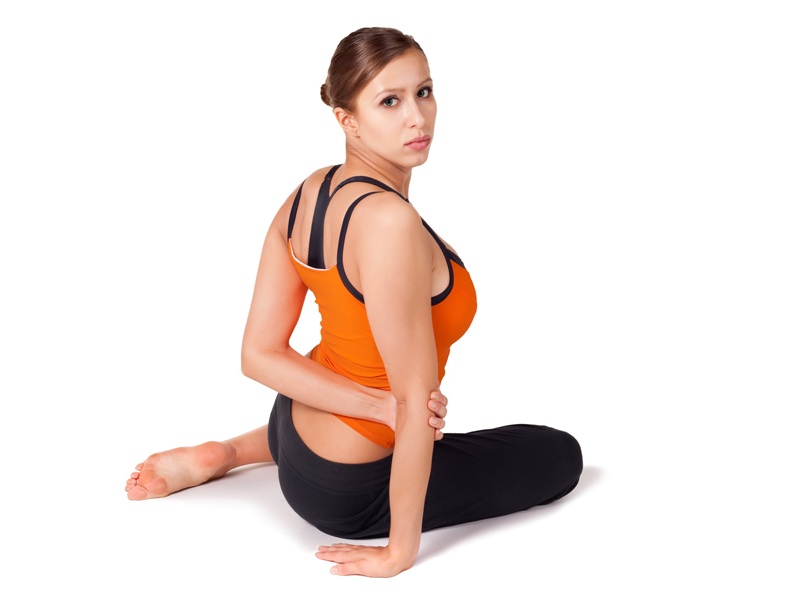
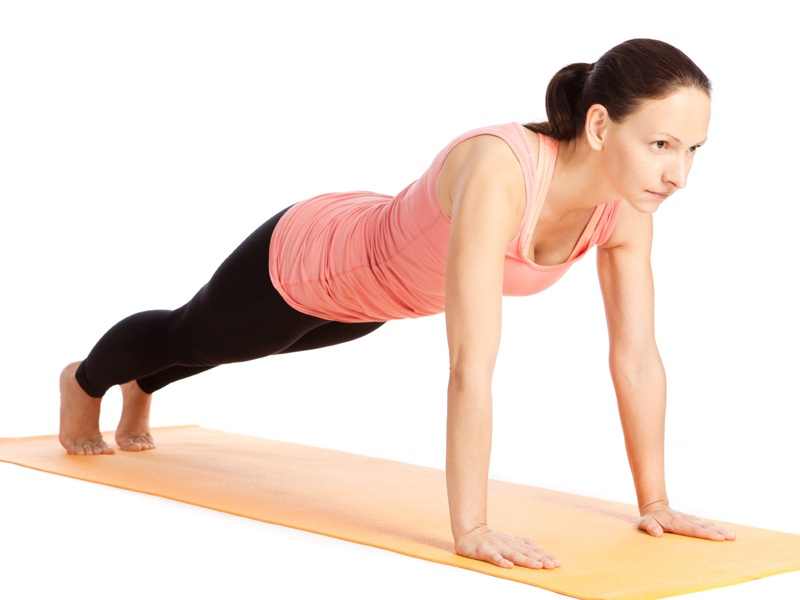
5. Chaturanga Dandasana:
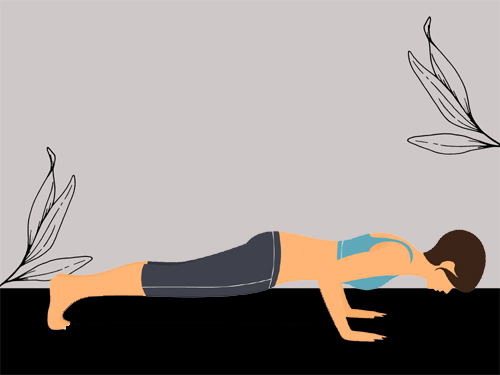
- Step back into this plank pose by bringing your hands to the mat.
- Then slowly press your heels back, place your shoulders directly above the wrists and tuck your toes.
- You can drop your knees to the ground if you don’t have enough strength to hold in this pose.
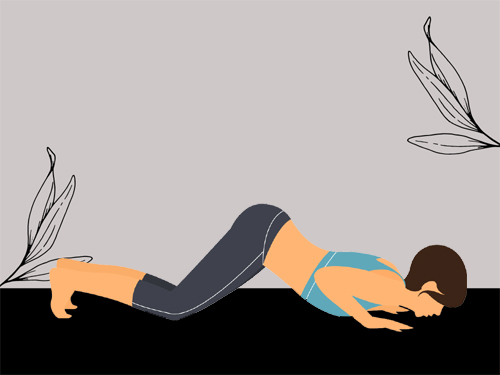
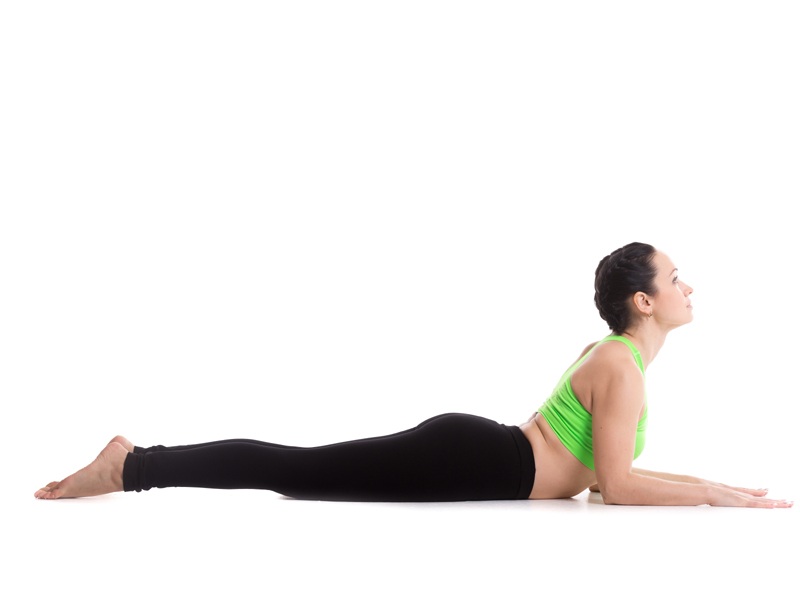
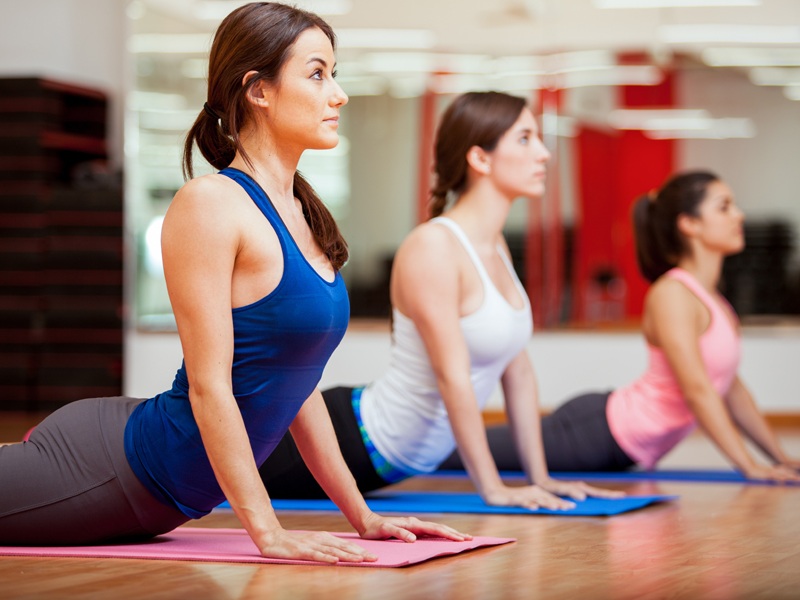
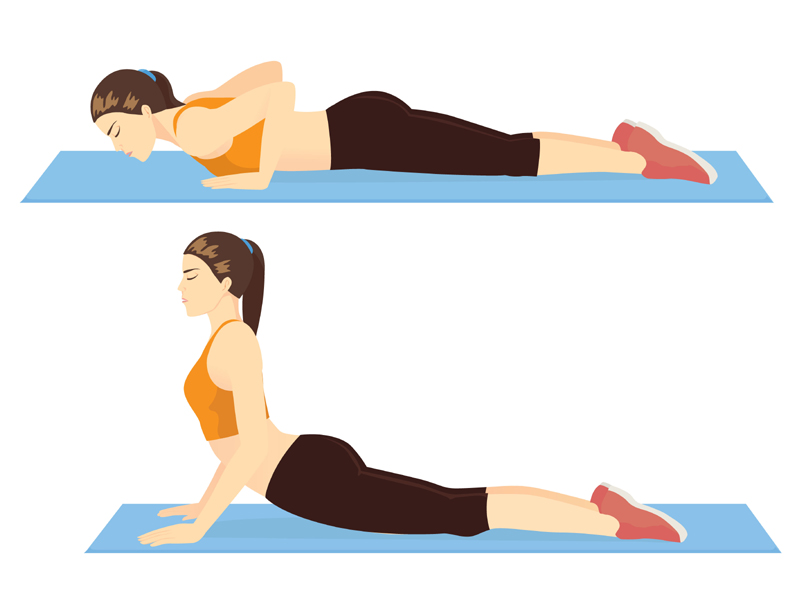
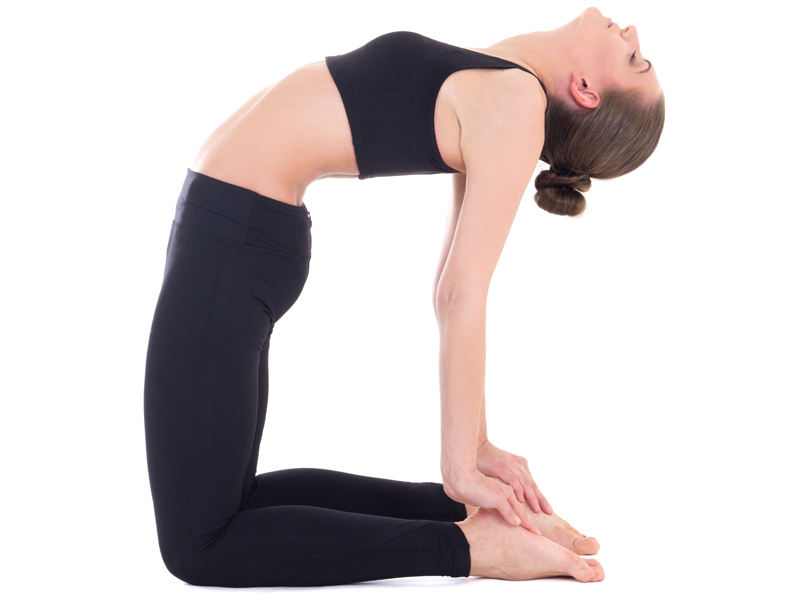
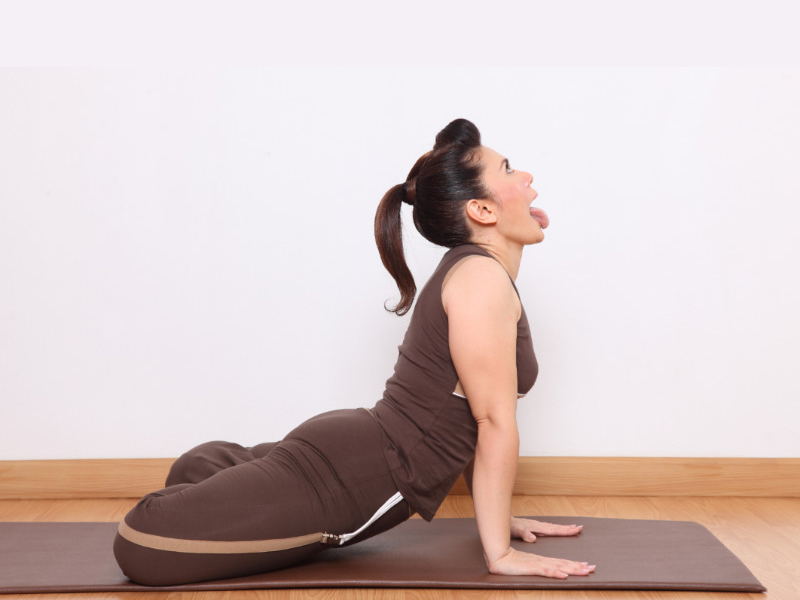
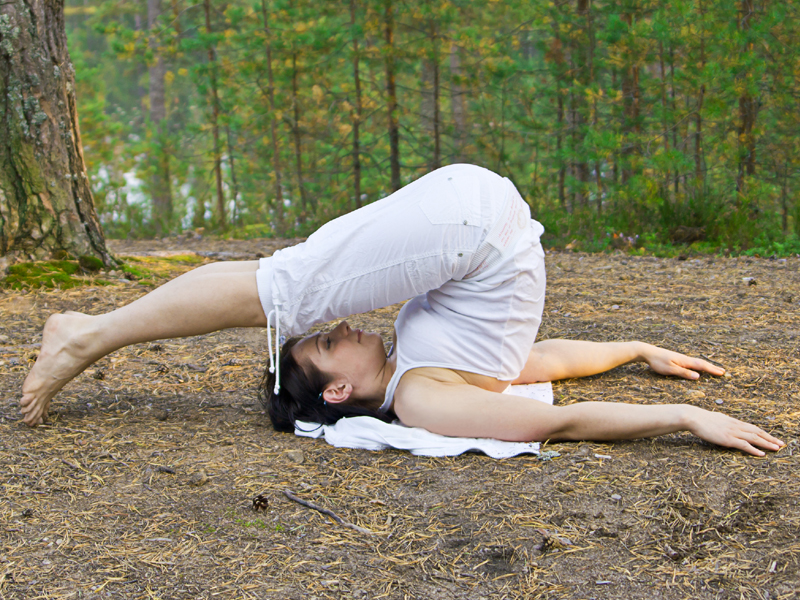
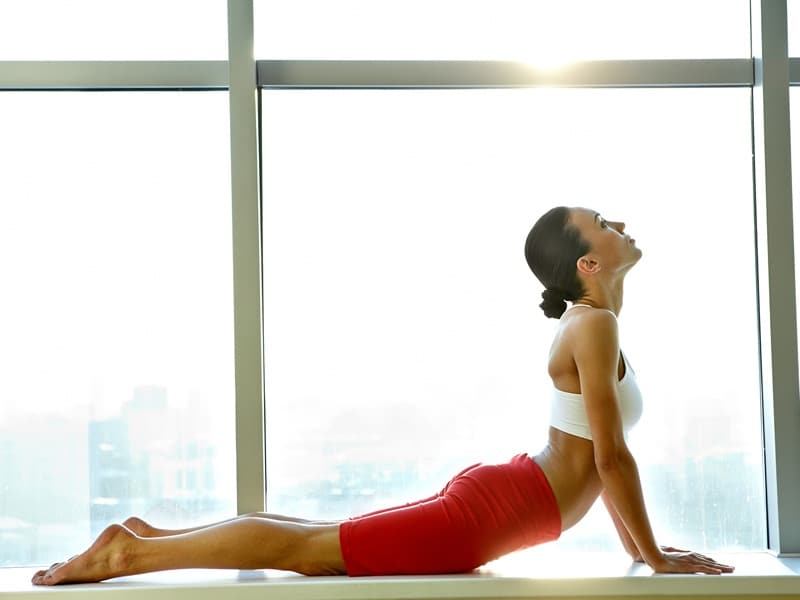
6. Urdhava Mukha Svanasana:
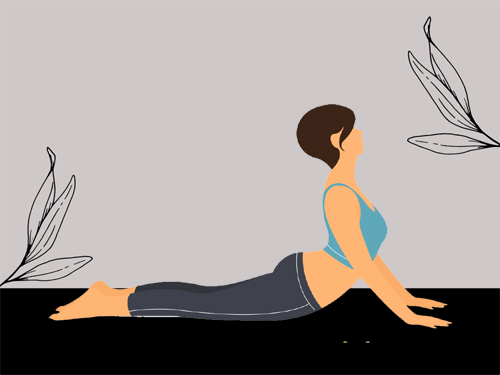
- Move into the upward-facing dog pose by inhaling correctly.
- Tuck in your toes, and press into your hands to extend your chest forward while keeping your kneed off the mat.
- Try to maintain a neutral forward gaze as you push your shoulders back and down.
- Try to hold your breath for a few seconds.
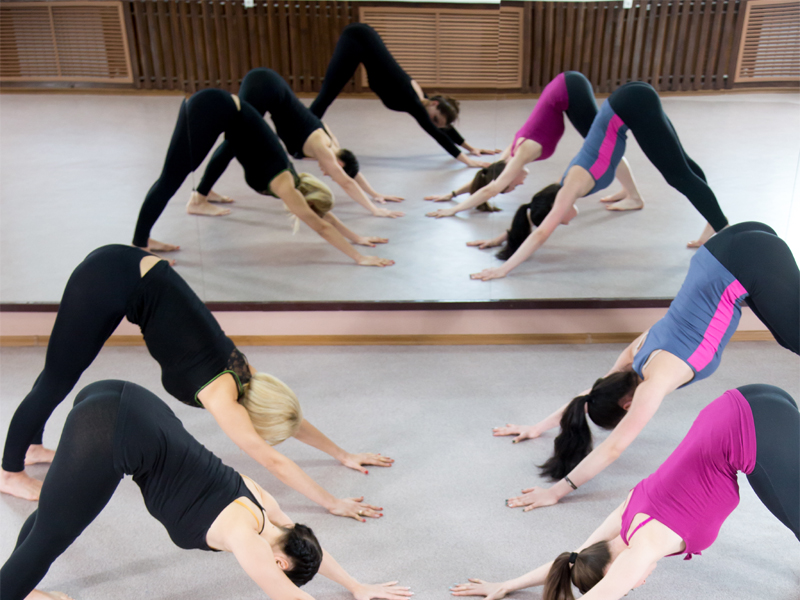
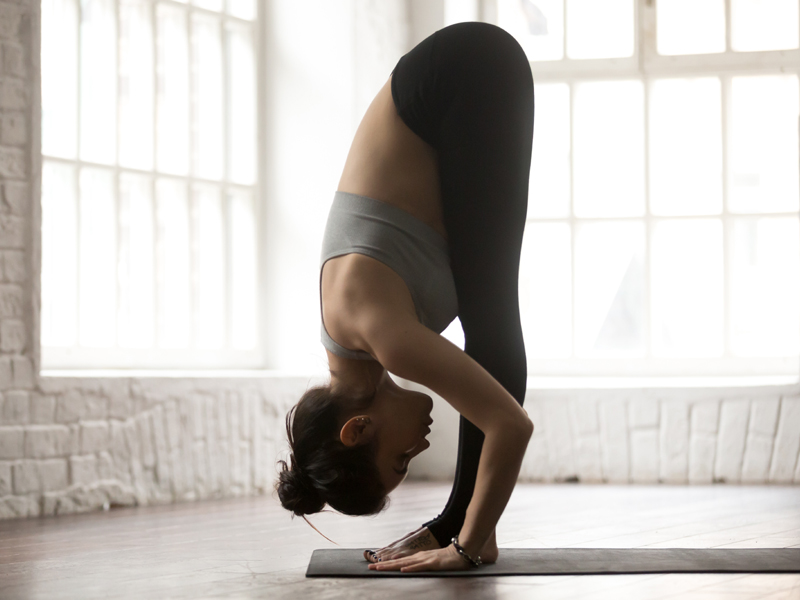
7. Adho Mukha Svanasana:
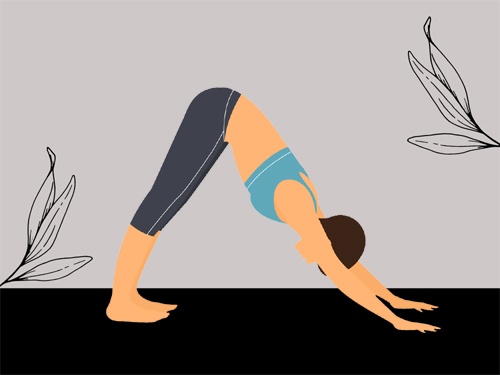
- While exhaling, come into a downward-facing dog pose by lifting your hips.
- Create a strong foundation by pressing your heels and hands as you lift your shoulder blades up and back while letting your head hang heavy.
8. Ardha Uttanasana(step into the half-standing forward pose)
9. Uttanasana (bend into the standing forward pose)
10. Urdhva Hastasana (raise into an upward salute)
11. Tadasana
Surya Namaskar B Sequence:
Here is the list of Surya Namaskar B sequence and the details regarding how to perform the pose in detail:
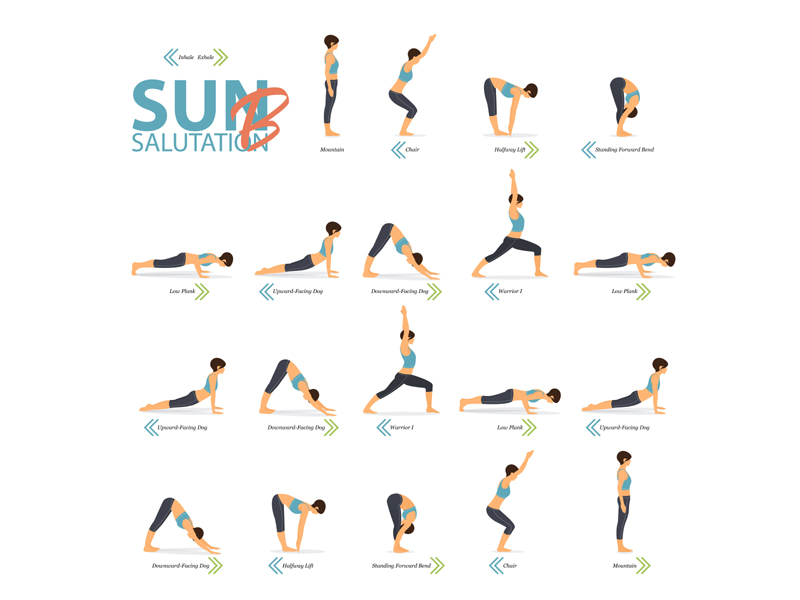
1. Tadasana:
- Stand tall and roll back your shoulders, rooting your feet’s all four corners to the ground.
- Bring your hands into a prayer pose as you become aware of your breath.
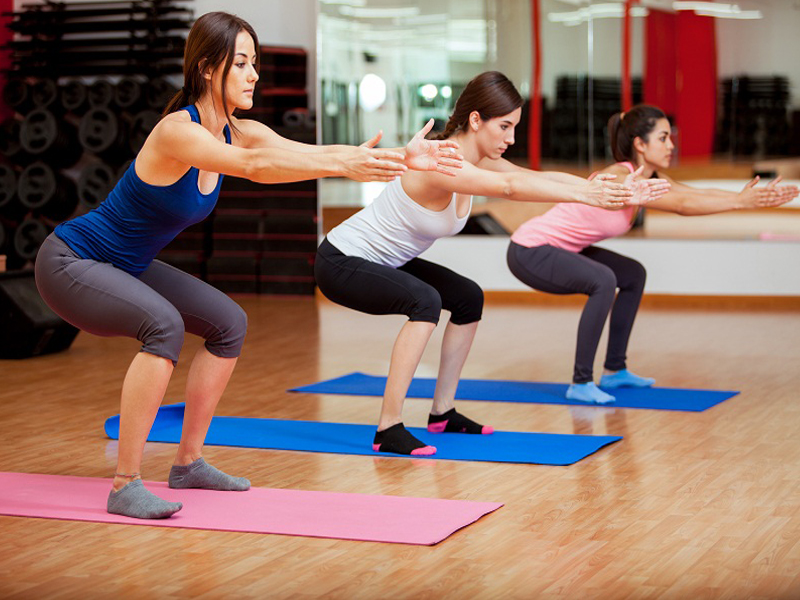
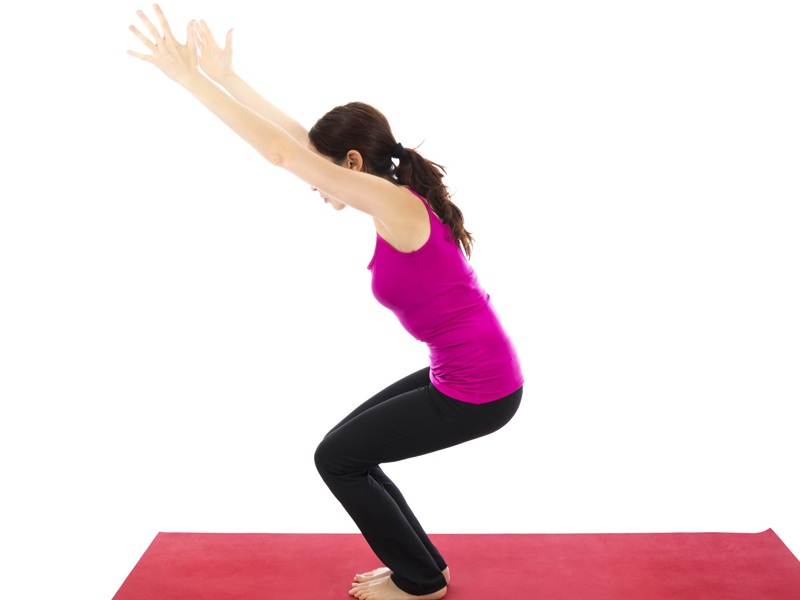
2. Utkatasana:
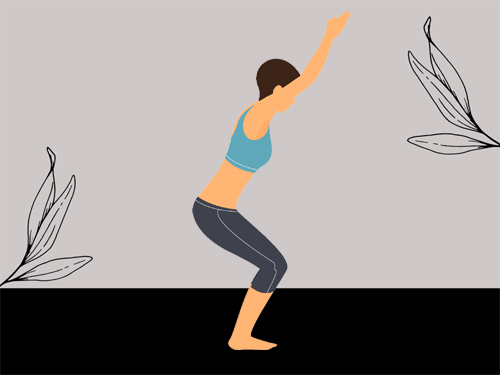
- Inhale, lift your arms above your head and lean back down like seated in a chair while bending your knees.
- Keep your shoulder back and down while keeping the back of the neck long to engage your core.
- You can remain in this position for a breath or two for the first round.
- In subsequent rounds, you can aim to link your movements with your breathing.
3. Uttanasana:
- Bring your hands through the heart center, arms extended.
- Now, slowly bend forward and use your hands to cup the backside of your ankles.
- Make sure your knees are straight.
- You can slightly bend your knees initially.
4. Ardha Uttanasana:
- Slowly lift your body halfway up, bringing the fingertips to the floor while looking down.
- Keep your core engaged while keeping your spine flat during this procedure.
- Keep your fingertips in front of yourself or your shins, whichever is comfortable.
5. Chaturanga Dandasana:
- Step back into this plank pose by bringing your hands to the mat.
- Then slowly press your heels back, place your shoulders directly above the wrists and tuck your toes.
- You can drop your knees to the ground if you don’t have enough strength to hold in this pose.
6. Urdhava Mukha Svanasana:
- Move into the upward-facing dog pose by inhaling correctly.
- Tuck in your toes, and press into your hands to extend your chest forward while keeping your kneed off the mat.
- Try to maintain a neutral forward gaze as you push your shoulders back and down.
- Try to hold your breath for a few seconds.
7. Adho Mukha Svanasana:
- While exhaling, come into a downward-facing dog pose by lifting your hips.
- Create a strong foundation by pressing your heels and hands as you lift your shoulder blades up and back while letting your head hang heavy.
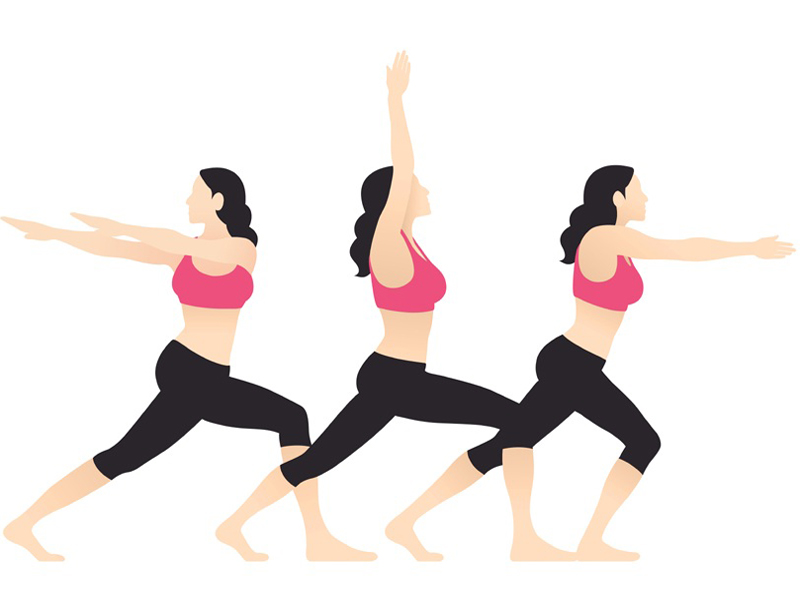
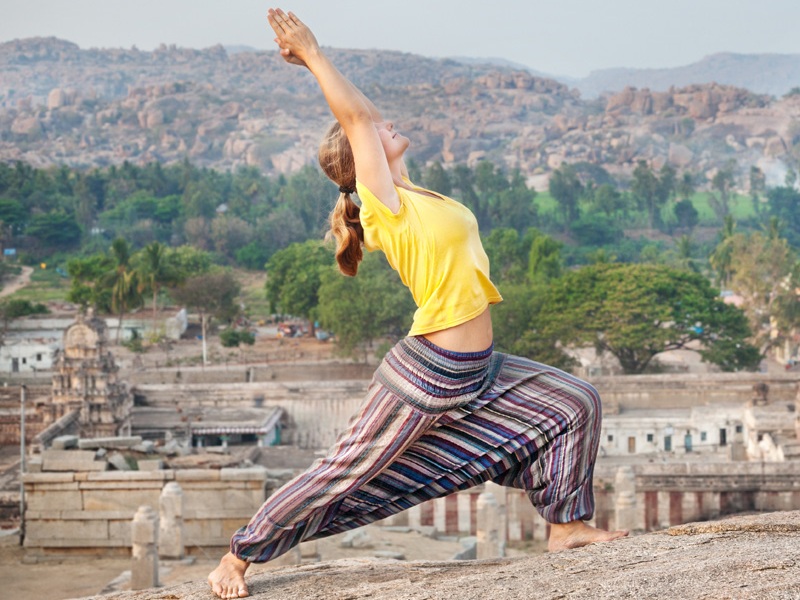
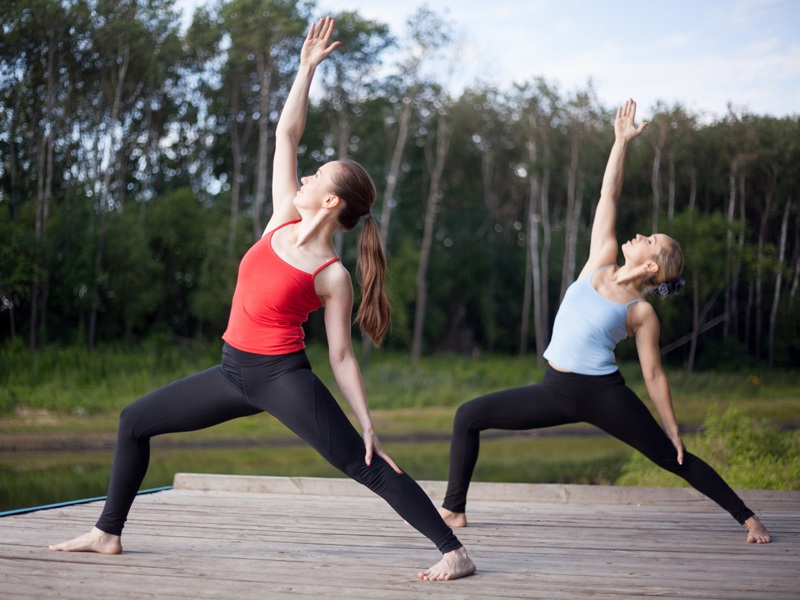
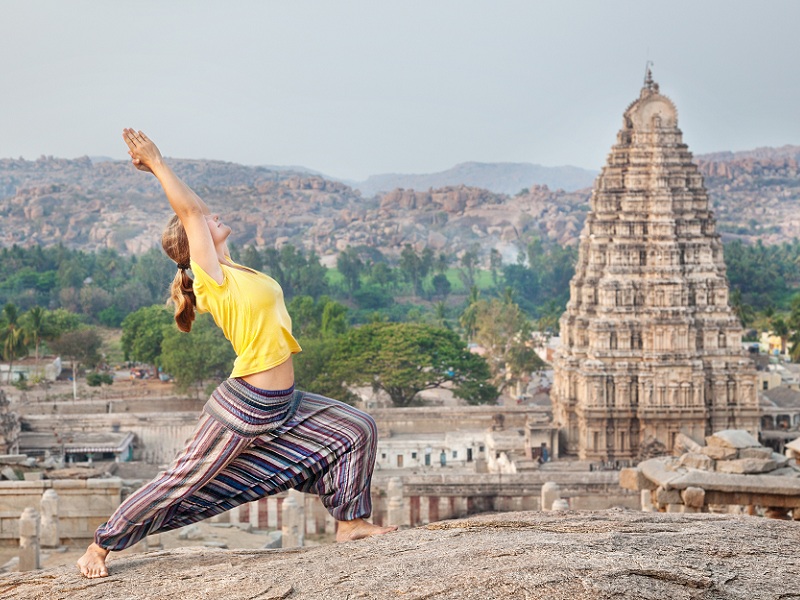
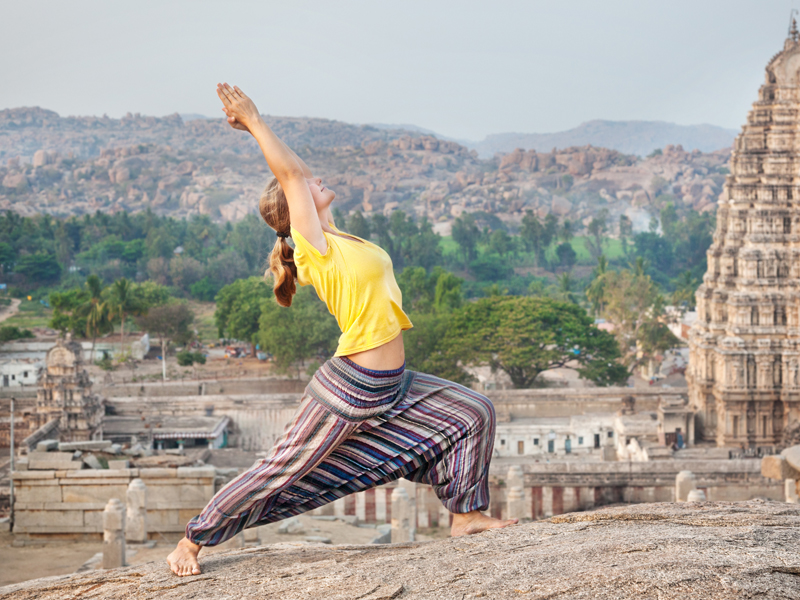
8. Virabhadrasana I (Warrior pose I):

- Keep your right foot forward.
- Now at a 45-degree angle, spin your back heel while keeping your hips square in the front of the room.
- Bend the kee’s frontside at a 90-degree angle while keeping your back and leg firm.
- Keep your hands above your head while palms face in and pinky fingers face each other.
- Remain in this pose for a few breaths.
9. Chaturanga Dandasana:
10. Urdhava Mukha Svanasana:
11. Ado Mukha Svanasana:
12. Virabhadrasana I:
13. Chaturanga Dandasana:
14. Urdhava Mukha Svanasana:
15. Ado Mukha Svanasana:
16. Ardha Uttanasana:
17. Uttanasana:
18. Utkatasana:
19. Tadasana:
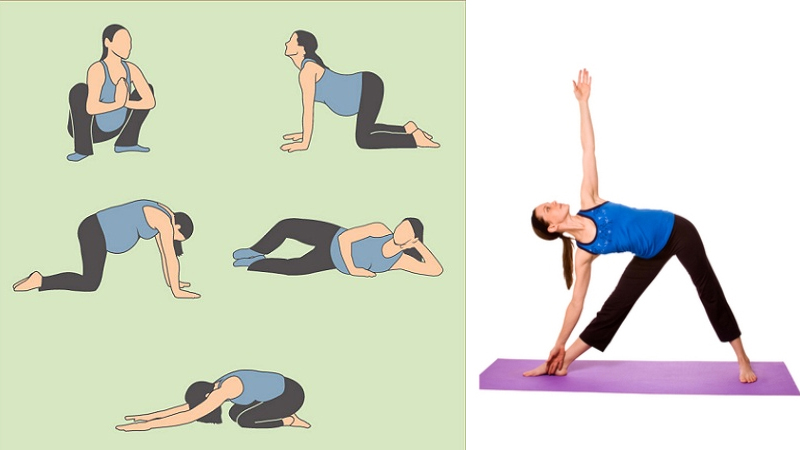
Surya Namaskar C Steps:
Here is a sequence of yoga asanas in the Surya Namaskar C and a step-by-step guide to practice the same. As you transition between poses, make sure to focus on breath coordination.
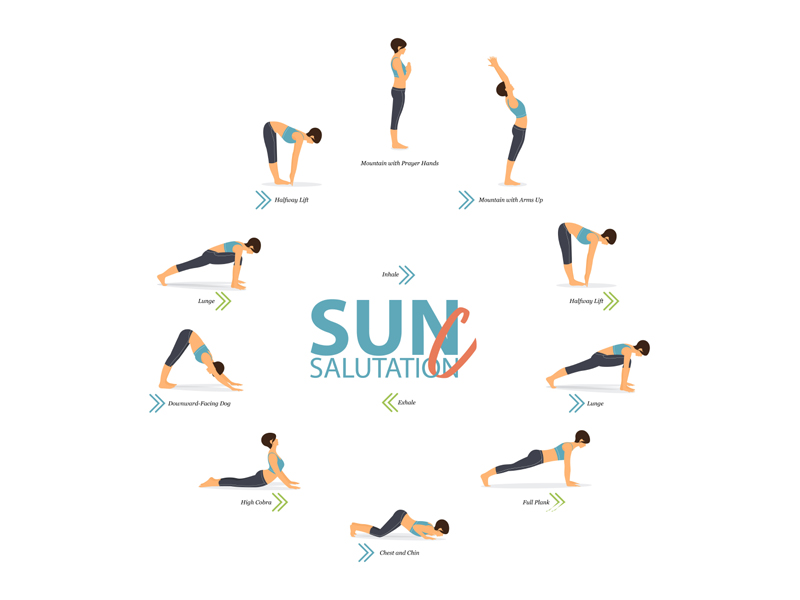
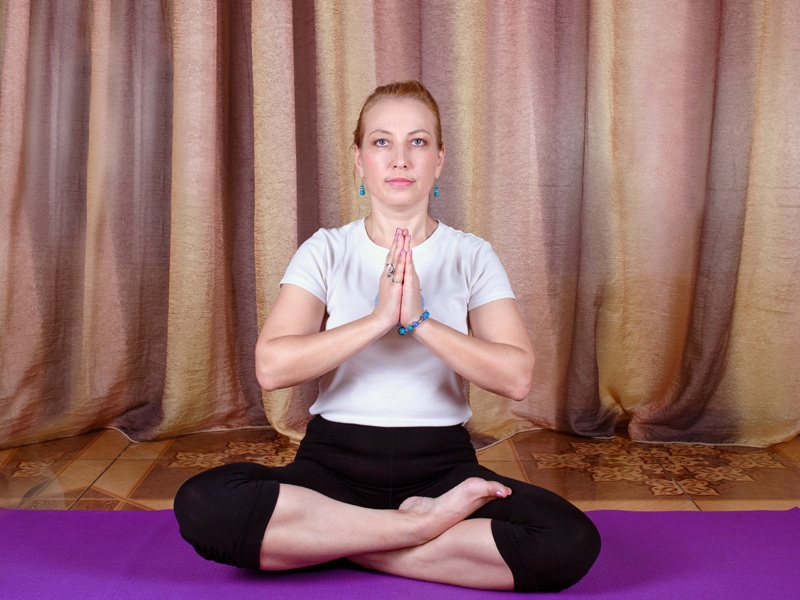
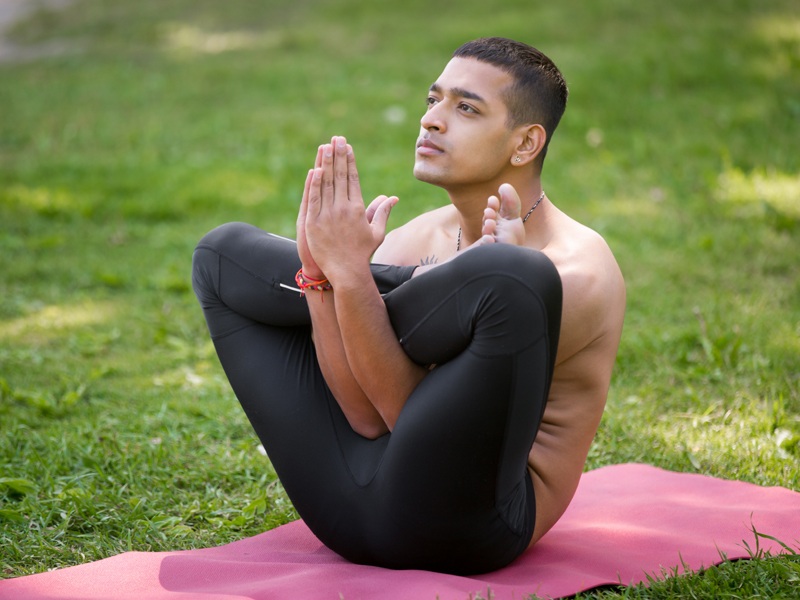
1.Pranamasana:
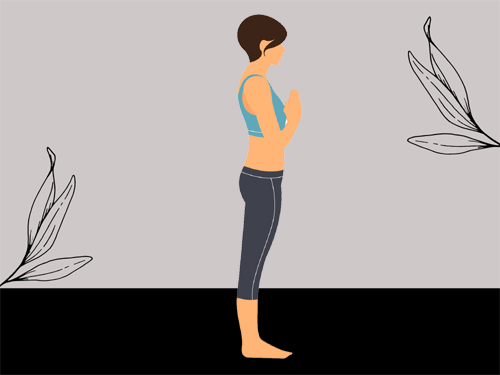
- Form an Anjali mudra by bringing your hands together at your heart.
- Press both hands against one another while fingers spread wide and lightly press your thumbs against the sternum.
2. Urdhva Hastasana:
- Bring your hands together above your head.
- Then use your pinky fingers to form an upward salute while you inhale.
- Hold your breath for two to three seconds.
3. Ardha Uttanasana:
- Slowly lift your body halfway up, bringing the fingertips to the floor while looking down.
- Keep your core engaged while keeping your spine flat during this procedure.
- Keep your fingertips in front of yourself or your shins, whichever is comfortable.
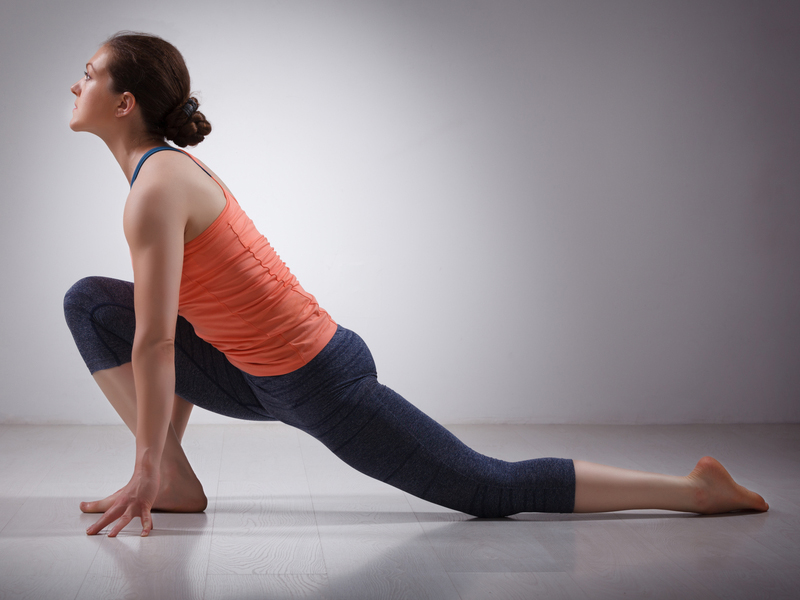
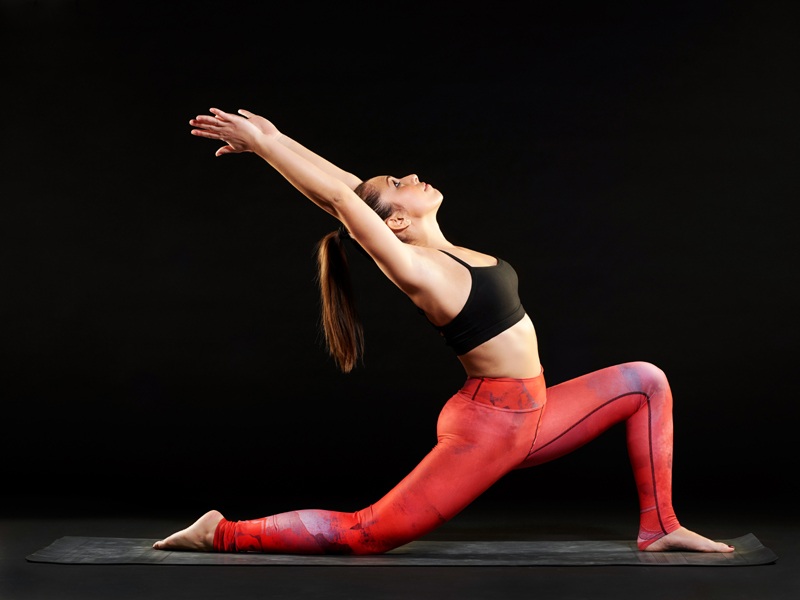
4. Anjaneyasana:

- Exhale and step the left foot into a low lunge position.
- Extend and raise your arms above your head.
- Hold yourself in this pose for a few seconds as you inhale and exhale.
5. Chaturanga Dandasana:
- Step back into this plank pose by bringing your hands to the mat.
- Then slowly press your heels back, place your shoulders directly above the wrists and tuck your toes.
- You can drop your knees to the ground if you don’t have enough strength to hold in this pose.
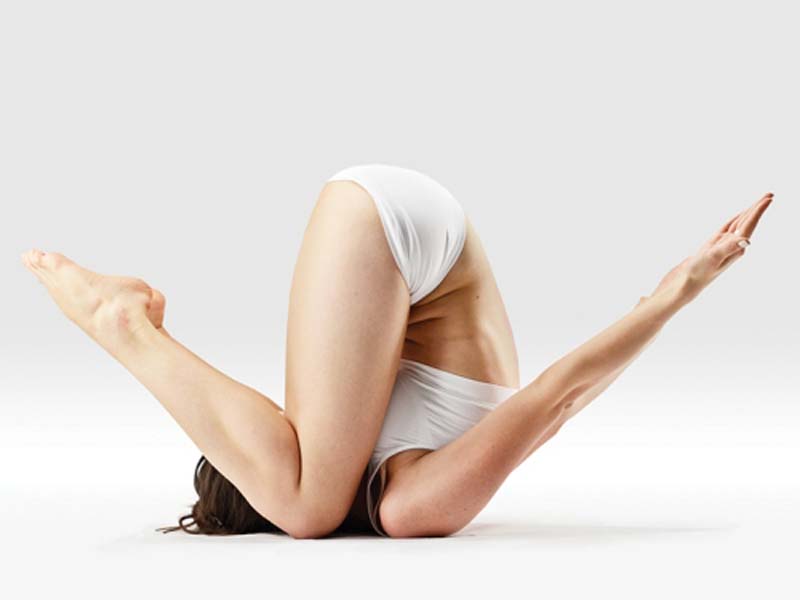
6. Ashtanga Namaskara:
- Bring your knees to the floor as you exhale.
- Now slide forward and slightly lift your hips while resting your chest and chin on the floor.
7. Adho Mukha Svanasana:
- While exhaling, come into a downward-facing dog pose by lifting your hips.
- Create a strong foundation by pressing your heels and hands as you lift your shoulder blades up and back while letting your head hang heavy.
8. Anjaneyasana:
9. Ardha Uttanasana:
10. Pranamasana:
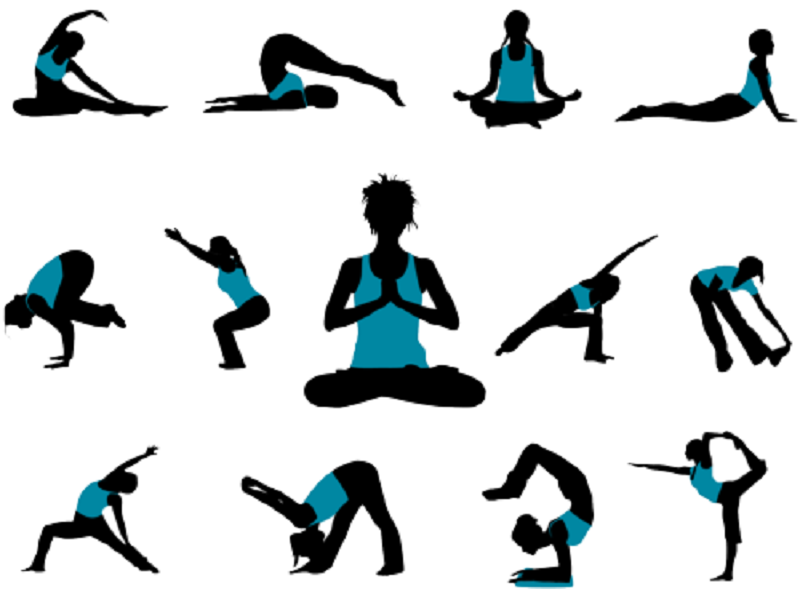
Sun salutations or Surya Namaskar A, B, and C sequences are well-rounded movements that help your body and breath connect efficiently. Practicing this dynamic gives you much fun while maintaining your health. With the details of different sequences with variations in poses, you can choose the arrangement which suits your lifestyle well. Don’t forget to let us know if you found the article helpful!
Disclaimer: The information provided in this article is based on pure research and not a replacement for professional opinion. It is best to take guidance from a professional to avoid any injuries.
FAQ:
Is warmup necessary before practicing Sun Salutations?
Sun salutations or Surya Namaskar are warmups and don’t require any warmups. However, you can consider a light warmup beforehand, depending on how much time you spend active daily.
What is the right time to perform Sun Salutations?
As the name suggests, Surya Namaskar sequences should be performed first thing in the morning because they are dedicated to the sun. Since the sun’s direction is East, many people complete these yoga sequences facing the East. However, depending on your chosen series, you can perform the Surya Namaskar poses any time of the day.
What are Sun Salutation benefits?
Several benefits are associated with the practice of Surya Namaskar or Sun salutations. Some of them include:
- Improve the entire body’s mobility.
- Connects you to your breath.
- They are ritualistic.
- It has cardiovascular benefits.
- They are easy to perform.
- They help reduce stress.


